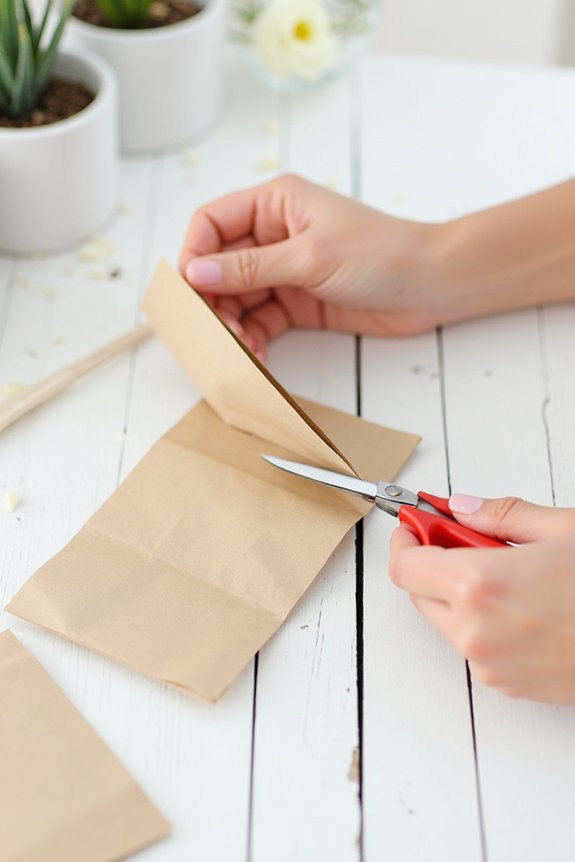
I’ll transform plain kraft paper bags into stunning gift containers you’ll love giving. Start by gathering scissors, decorative tape, markers, and tissue paper. Choose sturdy bags in neutral colors that fit your gifts perfectly. Customize them with monograms, ribbons, and stamped patterns for a personal touch. Reinforce the bottom with tape so nothing tears. Layer colorful tissue paper inside, then arrange your gifts with larger items in back and smaller ones forward. Discover how simple touches create boutique-quality results that’ll impress everyone.
Quick Tips
- Gather kraft paper bags, scissors, decorative tape, markers, tissue paper, and ribbons before starting your DIY project.
- Select sturdy bags in neutral colors like kraft or white that fit your gifts without excess space.
- Personalize bags with monograms, handwritten tags, stamped patterns, and layered tissue paper for enhanced presentation.
- Reinforce bag bottoms with double-sided tape, extra folds, or kraft tape along seams to prevent ripping.
- Arrange gifts strategically by placing larger items at back and smaller items in front for visual impact.
Gather Your Supplies
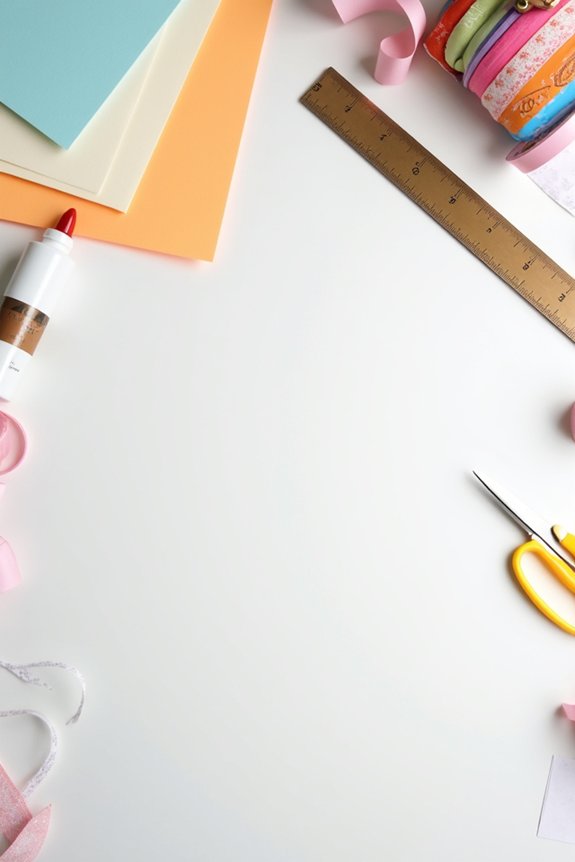
Before you plunge into creating beautiful gift bags, you’ll want to gather everything you need in one spot—it makes the whole process smoother and more enjoyable.
I recommend collecting kraft paper bags in various sizes, scissors, decorative tape, and markers or stamps for personalization. You’ll also want tissue paper, ribbons, and embellishments like stickers or dried flowers.
Having a designated workspace helps tremendously. Check your supplies beforehand so you won’t need to hunt for items mid-project. This preparation transforms what could feel chaotic into a calm, creative experience where you can focus on making something truly special for your guests.
Choose the Right Paper Bags for Your Gift
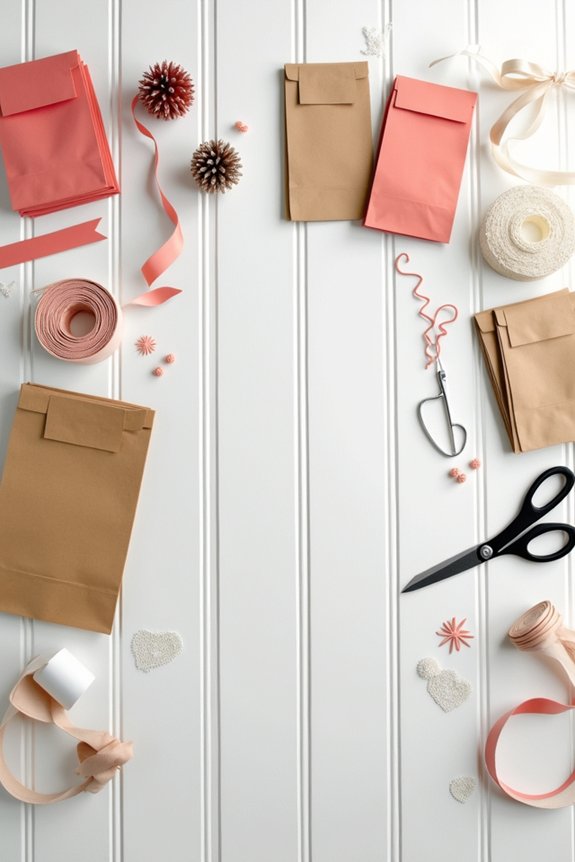
Now that you’ve gathered your supplies, it’s time to choose the paper bags that’ll become the foundation of your gift-giving magic.
I recommend selecting bags in neutral colors like kraft, white, or cream—they’re versatile and complement any decoration style.
Consider the size carefully; you’ll want bags that fit your gifts without excessive empty space.
Look for bags with sturdy handles and thick paper construction so they won’t tear easily.
If you’re feeling adventurous, try patterned or colored options that match your party theme.
Quality matters here because strong bags make the entire presentation feel more polished and thoughtful.
Customize Your Gift Bags With Easy Touches
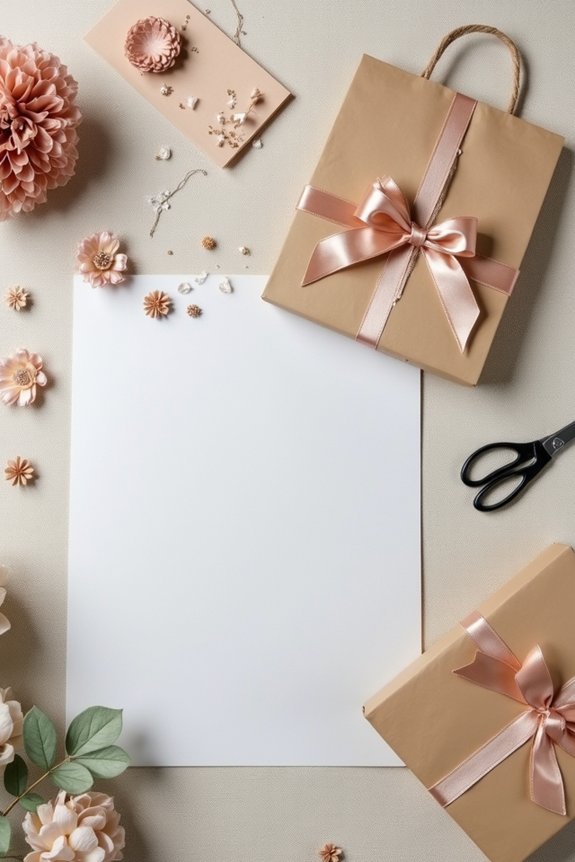
Once you’ve selected the perfect bags, you can transform them from plain to spectacular with simple, personalized touches that’ll make your guests feel truly special.
I love adding monograms with a metallic marker, which takes just minutes. You can also tie colorful ribbon around the handles or attach gift tags with handwritten names.
Consider stamping patterns with acrylic paint or stickers for visual interest. Layer tissue paper in coordinating colors inside each bag—this adds depth and elegance.
These customizations don’t require special skills, yet they elevate your gift bags from ordinary to thoughtfully designed, showing your guests how much you care. Personalized gift bags are a wonderful addition to game night celebrations, making each guest feel appreciated and setting a welcoming tone for the evening.
Reinforce the Bottom So It Holds
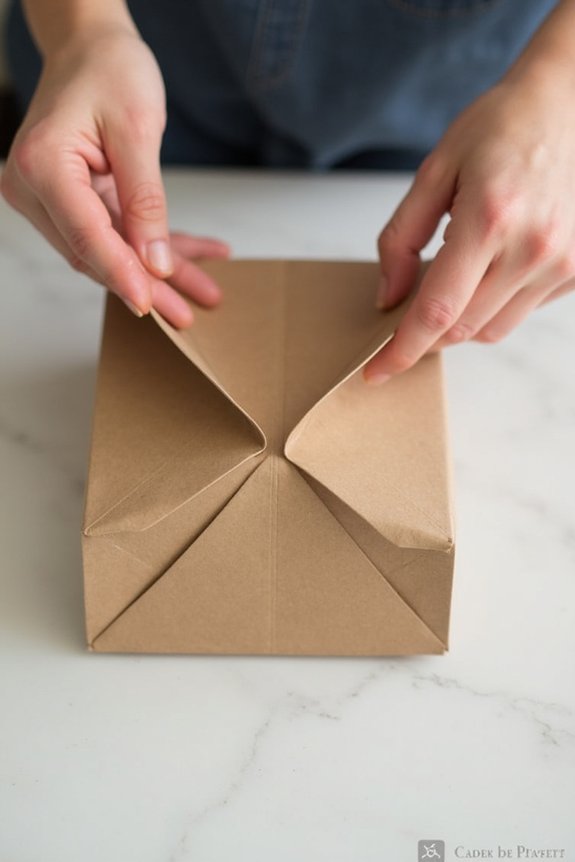
The bottom of your gift bag is where all the magic happens—it’s the foundation that keeps everything inside safe and secure.
I recommend reinforcing it with double-sided tape or a glue stick along the seams where the bottom meets the sides. You can also fold the bottom up an extra inch before assembling, creating extra layers of paper that won’t tear.
For heavier items, I’d add kraft tape along the interior seams for maximum support. This simple step prevents embarrassing rips and guarantees your thoughtfully assembled gift arrives looking beautiful and intact.
Add Handles That Actually Work
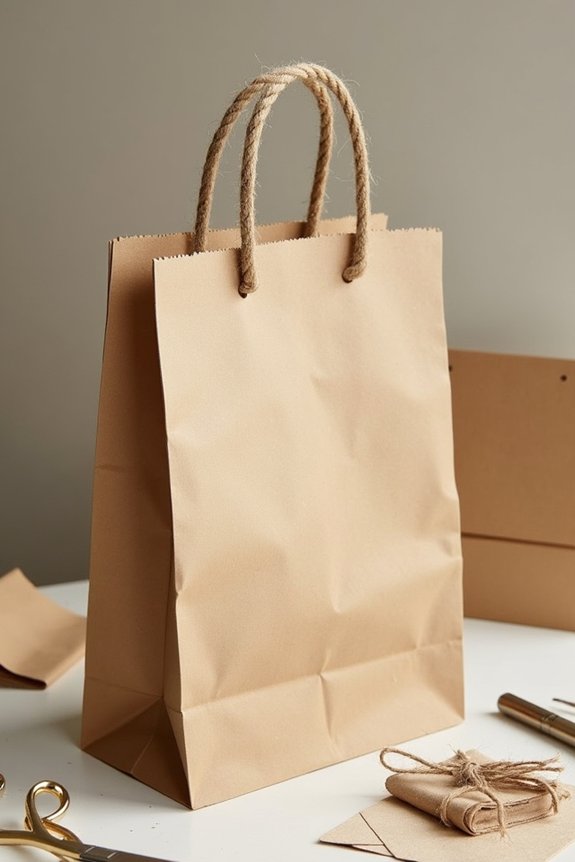
A sturdy handle is what transforms a simple paper bag into something your guests can actually carry without worry.
I recommend using twine, ribbon, or kraft paper strips—all strong enough to support your gift items.
Punch two holes near the top of each side, then thread your chosen material through, tying knots inside to secure everything firmly.
You can also tape handles to the exterior for extra reinforcement.
The key is ensuring the handle distributes weight evenly so nothing tears or breaks.
Your beautifully filled gift bags deserve to arrive intact and looking impressive.
Pack and Arrange Gifts for Maximum Impact
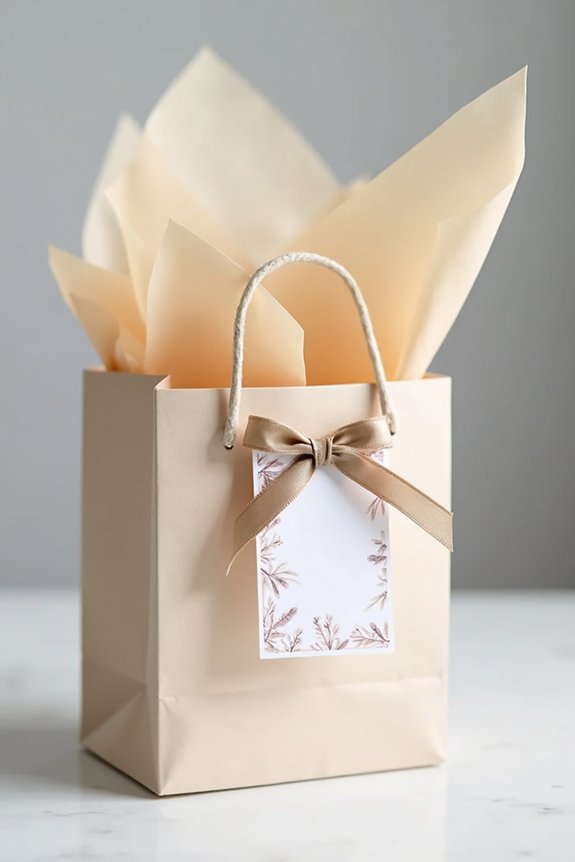
Now that you’ve got those handles secured, it’s time to think strategically about what goes inside—because how you arrange your gifts makes all the difference between a bag that looks thoughtfully curated and one that just seems randomly stuffed.
I start by layering tissue paper as my foundation, then place larger items in back. Smaller gifts nestle in front where they’re visible.
I tuck complementary items together—perhaps a candle with matches, or bath bombs with a luxe towel. This creates visual interest and tells a story.
Varying heights and colors catches the eye, making your gift bag feel special and intentional rather than hastily assembled.
For milestone celebrations like anniversaries, consider adding a golden anniversary backdrop as a stunning visual element to photograph your beautifully arranged gifts.
DIY Gift Bags for Every Occasion
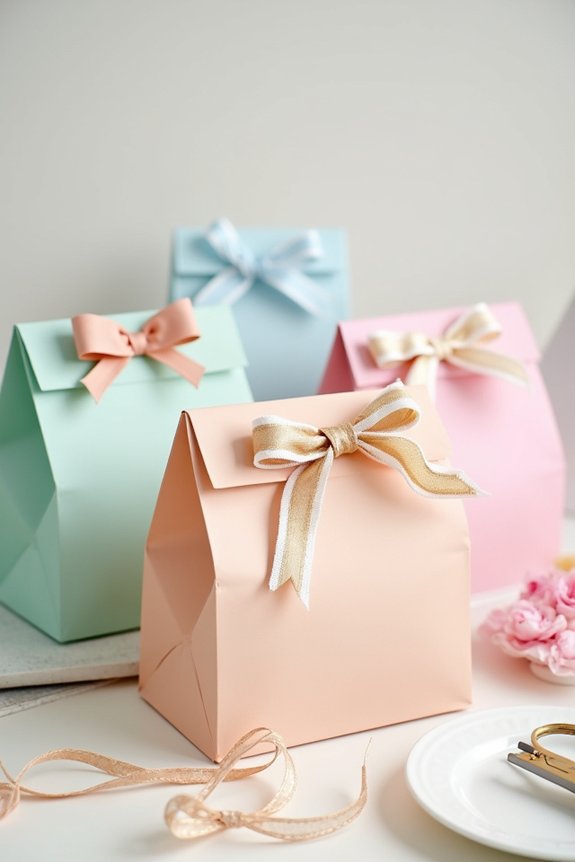
Once you’ve mastered the basics of assembly and arrangement, you can tailor your gift bags to match any celebration you’re planning.
A birthday calls for vibrant colors and playful trinkets, while elegant metallics suit bridal showers beautifully.
For holidays, I’d incorporate festive tissue paper and seasonal candies.
Baby showers benefit from soft pastels and practical items parents appreciate.
Corporate events demand a polished approach with quality products.
The magic happens when you consider your recipient’s personality and the event’s tone.
This thoughtfulness transforms a simple bag into something truly special and memorable.
Frequently Asked Questions
How Far in Advance Should I Prepare DIY Gift Bags Before the Event?
I’d prepare your DIY gift bags one to two weeks before your event—funny how that timing lets you handle last-minute guest additions without stress. You’ll assemble them comfortably, avoiding the day-of rush.
What’s the Best Way to Store Completed Gift Bags Without Damaging Decorations?
I’ll store your completed gift bags in a cool, dry closet on a shelf away from moisture and direct sunlight. You’ll want to stack them carefully and avoid placing heavy items on top that could crush your decorations.
Can I Reuse Paper Bags for Gift-Giving, and How Do I Clean Them?
While new bags offer pristine charm, I’ve found reused ones bring authentic character. I gently wipe interiors with a dry cloth, then spot-clean stubborn marks using a barely damp eraser. They’re absolutely reusable.
How Do I Prevent Tissue Paper From Shifting Inside the Finished Gift Bag?
I prevent tissue paper from shifting by securing it with double-sided tape at the bag’s bottom and sides. You can also use a small piece of crumpled tissue as an anchor before layering your decorative sheets on top.
What Weight Paper Bag Works Best for Heavier Gifts Without Tearing?
I recommend using 100-lb cardstock or kraft paper bags for heavier gifts. They’re sturdy enough to prevent tearing and won’t buckle under weight. You’ll find they hold their shape beautifully while keeping your presentation polished.