I’ll help you craft an unforgettable tablescape by starting with two or three colors that make you happy, then anchoring everything with a beautiful tablecloth and textured runner. Layer your dinnerware thoughtfully, mixing matte and shiny finishes to catch light. Create a centerpiece that invites conversation—maybe handmade flowers or craft supplies displayed beautifully. String lights and candles set the perfect mood, while personalized place cards and napkin rings add those special touches that transform your table into something truly memorable. The details ahead will show you exactly how to bring this vision to life.
Quick Tips
- Select two to three complementary colors and a cohesive theme to anchor your entire tablescape design and aesthetic.
- Layer your base with a thematic tablecloth and textured runner to create structure, depth, and visual interest.
- Design an interactive centerpiece incorporating handmade elements and craft supplies with an explanatory card for personal connection.
- Mix dinnerware textures and styles while personalizing place settings with hand-lettered names or small craft-themed details.
- Layer lighting sources, add comfort elements, and photograph multiple angles before guests arrive to capture and share your design.
Define Your Tablescape’s Color Palette and Theme
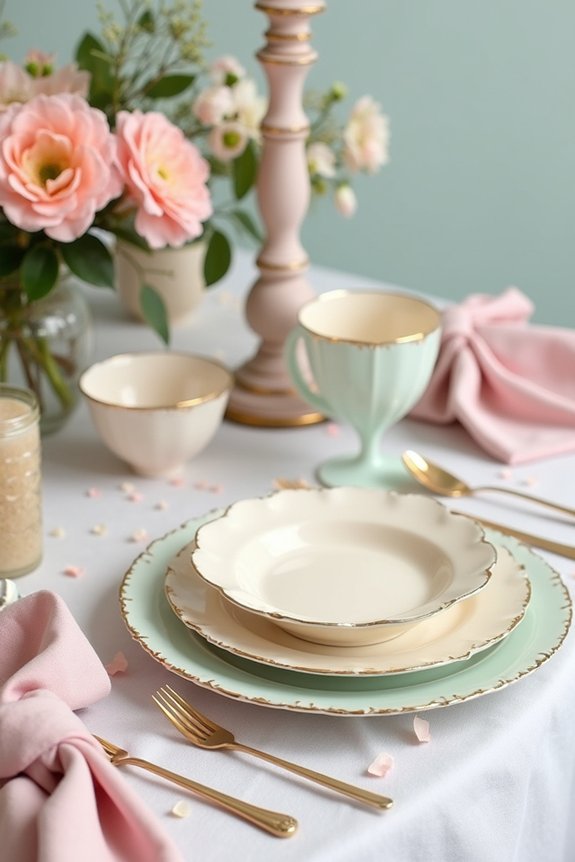
Three essential choices will set the foundation for your entire craft party tablescape: your color palette, your theme, and how these two elements work together.
I recommend starting by selecting two to three colors that feel right to you—perhaps soft pastels for a gentle vibe or bold brights for energy.
Once you’ve chosen your colors, pick a theme that excites you: bohemian, modern, vintage, or something playful. Your colors should complement your theme naturally.
Think about what makes you happy, then let that guide your decisions. This combination creates a cohesive, intentional look that pulls everything together beautifully. Explore popular craft party themes to find inspiration that resonates with your personal style and vision.
Choose Your Base Layer: Tablecloth and Runner
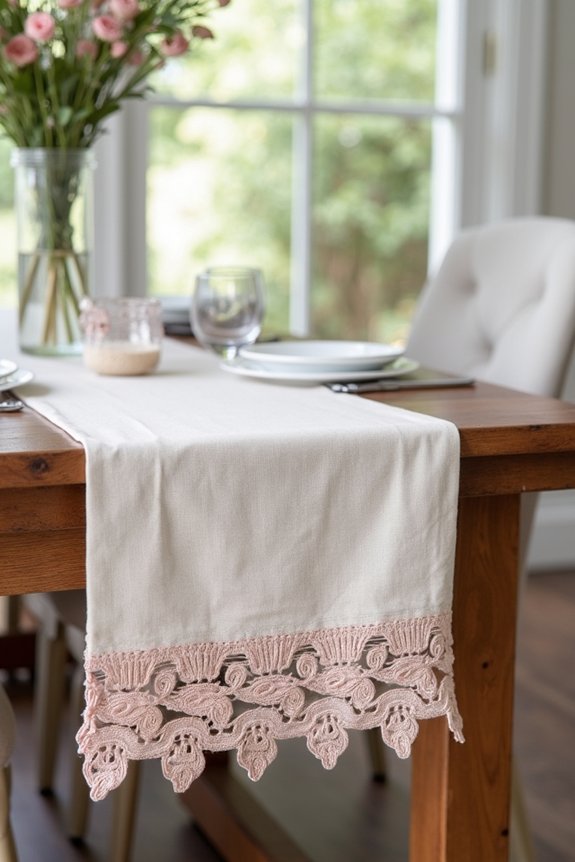
Now that you’ve got your color palette and theme locked in, it’s time to build the foundation of your tablescape with your tablecloth and runner. I’d choose a tablecloth that anchors your color scheme—whether that’s a solid, pattern, or textured fabric.
Then, I’d layer a runner down the table’s center for visual interest and dimension. The runner creates a beautiful focal point where you’ll arrange your craft supplies and decorative elements.
Consider mixing textures like linen with cotton or adding a metallic runner for subtle sparkle. These base layers work together, giving your tablescape structure and polish while keeping everything cohesive. For gender-themed celebrations, you can incorporate gender reveal games into your tablescape design to make it interactive and festive.
Layer Textures and Fabrics for Visual Interest
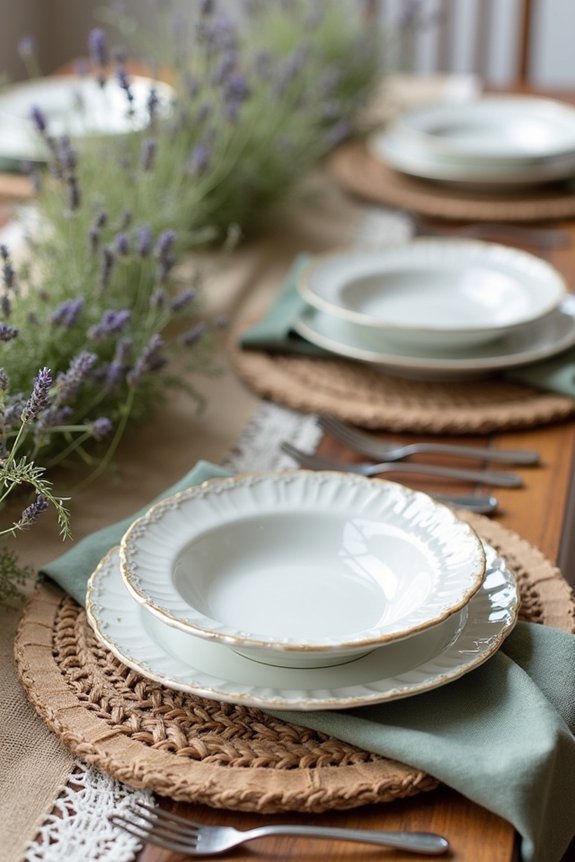
Texture is where your tablescape truly comes alive, transforming a flat surface into something tactile and memorable.
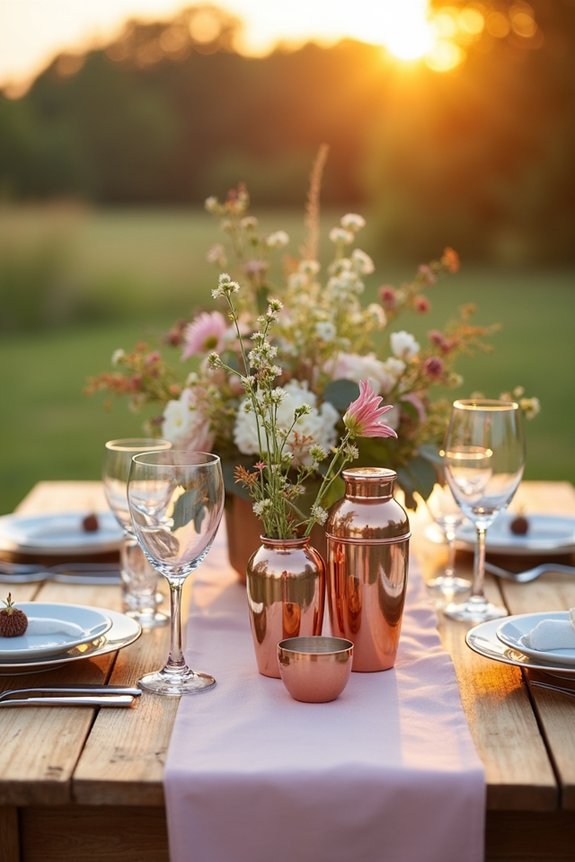
I love mixing fabrics like linen, velvet, and lace to create depth and visual interest. Layer a burlap runner over your tablecloth, then add a delicate lace overlay for contrast.
Include textured placemats, woven chargers, or macramé accents. Don’t forget about tactile elements like fuzzy napkins or embellished napkin rings.
The combination of rough and smooth, shiny and matte fabrics catches light differently and invites guests to truly notice your thoughtful design choices.
Design Centerpieces That Spark Connection
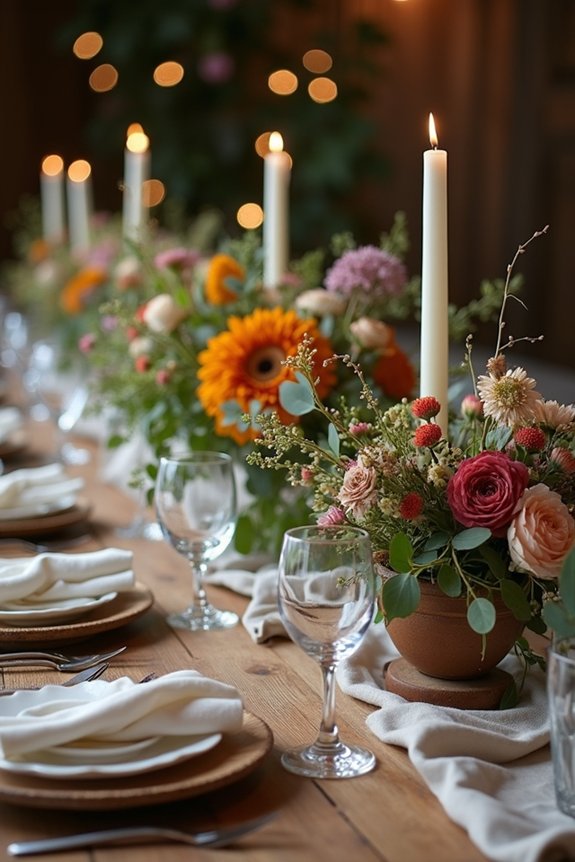
A centerpiece isn’t just a decoration sitting in the middle of your table—it’s an opportunity to create a focal point that draws your guests together and gives them something meaningful to talk about.
I’d choose pieces that reflect your craft theme, like a painted vase filled with handmade flowers or a wooden tray displaying small creative projects. You might arrange supplies guests can touch and admire, sparking conversations about techniques and ideas.
Including a small card explaining your centerpiece’s inspiration adds personal warmth. The goal is creating something that invites interaction, making your table feel welcoming and thoughtful rather than simply pretty.
Consider pairing your centerpiece with a craft party backdrop to create a cohesive visual experience that elevates your entire celebration space.
Select Dinnerware and Glassware to Match Your Aesthetic
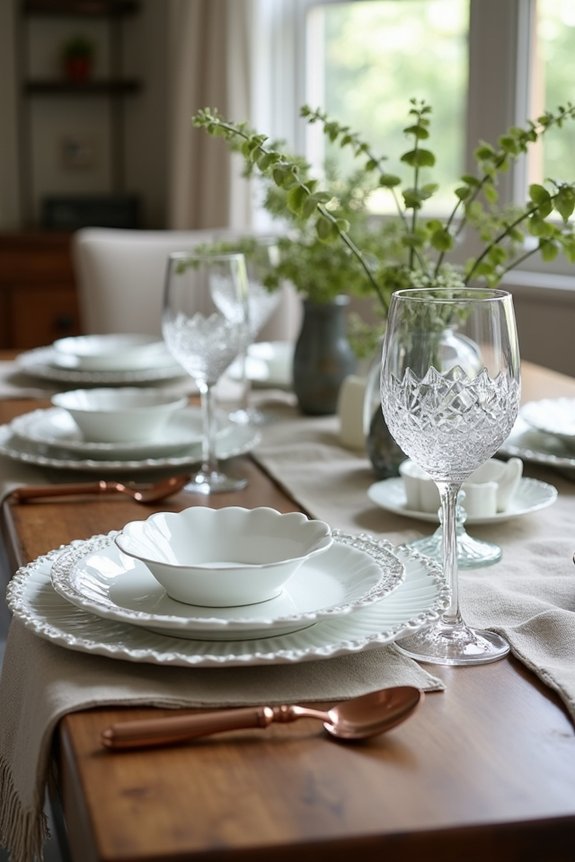
Once you’ve established your centerpiece, your dinnerware and glassware become the supporting players that either enhance or distract from your craft party’s overall look.
I’d recommend choosing pieces that echo your color palette and theme without competing for attention. Consider mixing textures—maybe matte plates with shiny glasses, or vice versa.
Mismatched vintage sets can add charm and conversation-starting appeal. You’ll want functional pieces that feel intentional, not random.
Think about how candlelight will reflect off different surfaces. Your dinnerware choices should whisper, not shout, letting your carefully designed centerpieces remain the stars. Explore creative centerpiece ideas to discover additional inspiration for coordinating your table elements cohesively.
Create Placecards and Place Settings With Flair
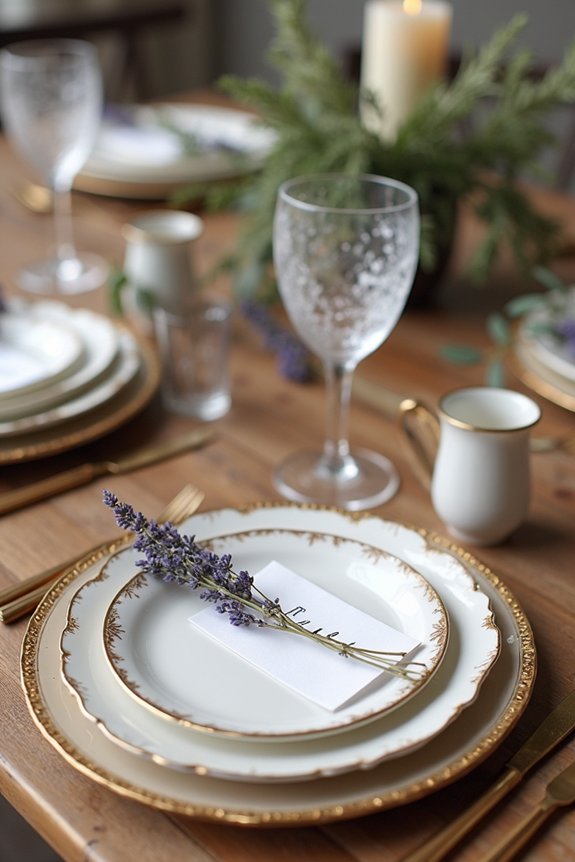
Now’s your chance to add those personal touches that’ll make your guests feel truly welcomed. I love how thoughtful placecards transform a table into something memorable and intentional.
Consider these ideas:
- Hand-lettered names on cardstock tied with twine or ribbon
- Creative place settings with small craft supplies as keepsakes
- Personalized notes beside each plate sharing why you’re grateful for that guest
You can match your placecards to your dinnerware’s style and color scheme.
Whether you’re going elegant or playful, these details show your guests you’ve thought about them individually. They’ll appreciate the effort, and your tablescape becomes truly special.
Weave Craft Supplies Into Your Table Decor
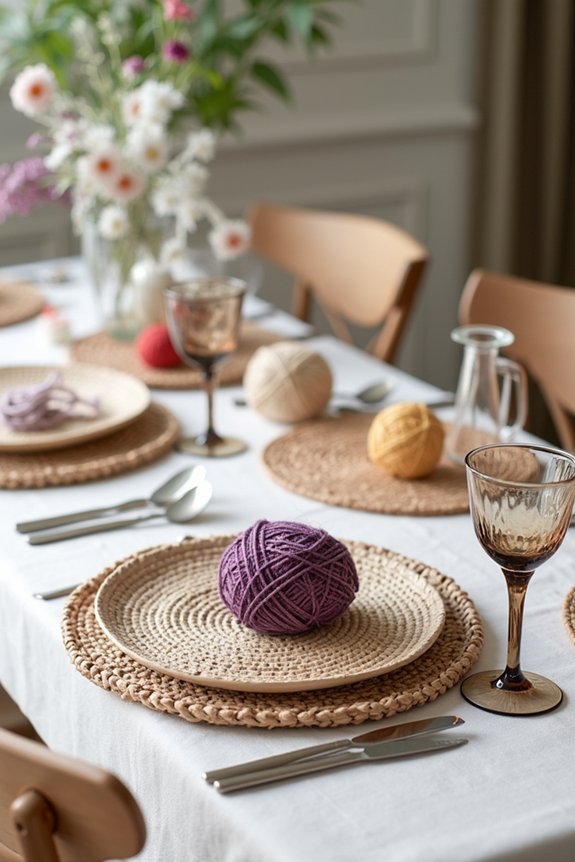
Since your guests are already gathering for a craft party, why not let your table decorations celebrate that creative spirit?
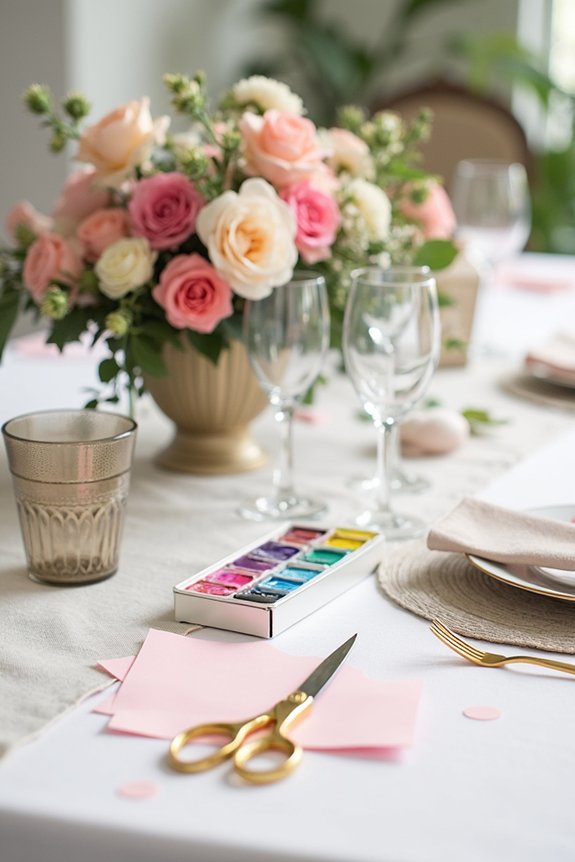
I’d scatter colorful markers, paintbrushes, and ribbon spools down your table’s center as charming accents.
You can tuck small scissors or embellishments between place settings, creating visual interest while keeping supplies accessible.
Layer decorative paper as runners underneath dishes, or use patterned napkins that complement your craft theme.
Consider incorporating a tablescape color scheme that coordinates with your craft supplies for a cohesive and polished look.
This approach transforms ordinary table elements into functional décor that reinforces your party’s creative purpose, making guests feel excited before they even sit down.
Set the Mood With Strategic Lighting
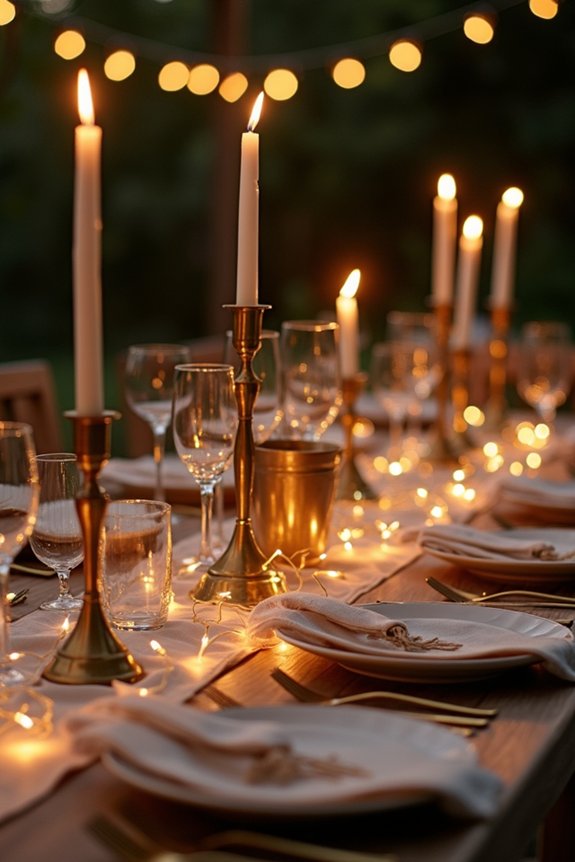
Good lighting can transform your craft party tablescape from ordinary to truly special, because the right glow brings warmth and energy to your gathering.
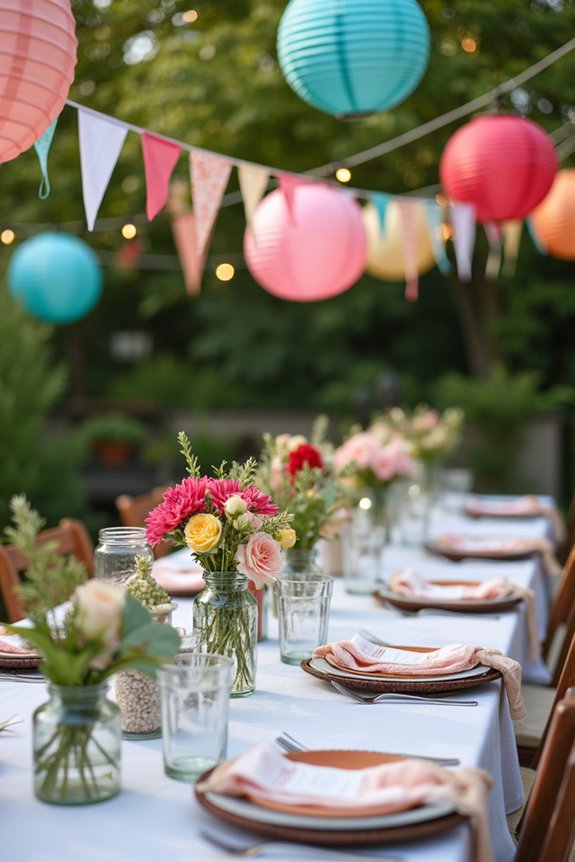
I’d recommend layering different light sources to create depth and dimension across your table. String lights add whimsy, while candles provide intimate ambiance. Consider your craft supplies’ colors when selecting lighting temperatures—warm bulbs complement earthy tones beautifully.
- String lights drape overhead or along table edges for festive flair
- Candles in varying heights create focal points and soft shadows
- Warm-toned lamps highlight your craft materials without harsh glare
Your lighting choices set the entire tone for your celebration.
Style Your Chairs to Complete the Look
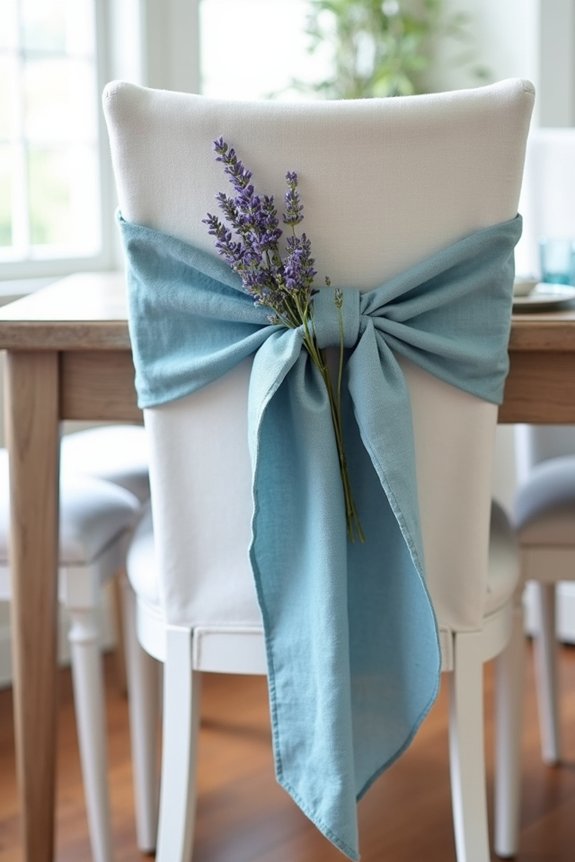
While your table setting captures attention with lighting and decor, your chairs deserve just as much thought because they’re where your guests will spend the entire celebration.
I love adding chair cushions in coordinating fabrics—they bring comfort and tie your color scheme together beautifully.
Consider draping shawls or blankets over chair backs for warmth and texture, especially for evening gatherings. You might also use chair sashes, ribbon ties, or small floral arrangements attached to the backs.
These details transform ordinary seating into something memorable, making your guests feel truly special and cared for throughout your craft party.
Polish It With Finishing Details
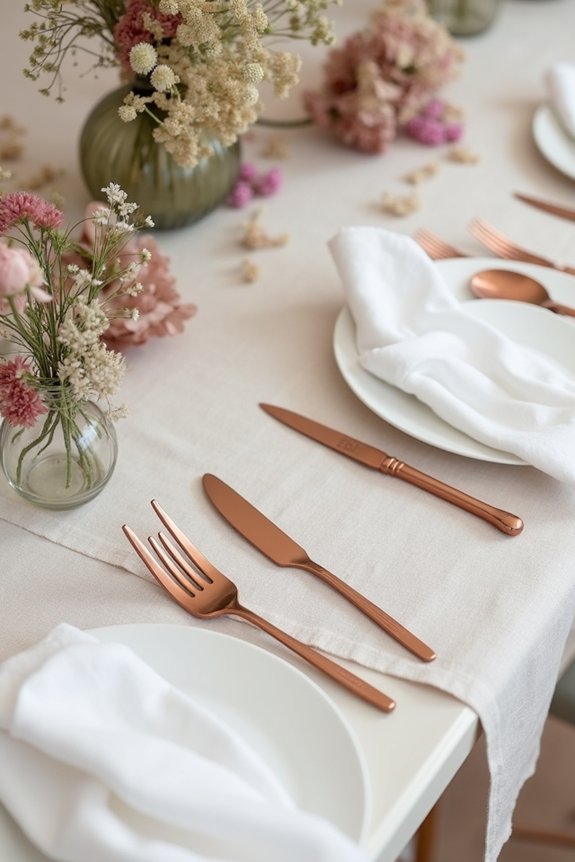
You’ve created a stunning table with thoughtful seating, so now it’s time to add those final touches that make your craft party tablescape truly shine.
I love how small details transform a table from nice to absolutely memorable.
Consider these finishing touches:
- Place card holders – craft-themed or personalized options help guests find their seats while adding personality
- Napkin rings – wrapped with ribbon, twine, or small craft supplies that echo your party’s theme
- Centerpiece accents – scatter small decorative elements like beads, buttons, or themed ornaments among flowers
These details whisper thoughtfulness to your guests and show you’ve put care into every inch of your celebration.
Capture Your Tablescape Before Guests Arrive
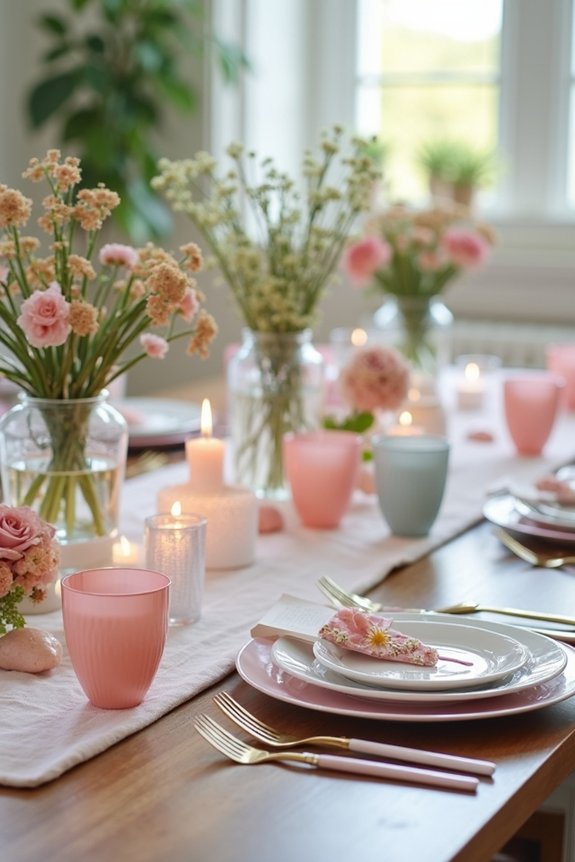
Before your guests walk through the door, it’s the perfect moment to photograph your tablescape while the lighting is fresh and everything sits exactly as you’ve arranged it.
I’d capture multiple angles—overhead shots show the overall design, while close-ups highlight your decorative details and centerpiece.
Natural light near a window works beautifully, and I’d avoid using flash, which can wash out colors.
These photos serve dual purposes: they preserve your hard work and provide content you can share on social media.
You’ll treasure these images long after the celebration ends.
Frequently Asked Questions
How Far in Advance Should I Plan and Prepare My Craft Party Tablescape?
I recommend planning your craft party tablescape two to three weeks ahead. This gives you time to source materials, sketch ideas, and test designs without rushing. You’ll feel confident and prepared when your guests arrive.
What’s the Ideal Table Size and Shape for a Craft Party Gathering?
I’ve found that choosing your table’s shape is like selecting the right canvas for a masterpiece—it fundamentally changes your entire composition. I recommend rectangular tables for maximum workspace, though rounds work beautifully for intimate groups.
How Can I Protect My Tablescape From Craft Supplies Like Glue and Paint?
I’d layer your tablescape with a waterproof tablecloth underneath, then add a removable fabric runner on top. Use glass placemats and protective clear acrylic sheets over decorative elements you want to keep pristine.
Should I Coordinate the Tablescape With the Specific Craft Projects Guests Will Create?
Your tablescape should flow like a river into your craft projects—yes, coordinate them. I tie my table’s color palette and theme directly to what you’re creating, making everything feel intentional and beautifully cohesive.
How Do I Adapt My Tablescape Design for Different Craft Party Themes or Seasons?
I’d recommend shifting your color palette, linens, and centerpiece elements to match your theme’s aesthetic. Swap seasonal florals, adjust lighting, and incorporate thematic props that complement your guests’ craft projects without overwhelming the workspace.