I’ll help you create stunning Halloween backdrops that fit your space and budget. Whether you’re painting bedsheets, arranging balloon walls, or building cardboard cutouts, there’s an option for everyone. You can craft interactive photo spots like witch’s potion labs with glowing bottles or enchanted forest canopies with layered fabrics. From small corners featuring spiderwebs to elaborate haunted house facades, these designs transform any party into an Instagram-worthy celebration. Keep exploring to discover which backdrop suits your vision best.
Quick Tips
- Paint custom designs on bedsheets using pencil sketches for budget-friendly, personalized Halloween backdrops with minimal cost.
- Create visual impact with black and orange balloon garlands using fishing line, mixing balloon sizes for depth.
- Layer cardboard cutouts of spooky ghosts and zombies to enhance depth and create an immersive haunted atmosphere.
- Design interactive photo ops with themed elements like witch’s potion labs or enchanted forest canopies for memorable moments.
- Match backdrops to your space and budget, ensuring quick installation and disassembly while maintaining a cohesive party aesthetic.
Choose Your Backdrop by Space and Budget
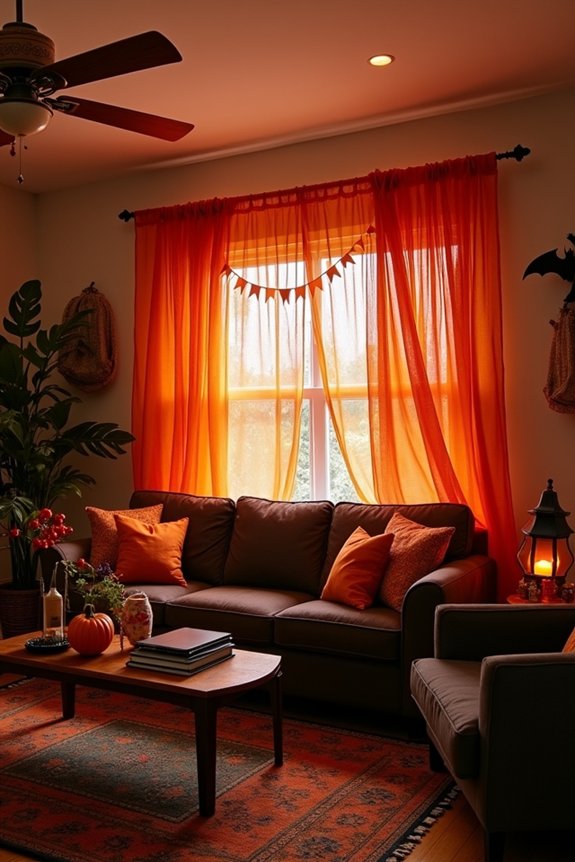
Before you fall in love with an elaborate Halloween backdrop, I’d encourage you to think about where you’ll actually set it up and how much you want to spend.
Your space determines what’ll work best—a small entryway needs something compact, while a spacious backyard allows for dramatic installations. Budget matters too. You might splurge on a professional backdrop rental, invest in DIY materials, or use what you already own creatively.
Consider your guests’ flow and lighting conditions. Matching your backdrop to your actual space guarantees it’ll look amazing and feel manageable to create.
Budget-Friendly Backdrops Using Bedsheets and Paint
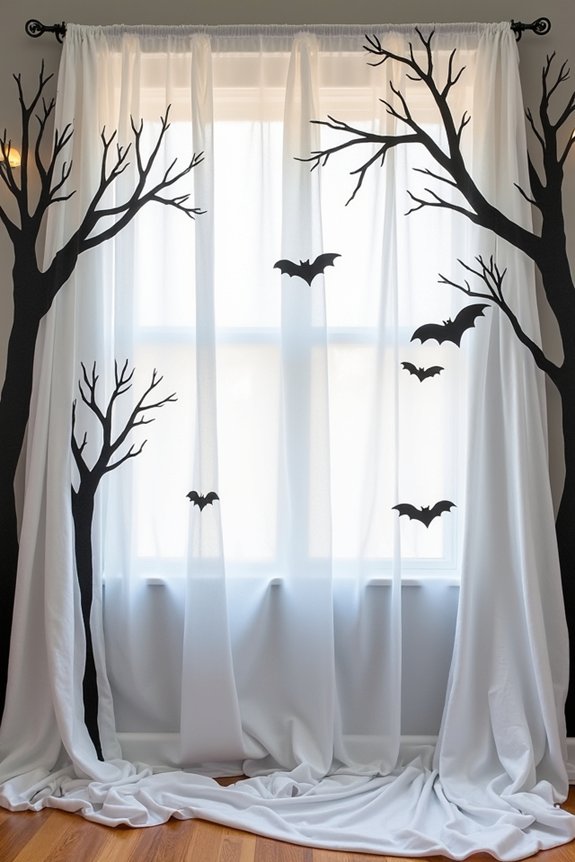
Some of the most striking Halloween backdrops come from materials you already have at home, and I’m talking about plain bedsheets combined with simple paint.
You can transform an old white or neutral sheet into a spooky masterpiece by sketching designs with pencil first, then painting them with acrylic paint.
Consider painting a haunted forest, creepy graveyard, or ghostly scene.
The beauty of this approach is its flexibility—you’ll control the design completely while spending minimal money.
Let the paint dry fully before hanging your backdrop, and you’ll have a personalized, professional-looking creation that’ll impress your guests.
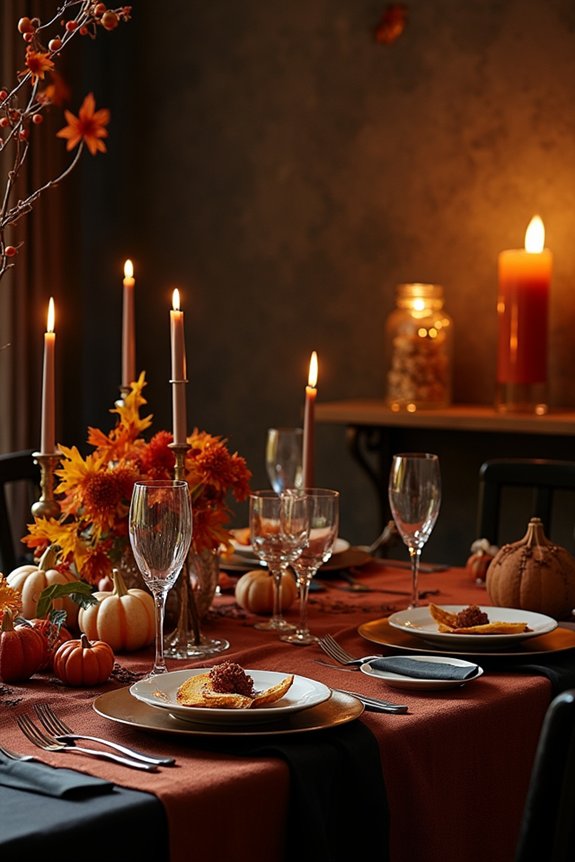
For a coordinated look, pair your custom backdrop with matching Halloween centerpieces on your tables to create a cohesive spooky atmosphere throughout your entire party space.
Classic Black and Orange Balloon Wall
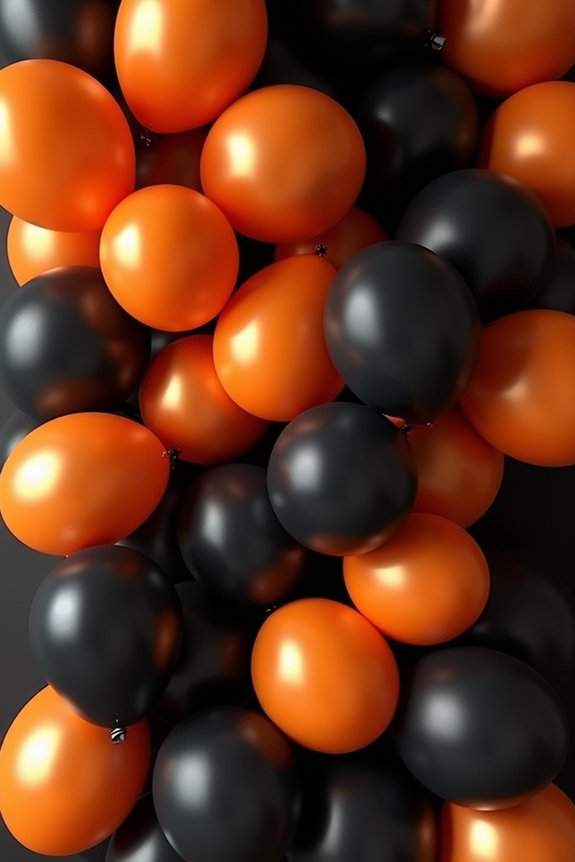
If you’re looking for a Halloween backdrop that’s simple yet stunning, a classic black and orange balloon wall delivers maximum impact with minimal effort.
I love this approach because it’s incredibly versatile and forgiving. You’ll start by creating a balloon garland using fishing line or floral tape attached to a wall or frame.
Mix various sizes of black and orange balloons—add some deep purple or white for extra dimension. The beauty here is that imperfection actually works in your favor; clusters and gaps create visual interest.
Your photos will pop against this festive backdrop, and setup takes just an afternoon.
Haunted House Facade With Cardboard Cutouts
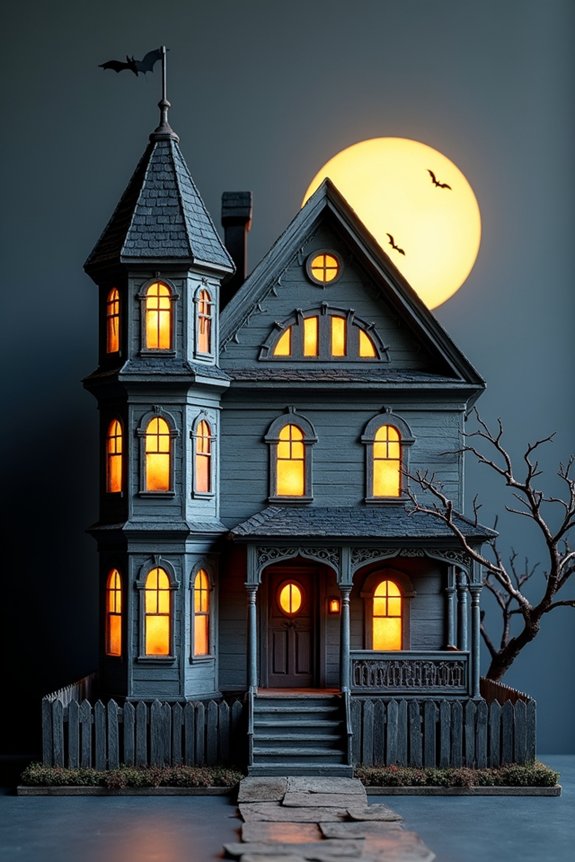
When you’re ready to transform your backdrop into something truly theatrical, cardboard cutouts bring that haunted house magic to life.
I love how you can customize them to match your vision, whether that’s spooky ghosts, creepy zombies, or eerie skeletons. You’ll find pre-made options online, or you can create your own by printing designs and attaching them to sturdy cardboard.
Layer these cutouts at different depths to create dimension and interest. Position some in front and others behind your main backdrop to establish that immersive haunted atmosphere. The three-dimensional effect instantly elevates your party space into something guests won’t forget.
Glowing Witch’s Potion Lab With LED-LIT Bottles
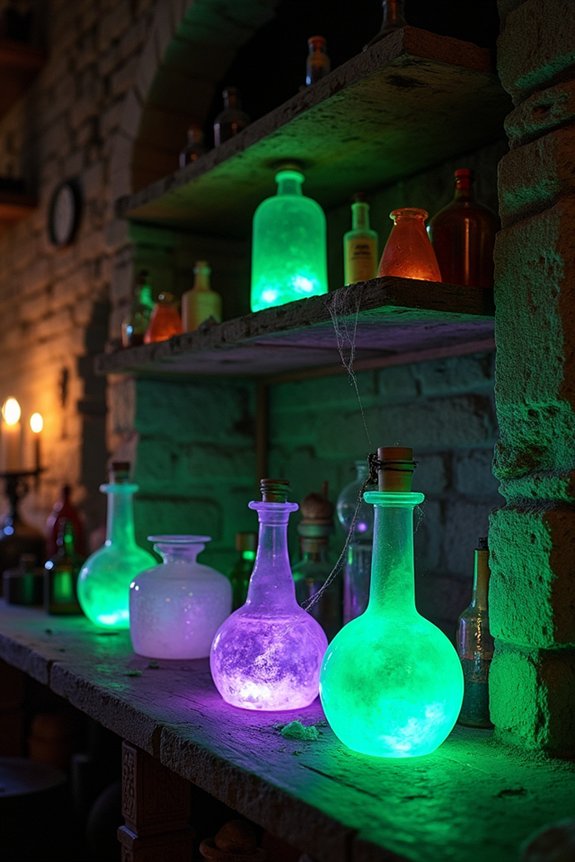
For a backdrop that literally glows with enchantment, I’d create a witch’s potion lab using LED-lit bottles arranged across shelves or tables.
You’ll fill clear glass bottles with colored water—deep purples, sickly greens, and blood reds—then nestle battery-operated LED lights inside each one. The glowing effect creates an absolutely mesmerizing focal point that photographs beautifully.
Add vintage labels, dried herbs, and mystical symbols around the bottles for authentic witchy vibes. This backdrop works wonderfully indoors or outdoors, and you can adjust the lighting to match your party’s mood perfectly. Combining these elements with a cohesive Halloween tablescape design ensures your potion lab backdrop seamlessly integrates with your overall party décor.
Graveyard Scene With Tombstone Props
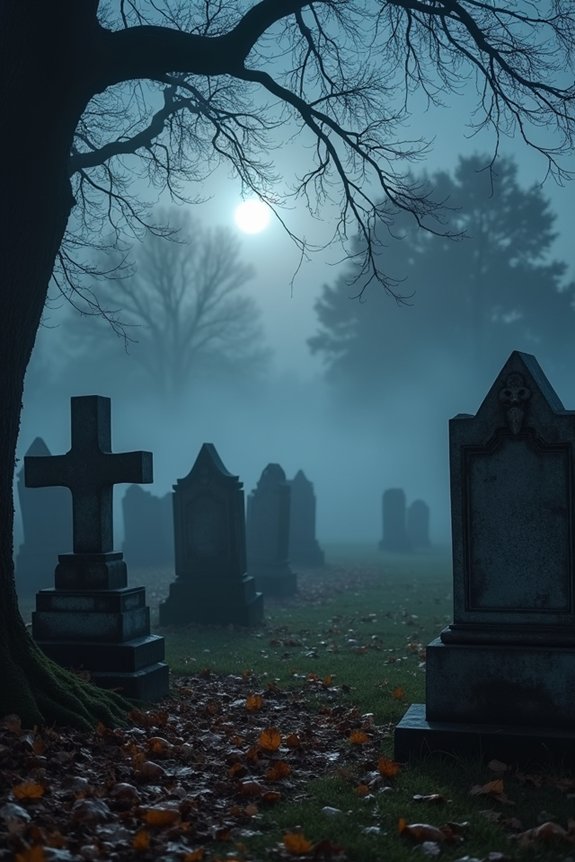
Nothing says Halloween quite like a spooky graveyard, and you’ll create an unforgettable focal point by arranging tombstone props across your backdrop space.
I’d recommend varying the heights and angles of your tombstones to build visual interest and depth. You can purchase foam tombstones or craft your own using cardboard and paint. Position them at different depths, layering some closer and others farther back.
Add weathered details like cracks, moss, or epitaphs for authenticity. Consider incorporating fog machines or dry ice around the base for an eerie atmosphere.
String subtle lighting through the scene, casting shadows that enhance the spooky mood your guests will absolutely love.
Enchanted Forest Canopy With Layered Fabrics
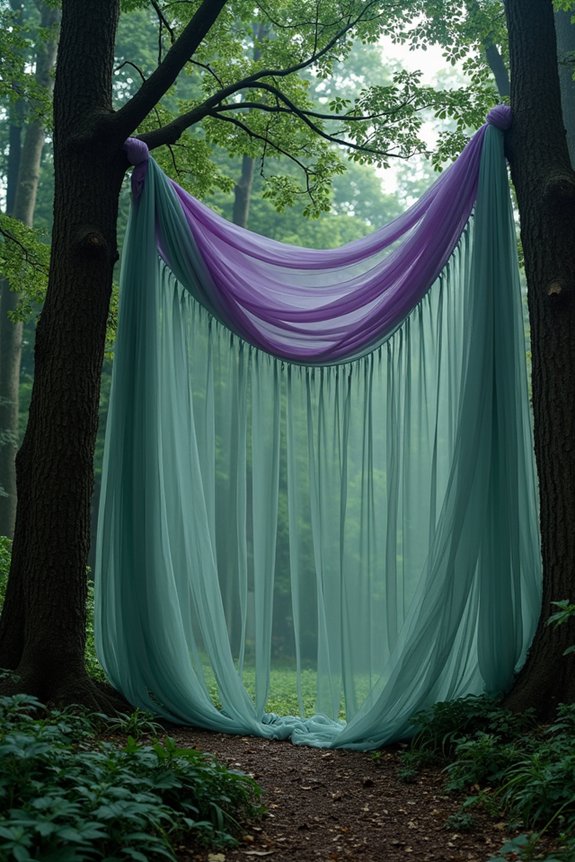
How can you transform your party space into a magical woodland retreat? I’d layer sheer fabrics in deep purples, blacks, and forest greens from your ceiling, creating depth and movement.
This enchanted canopy draws guests into an immersive atmosphere that feels both mysterious and welcoming.
- Drape lightweight fabrics at varying heights for dimension
- Hang string lights between layers for a glowing effect
- Add artificial vines and branches throughout the setup
- Use projection lights to cast moving shadows on fabric
The layered approach isn’t complicated—I simply secure fabrics with hooks and let them cascade naturally, building your woodland magic effortlessly. Combining this backdrop with Halloween decorations throughout your space creates a cohesive and immersive celebration experience.
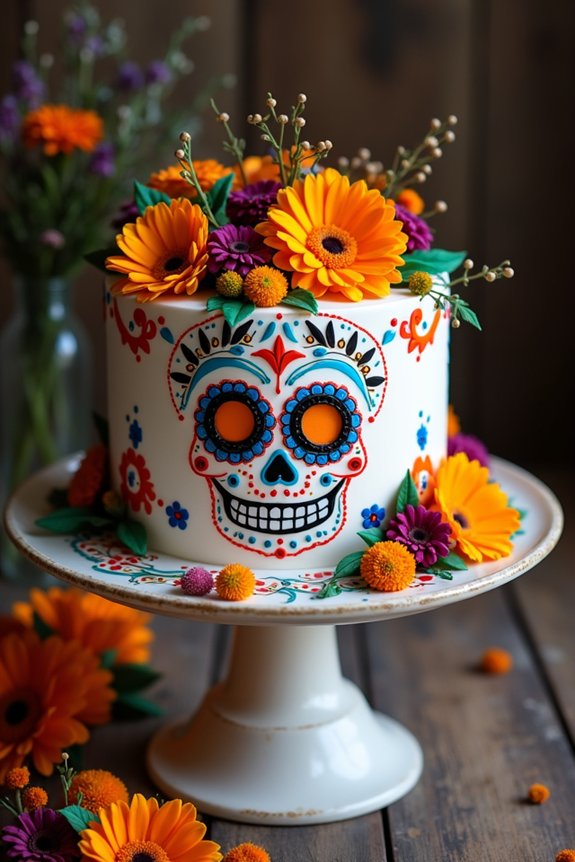
Sugar Skull Flower Wall With Marigold Garlands
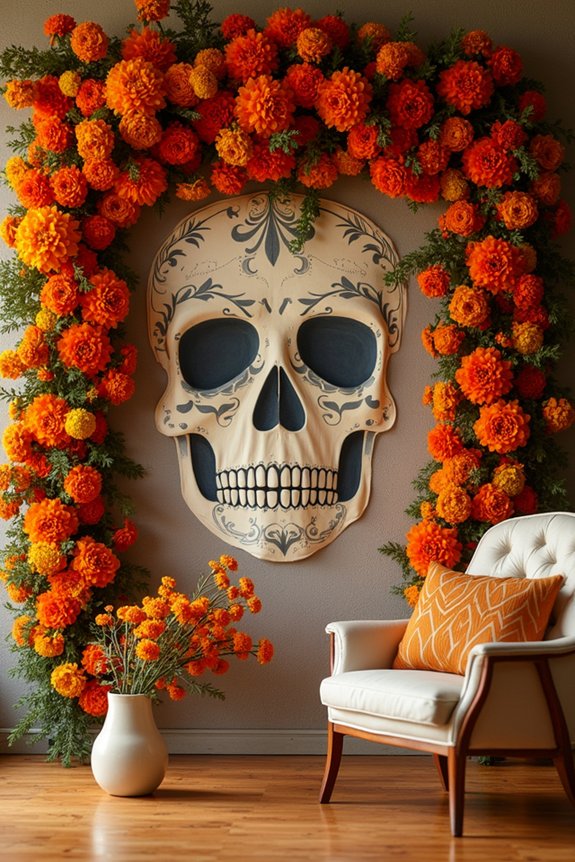
When you’re ready to celebrate Día de Muertos or create a vibrant Day of the Dead–inspired backdrop, a sugar skull flower wall paired with marigold garlands delivers stunning visual impact.
I love how this combination honors tradition while creating an Instagram-worthy moment.
Start by mounting a large sugar skull cutout or painted design as your focal point. Layer bright marigold garlands around it, letting them cascade naturally.
Add tissue paper flowers in warm oranges, yellows, and reds between the marigolds.
The result? A breathtaking backdrop that celebrates culture beautifully and makes your guests feel genuinely welcomed into something meaningful.
Backdrops for Small Spaces: Spiderweb Corner and Zombie Photo Booth
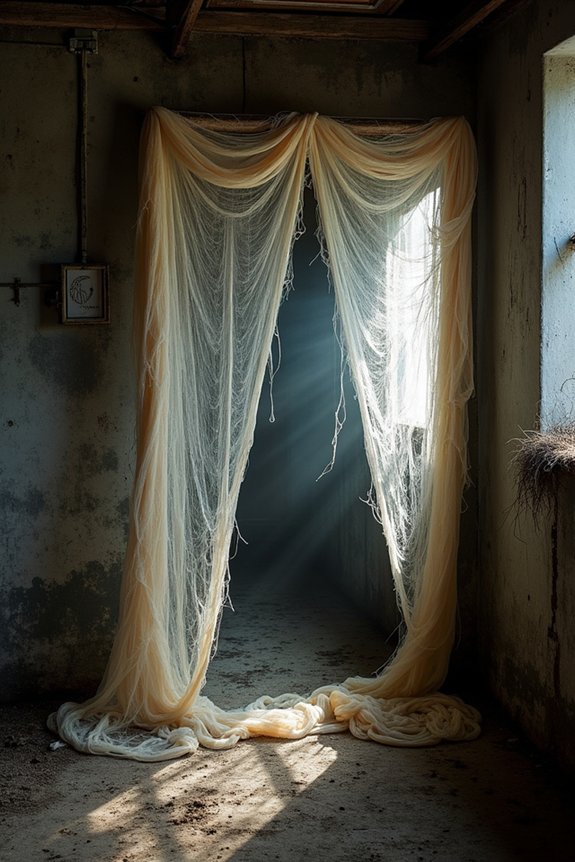
Limited square footage doesn’t mean you can’t create Halloween magic—you just need to think strategically about your space. Transform a corner into a spooky setup that maximizes impact without overwhelming your room.
- Hang white string across a corner to create layered spiderweb effects.
- Drape black fabric behind the webs for dramatic contrast and depth.
- Position a small table with zombie props for an interactive photo booth.
- Use overhead lighting to cast eerie shadows on your backdrop.
This approach keeps your party feeling festive while respecting your layout.
Your guests will love snapping photos in these carefully designed spots, and you’ll appreciate how manageable the setup feels.
Neon Glow-in-the-Dark Ghost Display
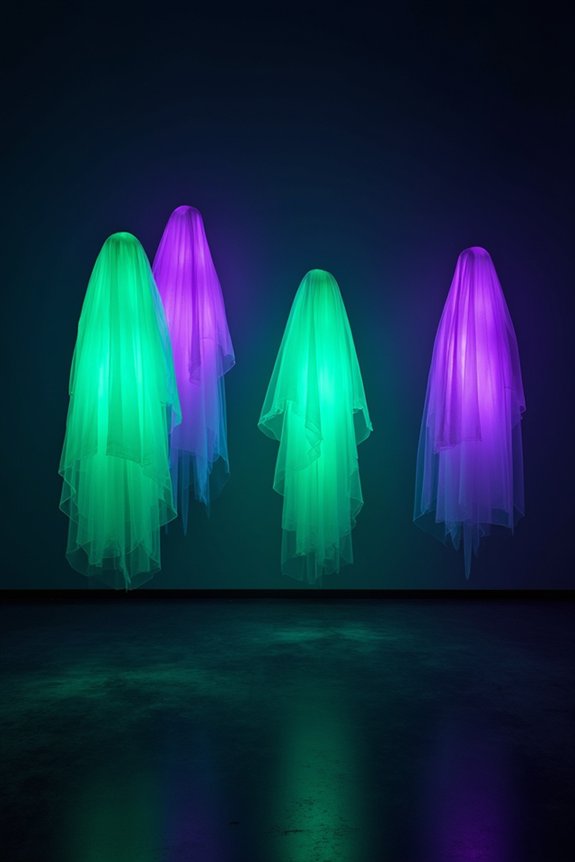
A glow-in-the-dark ghost display brings modern energy to traditional Halloween décor, and it’s easier to create than you might think. You’ll need white bedsheets, glow sticks, and black markers to sketch spooky faces.
Drape sheets over cardboard frames or balloon structures, then insert glow sticks inside for an eerie luminescence. Position your ghosts throughout your party space—clustering them creates dramatic impact.
The soft, haunting glow works beautifully in dim lighting, making them perfect for evening gatherings. Your guests will love the interactive element, and you’ll achieve that Instagram-worthy aesthetic without complicated setup or expensive materials.
Frequently Asked Questions
How Far in Advance Should I Start Planning and Building My Halloween Backdrop?
I recommend starting two to three weeks before your party. This gives you time to gather materials, plan your design, and build without rushing. You’ll feel more relaxed and create something truly stunning.
What’s the Best Way to Secure Backdrops Outdoors Without Damaging Walls or Fences?
I’ve learned that damage-free doesn’t mean boring—it’s actually liberating. I use command hooks, zip ties, and tension rods to secure backdrops safely. They’re removable, reusable, and won’t harm your outdoor spaces.
Can I Reuse Backdrop Elements Year After Year for Different Themes?
I absolutely reuse my backdrop elements year after year. I swap out themed overlays, fabric drapes, and decorative accents while keeping the sturdy frame structure. It’s budget-friendly and sustainable for hosting multiple celebrations.
How Do I Make Backdrops Work With Existing Home Decor Without Clashing?
I treat backdrops like accent pieces in fashion—they should complement, not compete. I choose colors that echo your existing palette, keep props minimal, and position backdrops in unused corners so they enhance rather than overwhelm your natural décor.
What Lighting Techniques Make Backdrops Photograph Best for Social Media Sharing?
I’ve found that soft, diffused lighting from behind your backdrop creates dreamy photos, while front-facing warm LED lights add dimension. Avoid harsh shadows by positioning lights at forty-five-degree angles. Your phone’s portrait mode captures stunning details.