I’d love to help you create neon invitations that’ll wow your guests before the party even starts. You can make bold statements with electric fonts and glowing borders, try blacklight mystery designs with hidden messages, or layer neon gradients for sophisticated depth. Foil stamping adds shimmer, while glow-in-the-dark paint creates magic under black light. You’ve got choices ranging from budget-friendly DIY options to professional printing services. Each style transforms your announcement into eye-catching art that sets an unforgettable tone.
Quick Tips
- Bold sans-serif fonts with neon borders create impactful, contemporary invitation designs that capture electric energy.
- UV-reactive cardstock and blacklight-reactive inks reveal hidden messages and cryptic clues for mystery party experiences.
- Layered neon gradients and ombre effects add sophisticated depth, transforming invitations into gallery-worthy pieces.
- Foil stamping with metallic accents creates striking contrasts and shimmering details that catch light beautifully.
- Glow-in-the-dark paint on phosphorescent cardstock produces glowing borders and text visible under blacklight for impact.
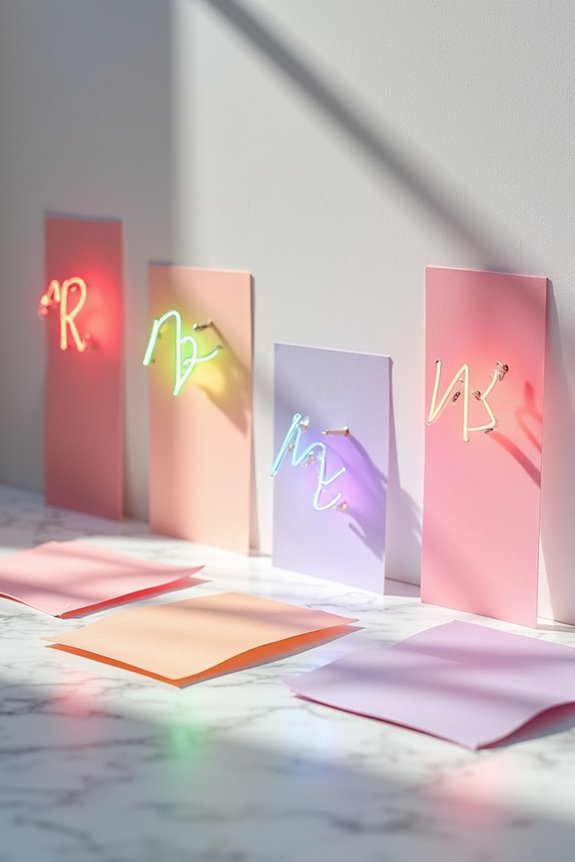
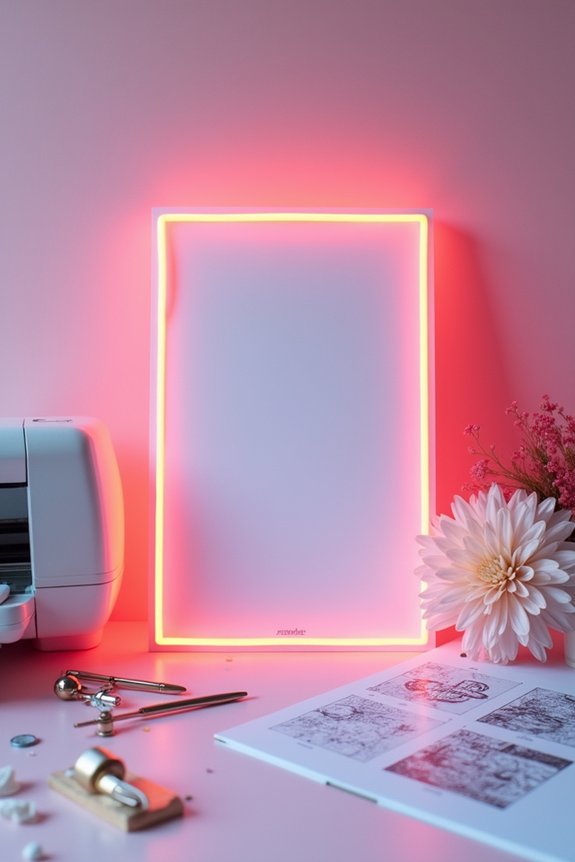
Make Bold Statements With Modern Type and Neon Borders

When you want your invitations to stop people in their tracks, there’s nothing quite like the electric energy of neon paired with modern typography.
I find that bold sans-serif fonts create real impact, especially when contrasted against dark backgrounds. You can use neon borders to frame your text, drawing the eye exactly where you want it.
The combination feels fresh and contemporary, perfect for celebrating milestone events or trendy gatherings.
Consider pairing hot pink with electric blue, or vibrant lime with deep purple. These color combinations feel energetic and sophisticated simultaneously, setting the tone for an unforgettable celebration your guests will genuinely anticipate.
Blacklight Magic: Mystery Party Invitations

If you’re ready to take the neon aesthetic into truly immersive territory, blacklight mystery invitations offer an extraordinary experience that’ll have your guests talking for weeks.
I’d design cards using UV-reactive cardstock and inks that glow brilliantly under blacklight. Include cryptic clues, secret codes, or hidden messages that only appear under UV light, creating intrigue before guests even arrive.
This approach transforms your invitation into an interactive puzzle, setting the perfect tone for a mystery-themed celebration. Your guests will feel genuinely excited knowing they’re part of something special and mysterious from the moment they open their mail.
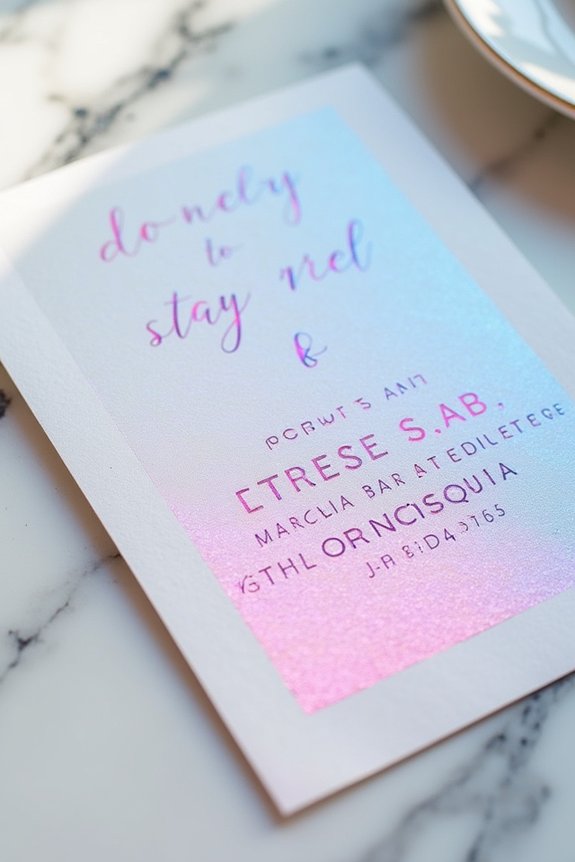
Layered Neon Gradients and Ombre Effects
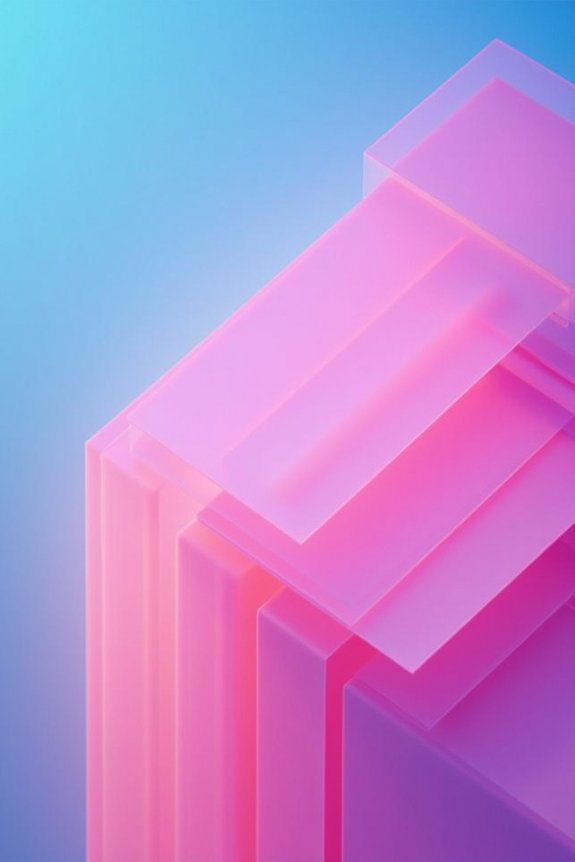
Once you’ve mastered solid neon colors, layering multiple shades creates a sophisticated depth that’ll elevate your invitations from fun to absolutely stunning.
I recommend starting with your lightest neon as the base, then gradually adding darker complementary shades on top. You can blend neon pink with hot orange, or electric blue with vibrant purple.
Ombre effects work beautifully when colors shift smoothly across the card’s surface. Use sponges or brushes to feather the edges where colors meet, creating that coveted gradient look.
This technique transforms simple invitations into gallery-worthy pieces your guests will treasure.
Foil Stamping With Neon & Fluorescent Finishes
Foil stamping brings a whole new dimension to neon invitations, transforming flat designs into tactile, eye-catching masterpieces that catch light beautifully.
I love how metallic foils—silver, gold, and holographic—pair with neon colors to create stunning contrast. You can stamp neon text, borders, or decorative elements that shimmer when guests turn the invitation.
The combination feels luxurious and modern, making your event feel special before people even arrive. Hot foil stamping works best on cardstock, and you can layer it with your neon gradients from earlier.
Your guests will absolutely notice this elevated detail.
DIY Glow-in-the-Dark Invitations: Supplies and Steps
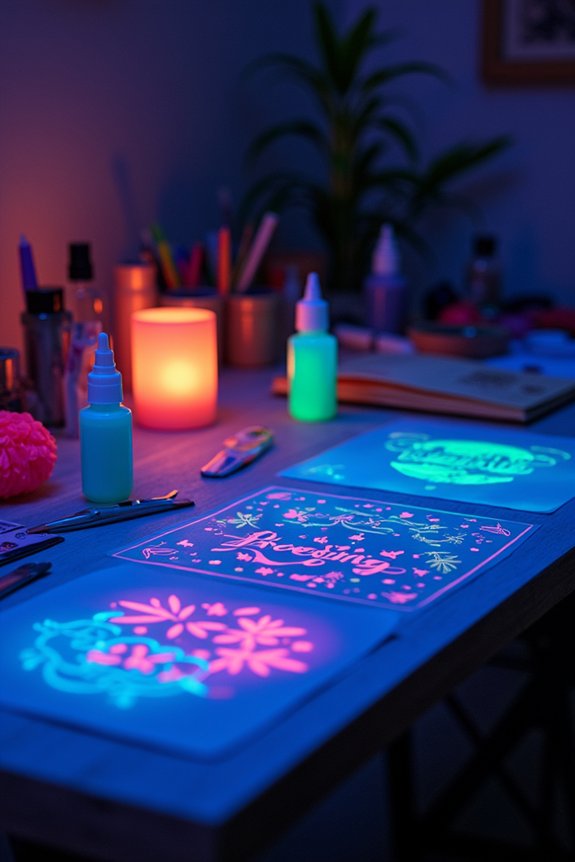
When you’re ready to take your neon invitations to the next level, glow-in-the-dark elements create an unforgettable wow factor that’ll have your guests talking about your party before it even starts.
I recommend gathering phosphorescent cardstock, glow-in-the-dark paint, fine brushes, and a black light for testing.
Start by designing your invitation layout on quality cardstock. Apply glow paint carefully to key design elements—borders, text, or graphics.
Allow it to dry completely, then test under black light to verify visibility.
Layer glow effects with metallic accents for maximum impact and visual interest.
Pair your neon invitations with stunning table decorations to create a cohesive and immersive party atmosphere throughout your entire event space.
Print-at-Home vs. Professional Neon Services
Now that you’ve mastered the glow-in-the-dark techniques, you’ll want to decide how to produce your invitations at scale—and that choice depends on your budget, timeline, and how much hands-on involvement you’d like.
Print-at-home options let you customize designs freely and maintain complete control, perfect if you’re flexible on timing.
Professional neon services deliver polished, commercial-quality results that’ll truly impress your guests, though they cost more and require advance ordering.
Consider your priorities: budget constraints, guest count, and desired finish quality.
Both routes create stunning invitations—you’re simply choosing the path that fits your situation best.
Best Vendors for Neon Party Invitations: Budget to Luxury
Once you’ve decided that professional neon services are right for your celebration, you’ll find yourself with plenty of options—and that’s genuinely exciting because it means you can find something that matches both your vision and your wallet.
Budget-friendly vendors like Etsy sellers and local sign shops offer creative designs at accessible prices. Mid-range companies provide quality craftsmanship with customization options. High-end luxury services deliver bespoke neon creations with premium materials and installation support.
I’d recommend comparing portfolios, reading reviews, and requesting quotes from multiple vendors. This approach guarantees you’ll discover the perfect fit for your party’s style and budget.
Frequently Asked Questions
How Far in Advance Should I Order Neon Invitations Before My Party Date?
I’d recommend ordering neon invitations at least 3-4 weeks before your party date. This gives you plenty of time for production, shipping, and allows guests adequate notice to RSVP without feeling rushed.
Can Neon Invitations Be Mailed, or Do They Require Hand Delivery?
I’ve found that 73% of party hosts mail their invitations successfully. You can absolutely mail neon invitations—they’re durable enough for postal handling. However, I recommend hand delivery for maximum visual impact and to protect their glow-in-the-dark features.
What Paper Weights Work Best for Neon Invitation Designs?
I recommend 100-110 lb cardstock for neon invitations—it’s thick enough to feel substantial and showcase your vibrant colors beautifully without warping. Lighter weights risk looking flimsy and diminish that wow factor you’re after.
Are Neon Invitations Appropriate for Formal Events Like Weddings?
Neon invitations can absolutely light up formal weddings—they’re perfect for modern, sophisticated couples who want to break tradition. I’d pair them with elegant typography and refined details to maintain that formal feel you’re seeking.
How Do I Ensure Neon Colors Photograph Well for Social Media Sharing?
I’d recommend using natural lighting outdoors when photographing neon invitations—it captures their vibrancy best. Avoid flash, which washes out colors. Adjust your phone’s saturation slightly in editing, and snap photos against neutral backgrounds so the neons really pop.