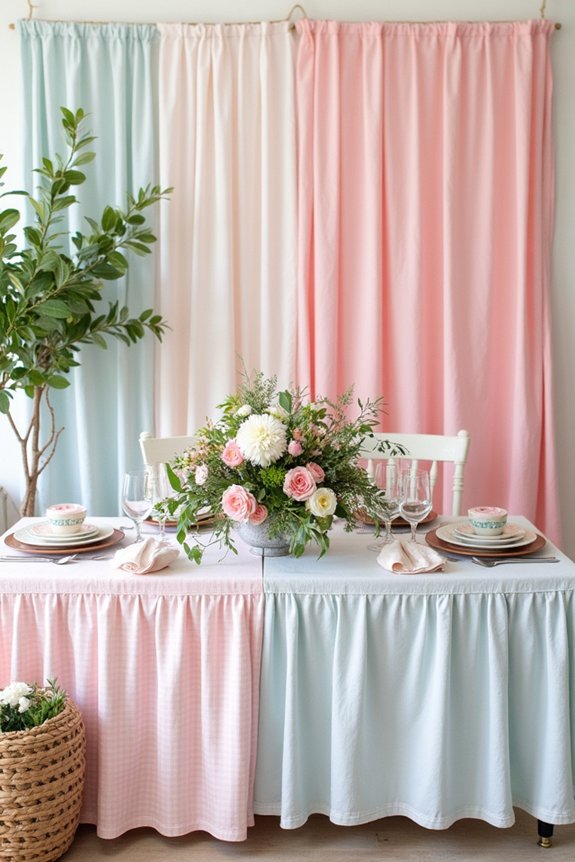
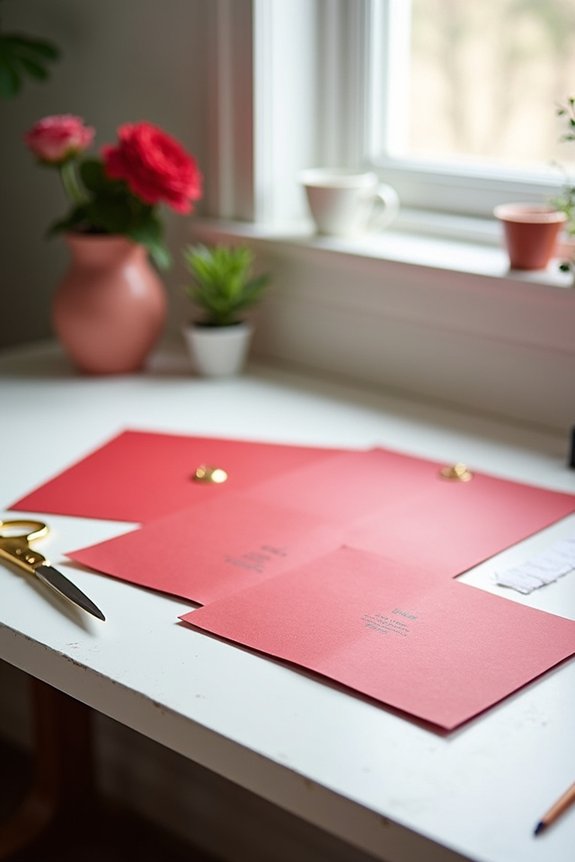
I’d love to help you create eye-catching red party invitations! Start by picking your color—deep burgundy feels elegant, while bright red energizes casual events. Next, use Canva or Adobe Express to customize a template with your fonts and guest details. Choose quality cardstock with a matte or glossy finish to make your invitations shine. Finally, request a proof from your printer, then send invitations three to four weeks before your party. Each step builds toward invitations that’ll have your guests marking their calendars, and there’s much more to discover about making them absolutely unforgettable.
Quick Tips
- Choose red as your base color, complemented by white, gold, silver, navy, or black for visual impact.
- Use design platforms like Canva, Adobe Express, or Minted to customize templates with fonts and graphics easily.
- Include essential details: date, time, location, RSVP information, dress code, and plus-one policies clearly.
- Select cardstock with matte or glossy finish and decide between DIY or professional printing for quality results.
- Request a printer proof to verify colors and details, then send invitations 3-4 weeks before your event.
Design Party Invitations: Choose Your Color and Style

Red is such a powerful choice for a party invitation, and I’m thrilled to help you create something that’ll truly stand out.
When selecting your style, I encourage you to contemplate what mood you’re setting. A deep burgundy feels elegant and sophisticated, perfect for formal dinners or milestone celebrations.
Bright red brings energy and fun, ideal for cocktail parties or holiday gatherings. You’ll also want to think about complementary colors—white creates crisp contrast, while gold or silver adds glamour.
Navy or black pairs beautifully for a modern look. Your color combination sets the entire tone, so choose colors that genuinely reflect your event’s personality and your guests’ expectations.
Select a Template and Design Tool That Fits Your Vision
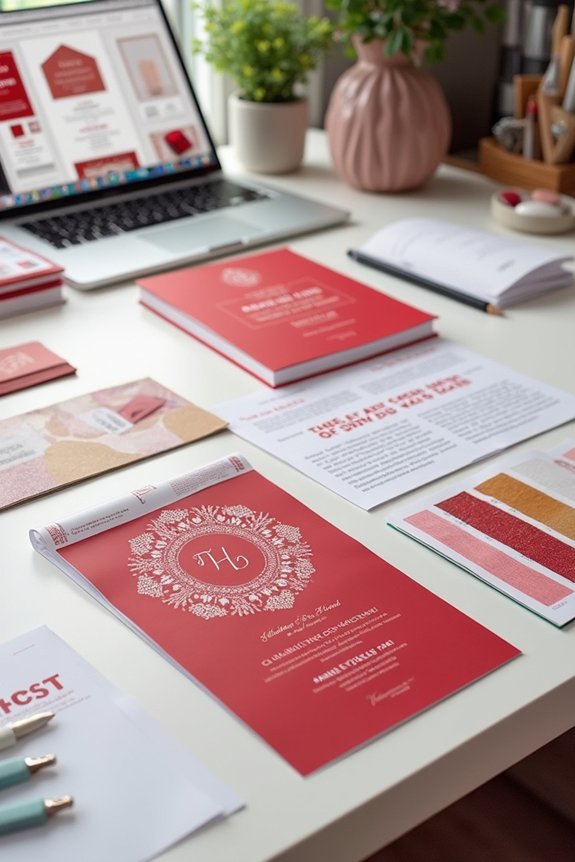
Now that you’ve settled on your color palette and mood, it’s time to find the right tools to bring your vision to life.
I recommend exploring user-friendly platforms like Canva, Adobe Express, or Minted, which offer stunning red invitation templates requiring no design experience.
These tools let you customize fonts, layouts, and graphics easily.
Consider whether you want digital or printable options. Free versions work well for simple designs, while paid subscriptions reveal premium features.
Choose a platform that feels intuitive to you, ensuring your creative process feels enjoyable rather than frustrating as you craft your gorgeous invitations.
Customize Your Text, Fonts, and Guest Information

With your template selected, you’re ready to personalize the details that’ll make your invitations truly yours.
I’d choose fonts that complement your red color scheme—elegant scripts for formal events or modern sans-serif for casual gatherings.
Include essential information: date, time, location, and RSVP details. Consider adding a dress code if relevant, and don’t forget to specify whether guests can bring plus-ones.
Play with font sizes to create visual hierarchy, making important details stand out.
Your guest information should be clear and easy to read, ensuring no one misses vital party specifics.
Decide on Paper Stock and How You’ll Print

Once you’ve perfected your text and design, it’s time to think about the physical feel of your invitations—because the paper you choose will really shape how your guests experience them.
Consider these options:
- Cardstock – Heavier and more luxurious than standard paper, giving your red invitations an upscale feel.
- Matte finish – Reduces glare and creates an elegant, sophisticated appearance.
- Glossy finish – Enhances color vibrancy, making red truly pop.
- DIY printing at home – Budget-friendly, or professional printing services for polished results.
I’d recommend matching your paper choice to your party’s formality level, ensuring your invitations feel as special as the celebration itself.
Proof, Print, and Send Your Invitations
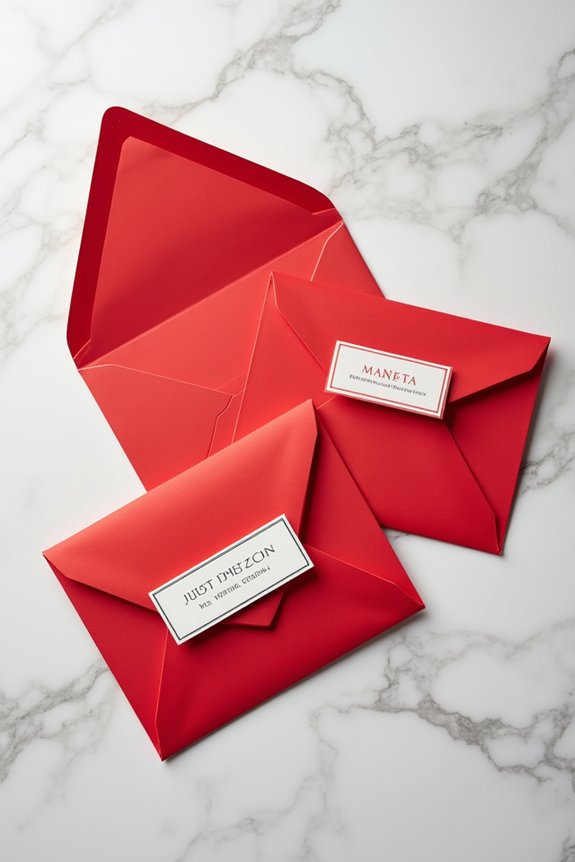
You’re almost there—the final stretch before those gorgeous red invitations land in your guests’ hands!
I recommend requesting a proof from your printer to catch any typos or design mishaps before production begins. Review colors carefully, since red can appear differently on screen versus paper.
Once I’m satisfied with the proof, I’ll approve printing and choose my delivery method. Hand-delivering creates a personal touch, while mailing adds anticipation.
Whichever route I choose, I’ll send invitations three to four weeks before the event, giving guests plenty of time to respond and plan accordingly.
Frequently Asked Questions
What’s the Best Way to Mail Red Invitations Without the Ink Smudging?
I’ve learned the hard way that stuffing wet invitations into envelopes creates modern art. Instead, I let my red cards dry completely, use cardstock (it’s naturally smudge-resistant), and seal envelopes only after 24 hours.
How Far in Advance Should I Send Red Party Invitations to Guests?
I’d suggest sending red party invitations two to three weeks before your event. This gives guests enough time to RSVP and you’ll have their responses to finalize your headcount and planning details.
Can I Use Red Invitations for Casual Events or Only Formal Occasions?
Red invitations work beautifully for both casual and formal events. I’ve used them for laid-back backyard barbecues and elegant dinner parties. The key’s matching your design style—bold graphics for casual, refined typography for formal occasions.
What Envelope Colors Complement Red Invitations Best?
I’ve found that pairing red invitations with crisp white or cream envelopes creates timeless elegance—much like a classic love letter. Gold and black envelopes elevate the drama, while soft blush complements red beautifully for romantic events.
Should I Include RSVP Cards Separately or Print Them on the Invitation?
I’d print your RSVP directly on the invitation’s back for a streamlined look. Separate cards feel formal but add bulk to your envelope. You’ll save time and postage while keeping your red invitation design cohesive and elegant.