

I’ll help you create a vintage backdrop that’ll make your photos absolutely shine. Start by choosing a style that matches your vibe—think Victorian elegance, 1920s Art Deco, or cozy farmhouse charm. Build a sturdy frame using budget-friendly PVC pipes, then layer textures like lace, burlap, and weathered wood for dimension. Position your backdrop near natural light during golden hour, and add decorative touches like vintage frames or fresh flowers. When you explore each element thoughtfully, you’ll discover how they transform your photos into timeless treasures.
Quick Tips
- Choose a vintage era (Victorian, Art Deco, farmhouse, or 1950s) that aligns with your event theme and guest preferences.
- Build a sturdy PVC pipe frame and drape with quality vintage fabric, avoiding overcrowding with excessive decorative elements.
- Layer textures like lace, burlap, velvet, and weathered wood to create depth and authenticity in photographs.
- Position the backdrop near windows for golden hour natural light, or use soft artificial lighting to minimize harsh shadows.
- Accessorize strategically with vintage frames, fresh flowers, and greenery while ensuring adequate spacing so each element stands out.
Choose Your Vintage Backdrop Style

The beauty of vintage backdrops lies in their flexibility—you can lean into any era that speaks to you and your celebration’s vibe. I encourage you to explore what resonates most.
Are you drawn to Victorian elegance with ornate frames and lace? Perhaps 1920s Art Deco appeals to you with geometric patterns and gold accents?
Maybe you’d prefer rustic farmhouse charm featuring weathered wood and burlap? Or you could embrace retro 1950s fun with bright colors and playful patterns.
Each style carries its own personality. Consider your event’s theme, your venue, and your guests’ preferences when selecting your direction.
Avoid Common Backdrop Mistakes Before You Build
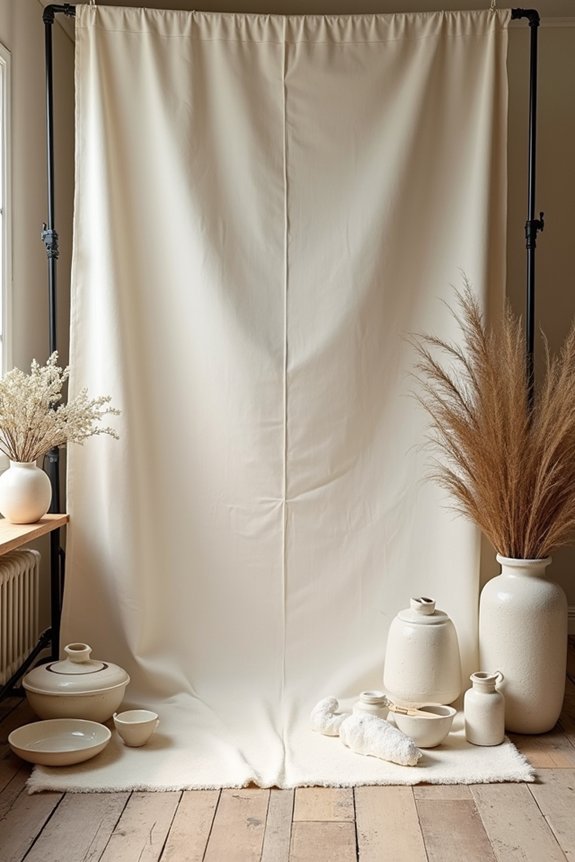
Before you commence construction, let me share the pitfalls that can turn your vintage vision into a frustrating project.
Don’t skip measuring your space—this prevents awkward sizing that photographs poorly. Avoid flimsy materials that wobble under lighting or camera movement. Don’t overcrowd your backdrop with too many decorative elements; they’ll compete for attention in photos.
Skip cheap fabric that wrinkles easily or fades under flash. Don’t forget to test your backdrop’s stability before your event.
Finally, avoid choosing colors that clash with your overall party theme. These thoughtful decisions guarantee your backdrop looks polished and photograph-ready.
Build Your Backdrop Structure on a Budget

You don’t need to spend a fortune to create a stunning vintage backdrop that’ll make your guests say “wow.”
Three simple materials—PVC pipe, fabric, and basic hardware—form the foundation of a sturdy, affordable structure that you can build in an afternoon. I’d start by measuring your space, then grab PVC pipes from any hardware store to create a rectangular frame.
Connect them with elbow joints and T-connectors, which cost just a few dollars. Drape vintage fabric, lace, or even old bedsheets across the frame. Add string lights or greenery for extra charm.
This approach gives you professional results without breaking your budget.
Mix Textures and Materials That Photograph Well

Layering different textures transforms a flat backdrop into something that captures light beautifully and draws the eye in photos.
I recommend combining lace, burlap, velvet, and weathered wood to create visual interest. Sheer fabrics add softness and allow light to filter through, while rough textures like exposed brick or aged metal provide contrast.
Vintage quilts, linen sheets, and ornate frames work wonderfully together. The key is balancing smooth and textured elements so nothing overwhelms your photos.
When textures interact with natural or artificial light, they create depth and dimension that makes your backdrop feel authentic and inviting. Consider incorporating garden party favors into your backdrop styling to add personalized touches that reflect your event’s theme.
Light Your Backdrop for Picture-Perfect Photos

All those beautiful textures and layers you’ve created need the right light to truly shine in your photos, and this is where many people stumble.
Natural light works wonderfully for vintage backdrops, so I’d position your setup near a window during golden hour for that warm, flattering glow.
If you’re shooting indoors without great natural light, soft artificial lighting prevents harsh shadows that can hide your carefully chosen details. You can use affordable LED panels or even string lights to add dimension.
The key is avoiding direct, bright light that washes out colors and flattens your vintage aesthetic. Consider incorporating gender reveal party themes into your backdrop design to create a cohesive visual that photographs beautifully under proper lighting.
Finish With Styling and Decorative Details
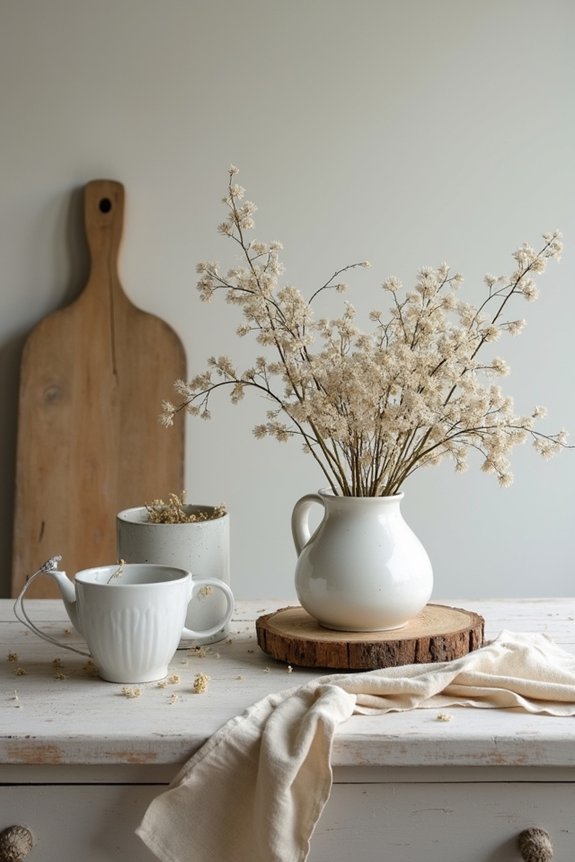
The magic happens when I add those final touches that transform a simple backdrop into something truly memorable. I layer in decorative elements that catch the light and draw attention:
- Vintage props like old frames, mirrors, or antique books create depth and interest.
- Fresh flowers or greenery soften the scene and add natural beauty.
- Delicate string lights or candles introduce warmth and ambiance.
I choose pieces that complement my color palette rather than compete with it.
Spacing matters too—I avoid crowding items so each element shines.
These thoughtful details elevate your photos from ordinary to stunning, making every celebration feel special and intentional. For guests departing, consider selecting farewell party favors that echo your backdrop’s vintage aesthetic and create lasting memories.
Frequently Asked Questions
How Much Space Do I Need to Create an Effective Vintage Backdrop?
I’d recommend you dedicate at least 4×6 feet for an effective backdrop. You’ll want enough space so guests can step back comfortably for photos without feeling cramped or bumping into decorations.
Can I Reuse My Vintage Backdrop for Multiple Events or Parties?
I design my vintage backdrops so you’ll reuse them for multiple events. You can swap out accessories, adjust lighting, and rearrange props to create entirely different looks from the same backdrop framework.
What Camera Settings Work Best for Photographing Against Vintage Backdrops?
I’d recommend using a lower aperture (f/2.8-f/5.6) to soften your backdrop while keeping your subject sharp. Shoot in natural light when possible, and bump your ISO slightly if you’re indoors. You’ll capture gorgeous, flattering photos.
How Do I Transport and Store a Homemade Vintage Backdrop Safely?
I treat my backdrop like a treasured heirloom—rolling it loosely around acid-free tissue, securing it with soft cotton ties, then storing it flat in a climate-controlled space. This protects the vintage charm you’ve carefully crafted.
Should I Hire a Professional or DIY My Vintage Backdrop Setup?
I’d say it depends on your budget and vision. DIY saves money and gives you creative control, but professionals handle logistics and lighting expertise. Choose DIY if you’re crafty and patient; hire help if you want stress-free results.


