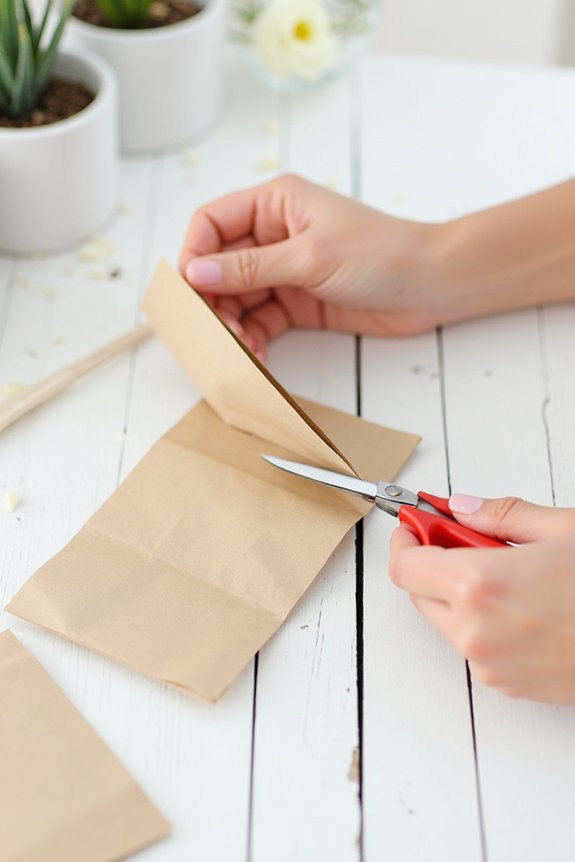
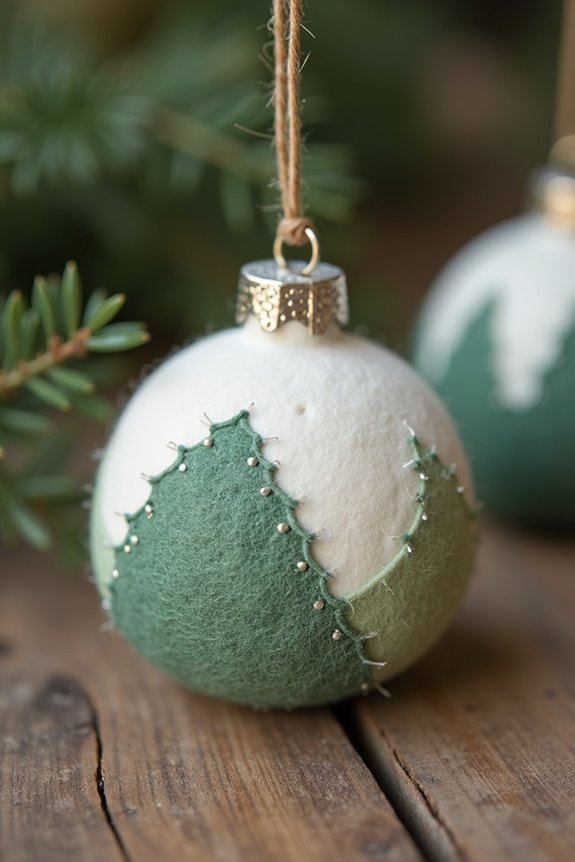
I can help you create beautiful felt ornaments that’ll make your tree shine! Start with colorful felt sheets, scissors, and a hot glue gun—you’ve got everything you need. Layer your felt pieces, add sparkly sequins or beads for pizzazz, and attach a secure loop for hanging. Choose classic reds and greens or modern jewel tones based on your style. Whether you craft snowflakes, stars, or circles, each ornament becomes uniquely yours. Personalize them with names and dates for extra meaning, then store them carefully year after year. The designs and techniques ahead will inspire your creativity.
Quick Tips
- Cut felt into desired shapes like snowflakes or stars, then layer pieces together with embellishments for dimension.
- Choose felt colors reflecting personal style—classic deep reds and greens or modern whites and jewel tones work well.
- Attach a secure loop at the top using needle and thread to ensure your ornament hangs properly.
- Add sequins, beads, and googly eyes between stitches while assembling for personalized, decorative details.
- Personalize ornaments with names, dates, or initials using embroidery or fabric paint for sentimental keepsakes.
What You’ll Need: Felt, Scissors, and Simple Supplies
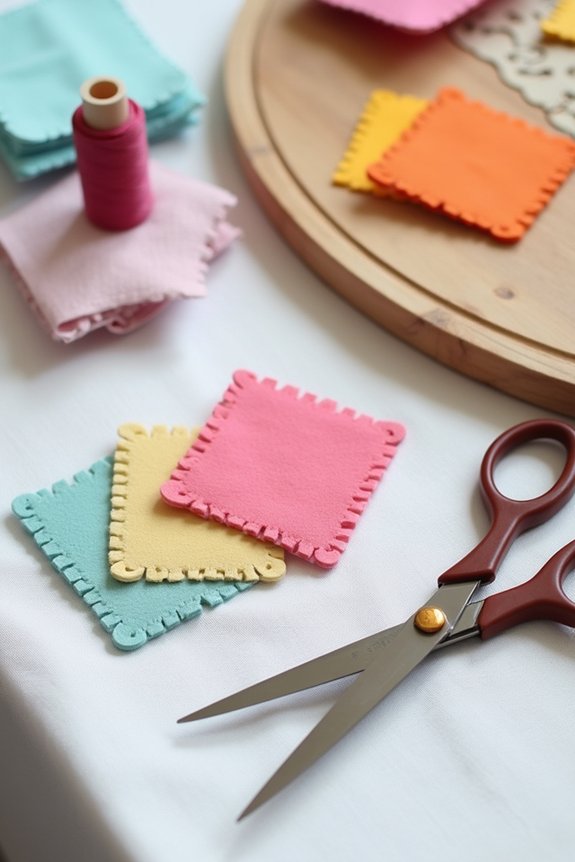
The beauty of DIY Christmas decorations? You probably already have most supplies at home. Gather colorful felt sheets, sharp scissors, and a hot glue gun—these form your foundation.
Add embellishments like sequins, beads, and googly eyes to bring ornaments to life. A needle and thread work perfectly for hanging loops. Consider metallic markers for detailed designs and cotton balls for fluffy accents.
Basic supplies like ruler and pencil help you sketch patterns before cutting. You’ll also want newspaper to protect your workspace.
This straightforward collection transforms into stunning, personalized decorations that reflect your style and creativity beautifully.
Choose Your Felt Colors and Textures
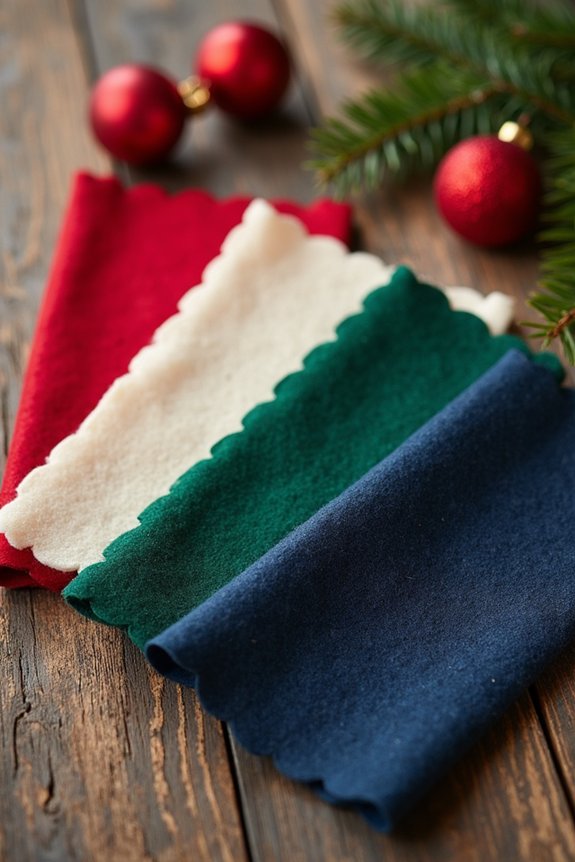
Now that you’ve got your supplies ready, it’s time to pick the felt colors and textures that’ll make your decorations truly yours.
I love thinking about classic Christmas palettes—deep reds, forest greens, and gold create that timeless warmth. But don’t be afraid to go modern with whites, silvers, and jewel tones.
Consider mixing matte and glittery felt for visual interest. Textured felt adds dimension that catches light beautifully. Choose colors that match your home’s style and the mood you’re creating.
Your felt selection sets the entire tone for these handmade ornaments, so pick shades that make you smile.
Step-by-Step: Creating Your First Felt Ornament
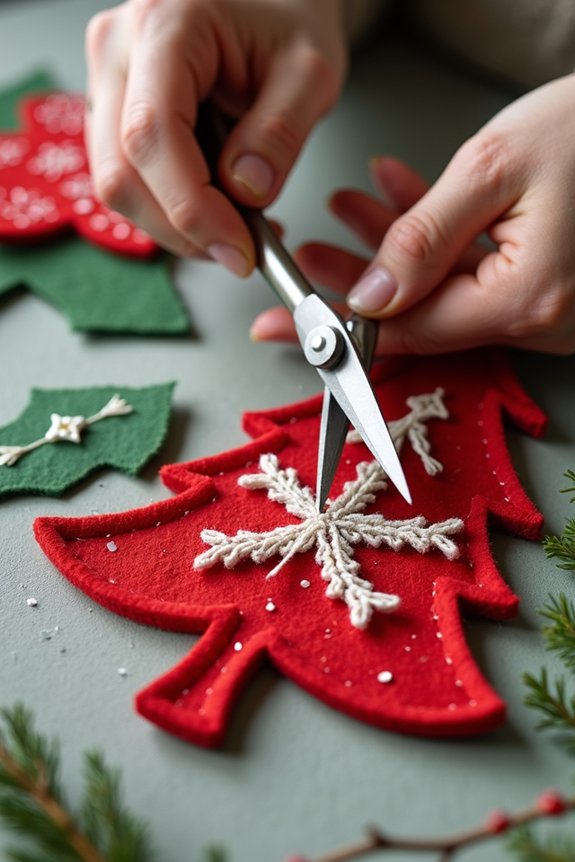
Three simple steps are all you need to transform your felt and supplies into a beautiful ornament you’ll treasure.
First, I’ll cut my felt into your desired shape—a snowflake, star, or circle works wonderfully.
Next, I’ll layer pieces together, adding embellishments like sequins, beads, or embroidery thread for dimension.
Finally, I’ll attach a loop at the top using needle and thread, ensuring it’s secure enough to hang safely on your tree.
Each ornament becomes uniquely yours, reflecting your personal style and creativity through thoughtful design choices.
Fill, Shape, and Stitch Your Ornament Together
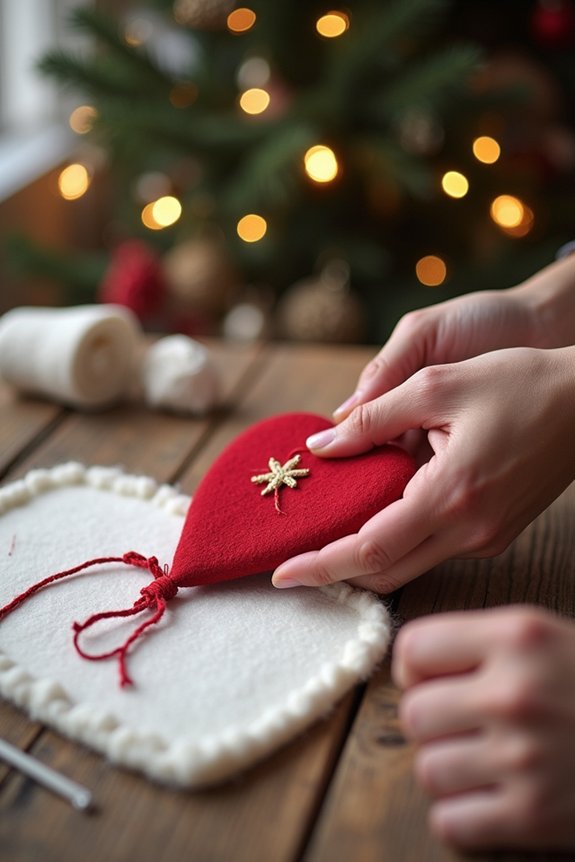
Once you’ve gathered your felt pieces and embellishments, it’s time to bring your ornament to life by assembling them into a cohesive, beautiful creation.
I’ll layer my felt pieces, positioning them exactly how I want them to look. Using a needle and matching thread, I’ll stitch around the edges with small, even stitches, securing each layer together.
As I work, I’ll add embellishments like sequins or beads between stitches for extra sparkle. Before closing completely, I’ll insert a small amount of fiberfill to give my ornament gentle dimension and shape.
Finally, I’ll stitch the opening closed with careful, invisible stitches, creating a polished, finished piece.
Add Loops and Hangers (Three Easy Methods)
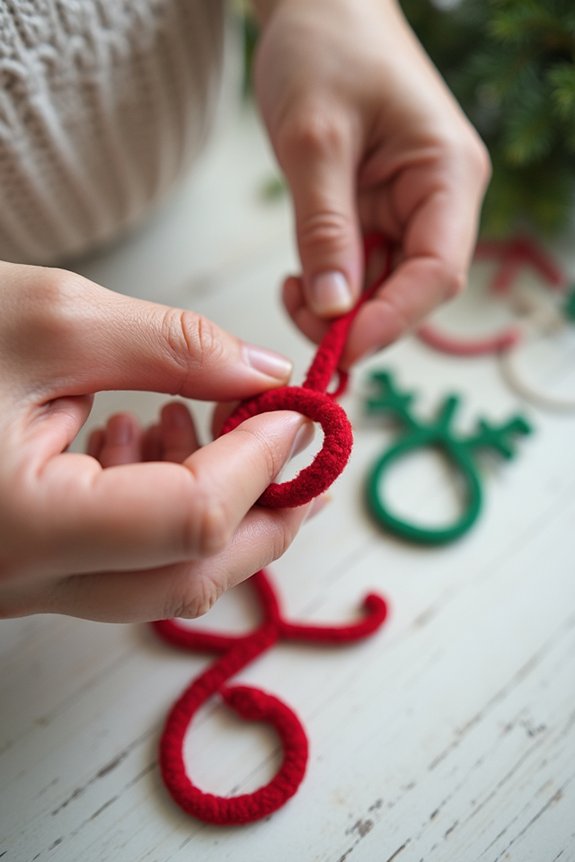
Your ornament needs a way to hang on the tree, and I’m excited to share three simple methods that’ll work beautifully with whatever materials you’ve chosen.
The first option uses embroidery floss—thread a needle, push it through the top, and tie a knot inside.
For a sturdier approach, I’d suggest a small ribbon loop, stitched securely with matching thread.
Finally, you can glue a thin metal ornament hook directly to the felt using craft adhesive.
Each method takes just minutes and holds your ornament safely.
Pick whichever feels easiest for you!
Five Easy Felt Ornament Designs to Try Next
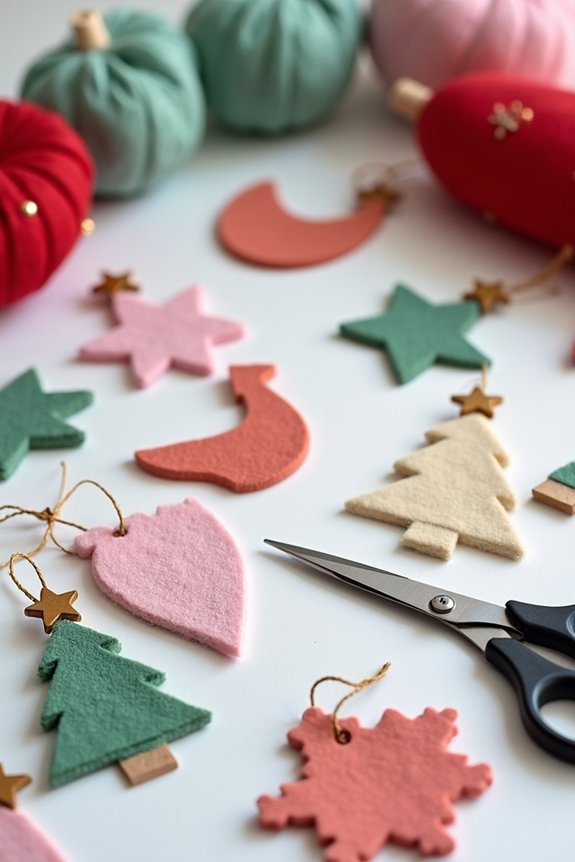
Now that you’ve mastered the basics, it’s time to get creative with designs that’ll make your tree truly special.
I’d love to share five ornaments you can easily craft. Start with simple circles layered in contrasting colors for a modern look.
Try cutting snowflakes from white felt using basic scissors—they’re forgiving and gorgeous.
Create candy canes by gluing red and white strips together in a curve.
Make little stockings from two felt pieces sewn together, then stuff them with fiberfill.
Finally, attempt a simple star by stacking triangular felt pieces.
Each design takes minutes and delivers stunning results.
Skip These Common Felt Ornament Mistakes
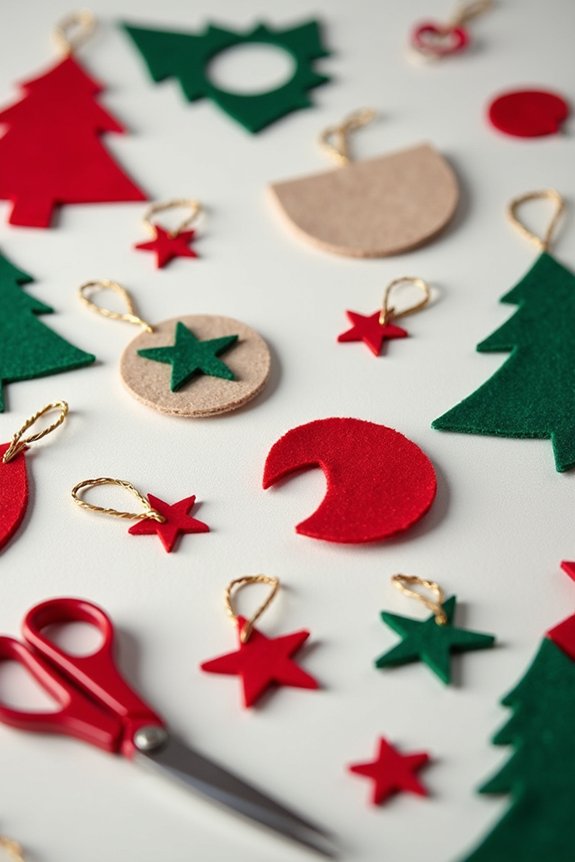
While felt ornaments seem foolproof, a few common pitfalls can keep them from looking polished and professional.
I’d recommend avoiding overstuffing your ornaments, which makes them lumpy and difficult to close properly.
Don’t skip the glue gun—it creates stronger seams than regular craft glue.
I also suggest choosing quality felt, as cheaper versions pill and fray easily.
Be careful not to mix your thread colors visibly on the outside; match it to your felt instead.
Finally, I encourage you to let glue dry completely before handling.
These small adjustments transform your ornaments from homemade to gallery-worthy.
Personalize Your Ornaments With Names and Dates
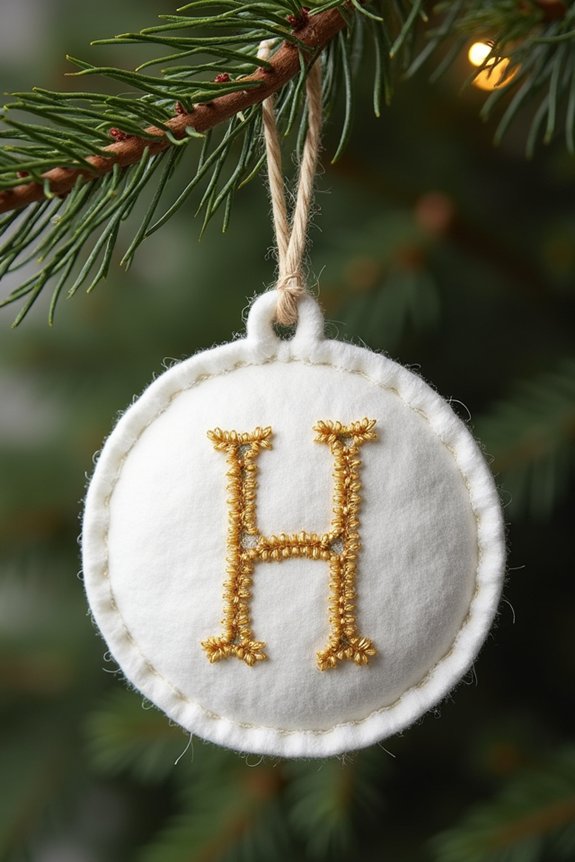
Adding names and dates transforms felt ornaments from beautiful decorations into meaningful keepsakes that’ll tell your family’s story for years to come.
I love how personalization deepens the sentimental value of handmade pieces. Consider these ways to customize:
- Embroider names and dates directly onto felt using colorful thread
- Add initials with fabric paint for a modern touch
- Include special years to commemorate milestones and memories
- Layer names on coordinating felt pieces for visual interest
These personalized ornaments become treasured heirlooms your family will cherish.
Each year, you’ll hang them and remember exactly who made them and when.
That’s the magic of handmade decorations—they connect us to the people we love most.
Store and Display Your Handmade Ornaments
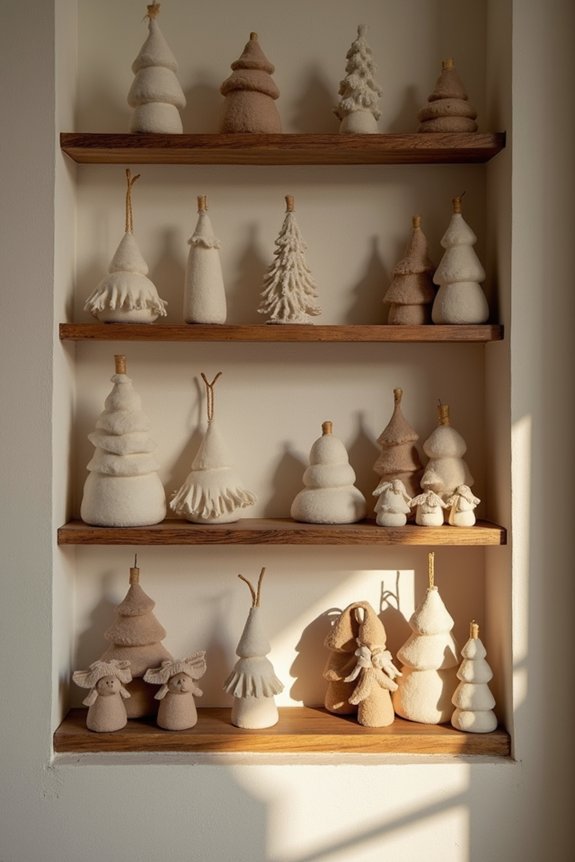
Your handmade ornaments deserve the same care you put into creating them, which is why thoughtful storage and display matter so much.
I recommend using divided ornament boxes with padded compartments to keep pieces safe from breaking. Wrap delicate ornaments in tissue paper for extra protection.
During the year, display your favorites on a shelf or in a shadow box where you’ll see them daily. Rotate seasonal pieces to keep your décor fresh.
Label boxes by year or theme so you’ll easily find what you need next December. This approach transforms your creations into treasured keepsakes your family will cherish for years.
Frequently Asked Questions
Can I Make Felt Ornaments With Kids, and What’s the Appropriate Age?
I’ve found felt ornaments work beautifully with kids ages four and up. Younger children enjoy gluing and decorating, while older kids can handle cutting. You’ll want to supervise closely with preschoolers, but it’s totally manageable and fun!
How Long Do Handmade Felt Ornaments Typically Last Before Deteriorating?
I’ll let you in on a funny secret: felt ornaments I’ve made last surprisingly well—often 5-10 years if you store them properly in a cool, dry place. You’d think they’d fall apart immediately, but they’re tougher than they look.
What’s the Best Adhesive for Felt if I Prefer Not Stitching?
I recommend fabric glue or hot glue for felt ornaments if you’re skipping stitches. Fabric glue creates permanent bonds and dries clear, while hot glue works quickly. I’ve found both hold beautifully through multiple holiday seasons.
Can I Use Felt Scraps From Other Projects for These Ornaments?
Craft enthusiasts repurpose over 60% of their leftover materials annually. I absolutely recommend using felt scraps—they’re perfect for ornaments! Mix colors and textures to create unique, budget-friendly decorations that showcase your creativity.
Are Felt Ornaments Safe for Pets and Homes With Curious Animals?
I’d recommend using caution with felt ornaments around pets. While felt’s generally safe, I’d avoid small embellishments like beads or buttons that pets could swallow. I’d hang these ornaments higher on your tree where curious animals can’t reach them.