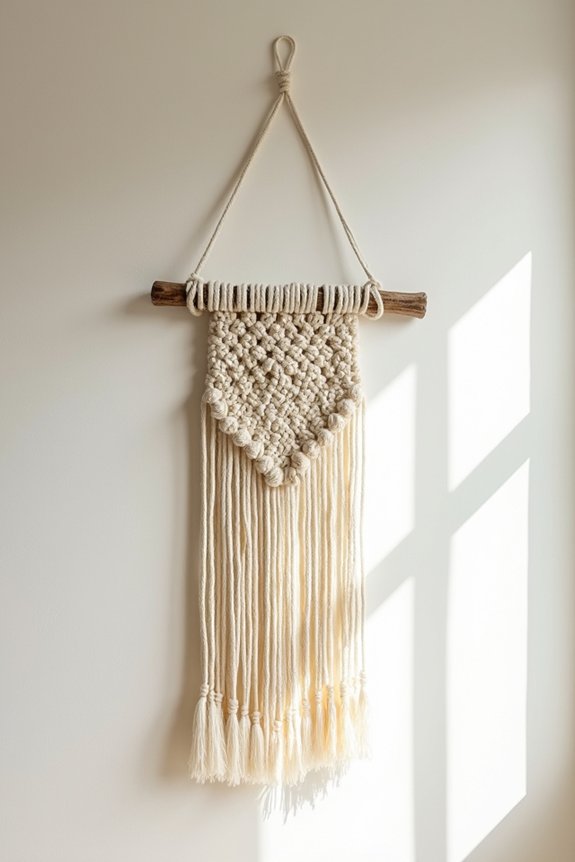
I can help you create a stunning macramé wall hanging that brings authentic boho style into your space. You’ll need cotton or jute cord, a wooden dowel, scissors, and measuring tape—nothing fancy required. Start by learning three essential knots: the square knot, half hitch, and lark’s head knot. Then fold your cord strands over the dowel and begin tying, spacing your knots intentionally as you work down. The real magic happens when you add beads, natural dyes, or experiment with different textures to match your vision perfectly.
Quick Tips
- Cotton and jute cords are ideal for beginners creating boho macramé wall hangings with natural, authentic textures.
- Master square knots, half hitch knots, and lark’s head knots to build foundational macramé patterns effectively.
- Fold cord strands over a wooden dowel and tie knots with consistent spacing for professional results.
- Personalize designs by adding beads, natural dyes, and varied textures to enhance visual interest and uniqueness.
- Create fringe or tapered finishes at the bottom to complete your boho wall hanging decoration.
What You’ll Need: Materials & Tools for Macramé Wall Hangings
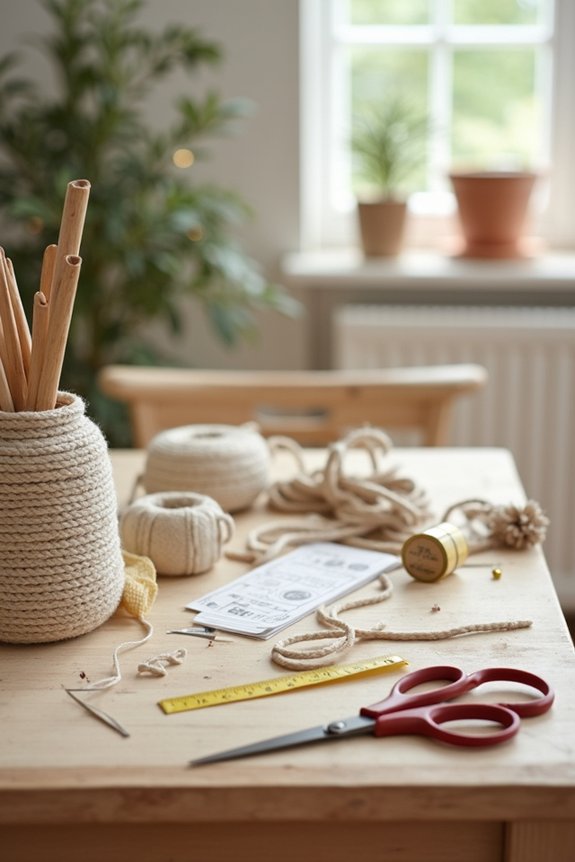
Before you tie your first knot, gathering the right materials and tools will set you up for success—and make the whole process feel more manageable.
I’d recommend starting with cotton or jute cord in various thicknesses—these work beautifully for beginners. You’ll need scissors for clean cuts, a measuring tape for consistent sections, and painter’s tape to secure your work. A wooden dowel or branch serves as your hanging rod.
I also suggest having a small notebook nearby to sketch patterns, plus good lighting to see your knots clearly. With these essentials assembled, you’re ready to create something stunning.
Choosing Your Cord: The Right Rope for Your Project
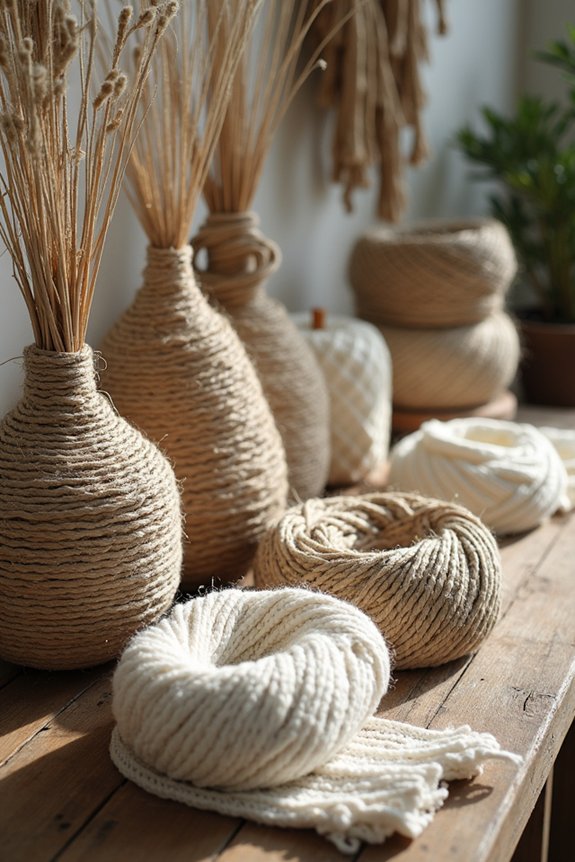
The cord you choose makes all the difference in how your macramé wall hanging turns out, so I want to help you pick the perfect one.
Cotton cord works beautifully for beginners because it’s affordable and forgiving.
Jute creates an authentic boho feel with natural texture, though it can be rougher on your hands.
Synthetic options like polyester offer durability and come in countless colors.
Consider your wall hanging’s size and weight—thicker cords work best for larger projects.
Think about the aesthetic you’re creating and how the texture complements your space.
Your choice truly shapes the final result.
Master Essential Macramé Knots
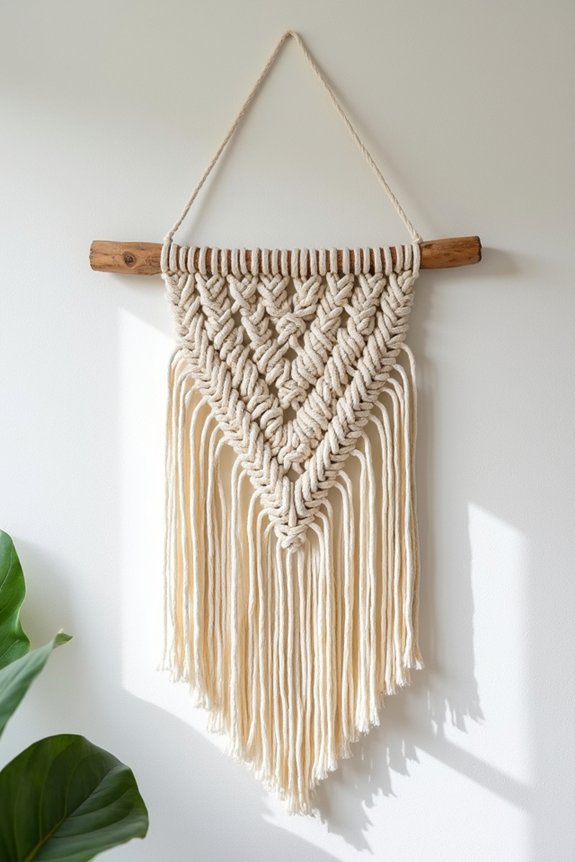
Just a handful of knots open endless possibilities for your boho wall hangings, and I’m excited to walk you through them.
The square knot forms the foundation of most macramé projects, creating those beautiful geometric patterns you love. The half hitch knot adds texture and movement, perfect for flowing sections. The lark’s head knot secures your cord to the dowel, anchoring everything perfectly.
I recommend practicing each knot separately before combining them. Start slowly, focusing on consistent tension as you tie.
These three essential knots open countless design combinations for your personalized boho masterpiece.
Create Your First Wall Hanging: A Step-by-Step Guide
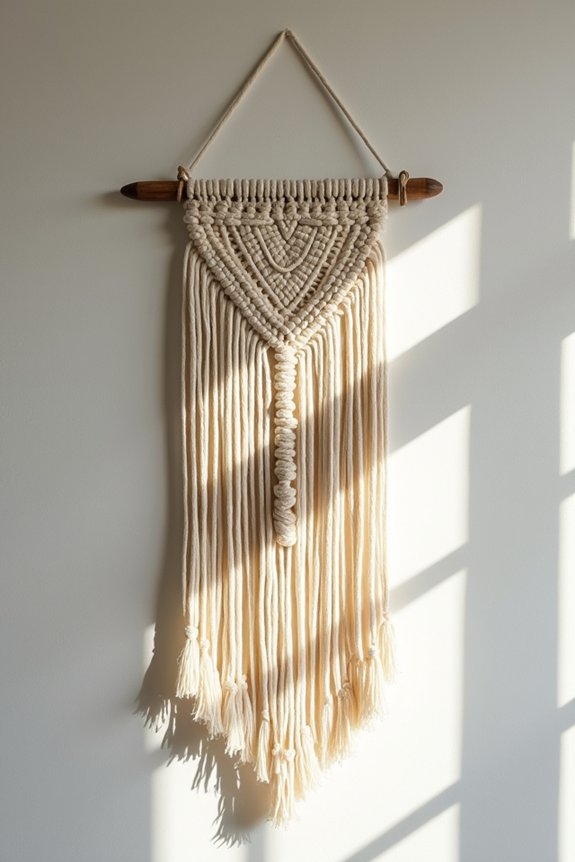
Now that you’ve mastered those foundational knots, you’re ready to put your skills into action and create something beautiful.
I’ll walk you through making your first wall hanging, and I promise it’s easier than you think.
Start by selecting a wooden dowel or branch, then cut your cord into eight strands of equal length.
Fold them in half over your dowel, creating sixteen working strands.
Begin with square knots, spacing them intentionally down the length. Gradually taper your design by reducing the number of knots as you descend.
Finish with a simple fringe or tapered point.
You’ve created a stunning focal point for any room.
Personalize Your Design: Beads, Dye & Finishes
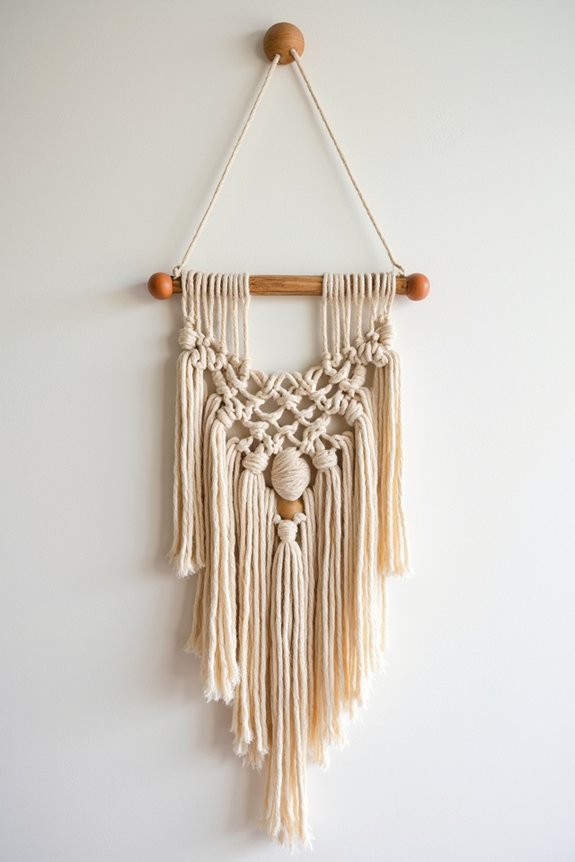
Once you’ve created your basic wall hanging, you can transform it into something uniquely yours by adding beads, dyeing your cord, or experimenting with different finishes.
I love threading wooden or metal beads onto strands before knotting—they catch light beautifully and add dimension.
Natural dyes like coffee or tea create warm, earthy tones that feel authentically boho.
You might also consider macramé cord in different textures: jute feels rustic, while cotton offers softness.
These personalization choices let your style shine through, making your wall hanging truly one-of-a-kind and perfectly suited to your space and aesthetic vision.
Display Your Finished Piece: Placement & Styling
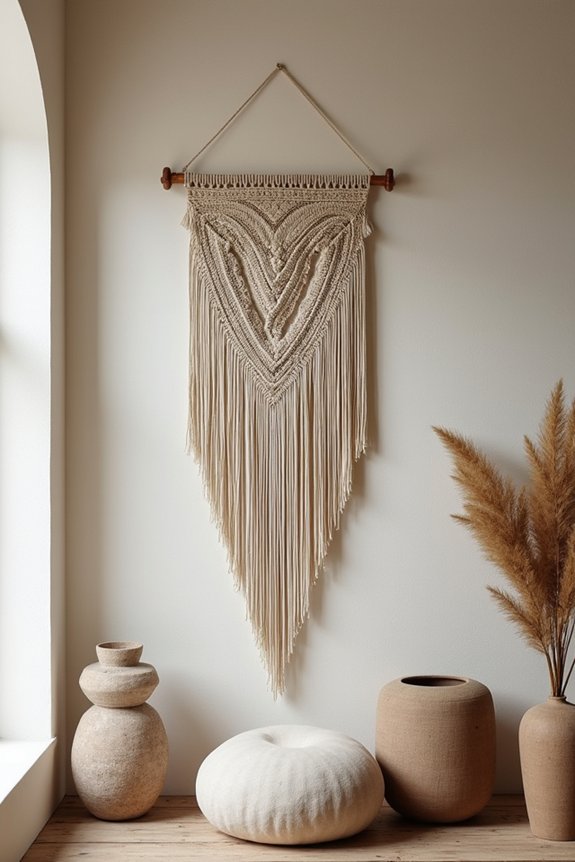
Your finished macramé wall hanging deserves a home that showcases its beauty and complements your space.
I’d hang it where natural light can highlight its texture and knots. Consider blank walls above furniture, entryway spaces, or gallery arrangements with complementary pieces.
The size matters—larger hangings work beautifully as statement pieces in living rooms, while smaller ones fit perfectly in bedrooms or bathrooms.
I’d pair yours with plants, mirrors, or simple frames to create a cohesive boho aesthetic.
Think about wall color too; lighter walls make intricate knots pop, while darker walls offer dramatic contrast.
Trust your instincts about placement.
Frequently Asked Questions
How Long Does It Typically Take to Complete a Macramé Wall Hanging for Beginners?
I’d just finished my first macramé wall hanging when a friend asked how long it took—turns out, I’d spent about four to six hours on it. As a beginner, you’ll likely need that timeframe, though simple designs can finish faster.
Can I Machine Wash Macramé Wall Hangings, or Do They Require Special Cleaning?
I’d recommend hand washing your macramé wall hangings instead of using the machine. Gently soak them in lukewarm water with mild soap, rinse thoroughly, and air dry flat to preserve their texture and knots.
What’s the Best Way to Fix Mistakes in Macramé Knots Without Starting Over?
I’ve found that gently loosening the knot with a crochet hook, then retying it works best. For major mistakes, I unravel back to before the error and redo that section. It’s faster than restarting completely.
How Do I Prevent My Macramé Wall Hanging From Unraveling or Fraying Over Time?
I’ll seal your macramé’s edges with clear fabric glue or fray check along all cut ends. You’ll also want to tie secure knots at your piece’s base and periodically tighten any loose strands you notice.
Are There Budget-Friendly Alternatives to Expensive Macramé Cord for Practice Projects?
I’ve tested this myself: cotton twine, jute cord, and even old t-shirt strips work beautifully for practicing macramé knots. You’ll save money while mastering techniques before investing in premium cord for your final pieces.