I’ll help you craft invitations that capture your celebration’s spirit in five simple steps. First, I choose a format—digital for casual vibes or printed cards for formal events. Next, I select two or three colors and readable fonts that match my theme. Then, I write copy that reflects the party’s personality while including essential details. I arrange everything clearly with white space and hierarchy. Finally, I send invitations and track responses using tools like Google Forms or spreadsheets. Each step builds momentum toward a gathering your guests will cherish.
Quick Tips
- Choose your invitation style—digital for casual gatherings or printed cards for formal milestone celebrations—based on guest count and budget.
- Select two to three coordinating colors and pair decorative fonts with simple, readable ones to reflect your party’s theme.
- Include essential details: date, time, location, RSVP deadline, dress code, and any relevant activity or dietary restriction information.
- Organize layout by grouping party details at top, date/time/location in middle, and RSVP information at bottom with ample white space.
- Track RSVPs efficiently using digital tools like Google Forms or a spreadsheet, then follow up two weeks before the event.
Pick Your Invitation Style and Format
Before you worry about the wording or design details, you’ll want to decide what type of invitation actually fits your party best.
Digital invitations work wonderfully for casual gatherings and offer eco-friendly convenience. Printed cards suit formal events, milestone celebrations, and create lasting keepsakes.
I’d consider your guest list size, budget, and party vibe when choosing. Think about your theme too—a whimsical bridal shower might call for colorful cardstock, while an elegant dinner party deserves something sophisticated.
Your invitation format sets the tone, so pick one that genuinely reflects your celebration’s personality and your guests’ expectations.
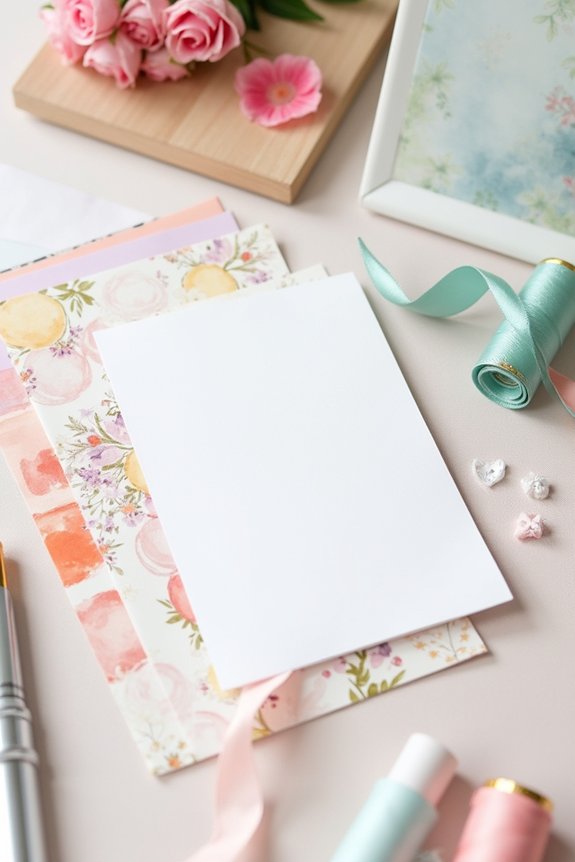
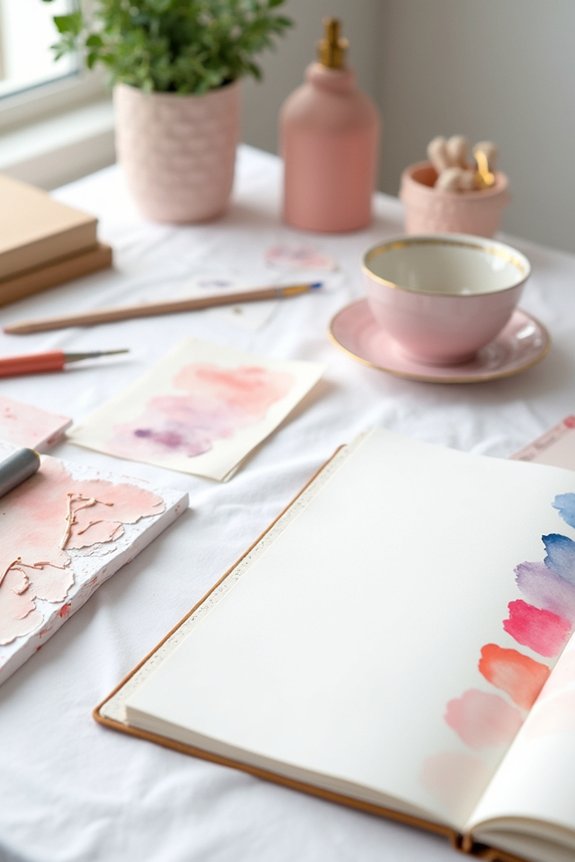
Select Your Colors, Fonts, and Guest List Details
Now that you’ve chosen your invitation format, it’s time to bring it to life with colors and fonts that match your party’s personality.
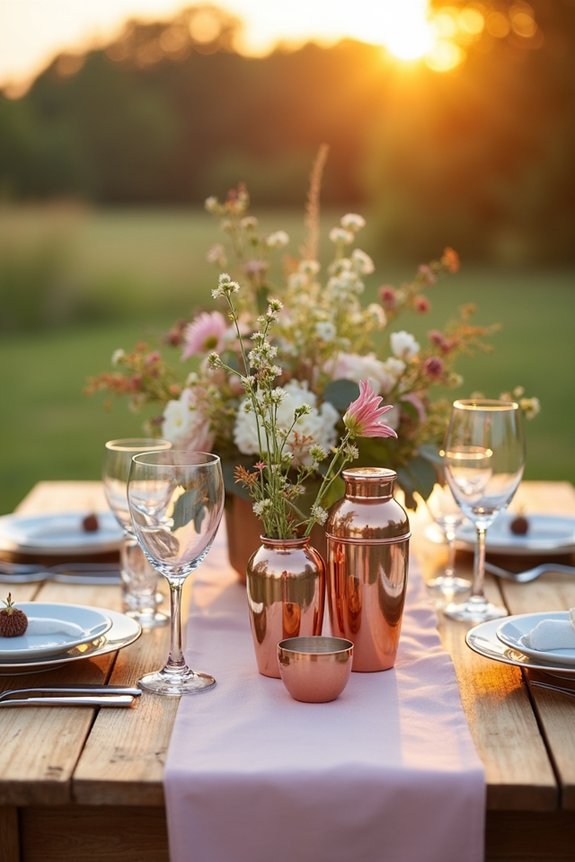
I’d recommend selecting two or three colors that reflect your theme—pastels for bridal showers, bold jewel tones for cocktail parties, or warm metallics for elegant dinners.
Choose fonts that are easy to read; pair a decorative font for your headline with a simple one for details.
Don’t forget essential information: date, time, location, RSVP deadline, and any dress code.
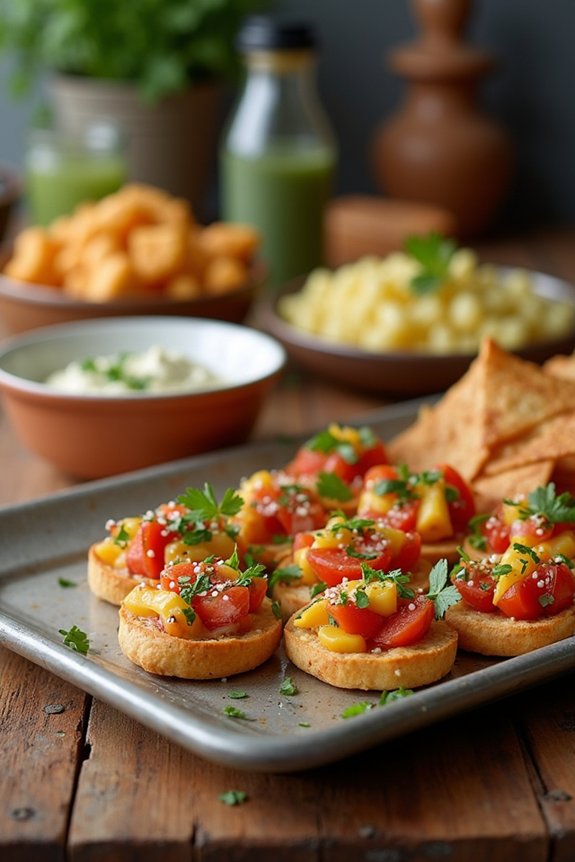
Include dietary restrictions or activity details if relevant to your celebration.
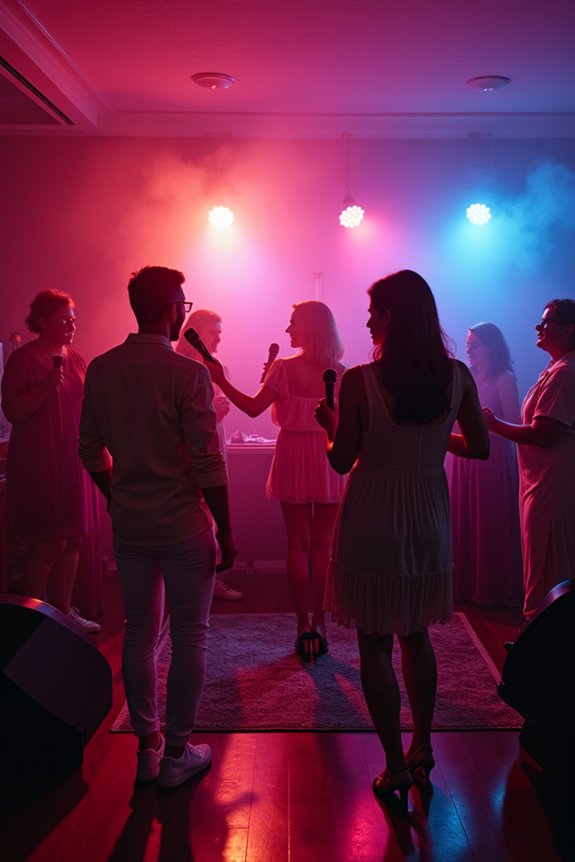
Explore various cocktail party themes to ensure your invitation design aligns with your chosen aesthetic and sets the right tone for your guests.
Write Copy That Sets the Tone
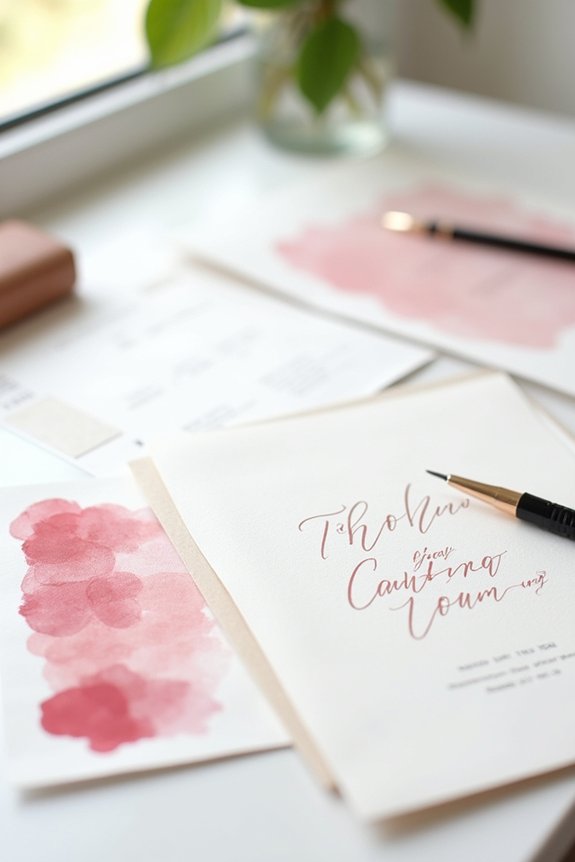
Your invitation’s words are just as important as its design—they set the mood for your entire celebration.
I’d encourage you to choose language that matches your party’s vibe. A formal dinner needs elegant phrasing, while a casual brunch works better with friendly, conversational tone.
Include essential details clearly: date, time, location, and RSVP information. Share your celebration’s purpose too—whether it’s a milestone birthday or intimate gathering.
Your wording creates the first impression, so pick words that genuinely reflect what guests can expect. This thoughtfulness transforms a simple invite into an exciting preview of the joy ahead.
Design Your Invitation Layout for Clarity and Impact
Once you’ve crafted words that capture your party’s spirit, the layout is what makes guests actually *read* them.
I organize invitations by grouping related information together: party details at the top, followed by date, time, and location in the middle section, then RSVP information at the bottom.
I use white space strategically to prevent the invitation from feeling crowded, which helps readers absorb details easily.
I choose fonts that complement your theme—elegant scripts for formal events, playful fonts for casual gatherings.
Clear hierarchy through font sizes and bold text guides readers’ eyes naturally through the information, ensuring nothing gets missed.
Send and Track Your RSVPs
After you’ve invested time in creating beautiful, well-organized invitations, getting them into your guests’ hands is just the beginning—tracking their responses is what keeps your party planning on track.
I recommend using digital tools like Google Forms or Evite, which automatically tally responses for you. These platforms send reminders to guests who haven’t replied yet, which is incredibly helpful.
If you’re sending physical invitations, create a simple spreadsheet to track who’s confirmed, declined, or hasn’t responded. Set a deadline about two weeks before your event, then follow up with any stragglers.
For a cohesive look, consider how your invitation design and format—whether digital or physical card stock—impacts your guests’ first impression and their likelihood of responding promptly.
Organized tracking guarantees accurate headcount and smooth party planning.
Frequently Asked Questions
What Paper Weight and Material Works Best for Homemade Invitations?
I’d recommend robust cardstock—typically 110-pound weight—paired with premium paper like cotton or linen blends. These materials make your invitations feel fancy and durable, ensuring they’ll impress your guests without getting damaged in the mail.
How Far in Advance Should I Send Out Party Invitations?
I’d recommend sending invitations 2-3 weeks before your party. This gives guests enough time to respond and arrange their schedules without feeling rushed. For formal events or holidays, I’d send them 4-6 weeks ahead.
Can I Include a Digital RSVP Link on a Printed Invitation?
Absolutely, I recommend including a digital RSVP link on your printed invitation. You’ll streamline responses while maintaining that elegant, tangible feel. Simply add your link in the bottom corner or on the back for easy access.
What’s the Appropriate Etiquette for Requesting Plus-Ones on Invitations?
I recommend clearly stating on your invitation who’s invited—either “You’re invited” or “You and a guest.” If you’re offering plus-ones selectively, I address invitations to specific people and note their names directly on the card.
How Do I Diplomatically Handle Late RSVPS Before My Party?
I’d send a friendly reminder text or email two days before your party, saying something like, “I’m finalizing the headcount—could you confirm by tomorrow?” Most people respond quickly when given a specific deadline.