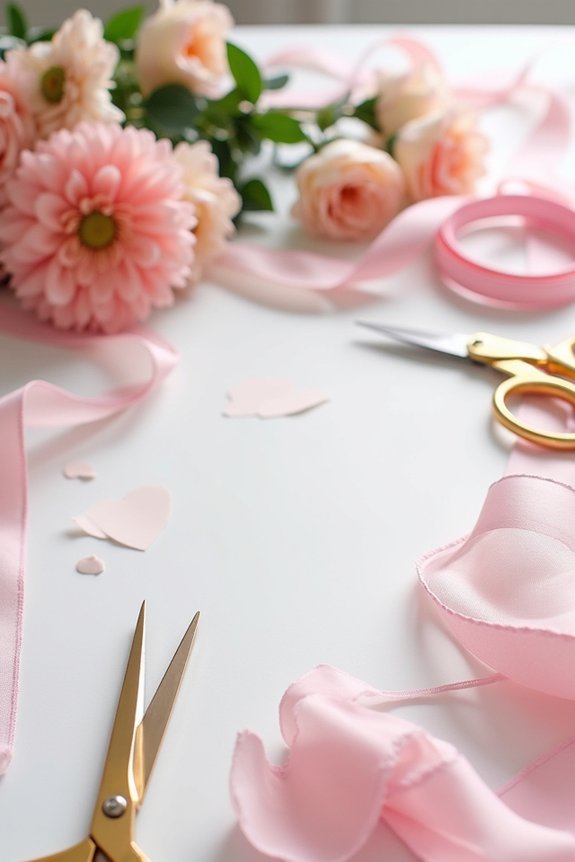
I’ll help you craft beautiful table numbers by gathering cardstock, adhesives, and cutting tools first. Next, you’ll pick your design aesthetic—modern, rustic, botanical, or glam—then select cardstock with the right weight and texture for your theme. Design your numbers in Canva, print them carefully, and cut with precision. Add embellishments that match your vision, choose sturdy stands, and secure everything with appropriate adhesives. Finally, arrange your numbers strategically across tables for maximum impact. The details of executing each step perfectly await you.
Quick Tips
- Gather cardstock in complementary colors and select 80-110 pound weight for easy folding and polished appearance.
- Design table numbers using Canva templates, customizing fonts, colors, and sizes to match your chosen cardstock.
- Cut printed numbers carefully with sharp craft scissors or rotary cutter for clean, professional-looking edges.
- Layer materials and add embellishments like ribbons or metallics for dimensional depth matching your theme aesthetic.
- Mount finished numbers on suitable stands using double-sided tape, hot glue, or foam dots for secure display.
Gather Your Cardstock, Adhesives, and Cutting Tools
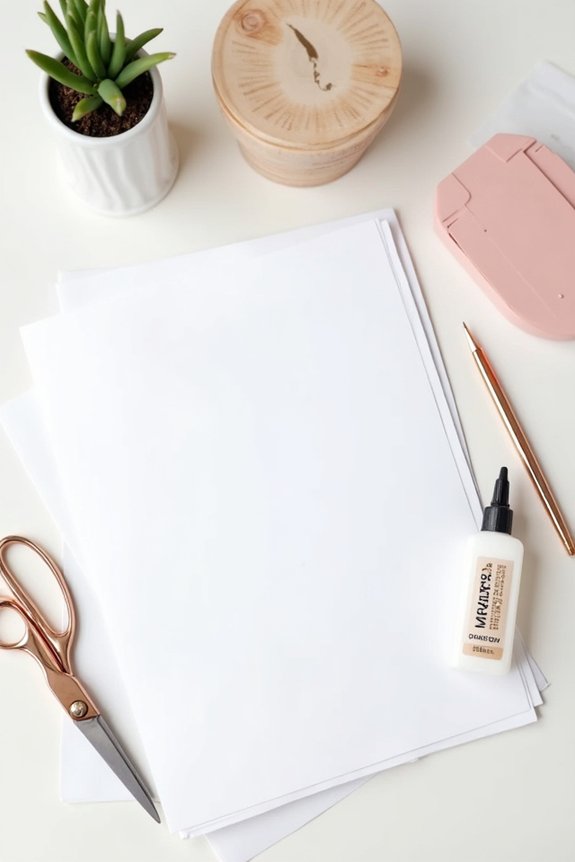
Before you start creating your table numbers, you’ll want to gather a few essential supplies that’ll make the whole process smooth and enjoyable.
I recommend choosing cardstock in colors that complement your party theme—it’s sturdier than regular paper and gives your numbers a polished look.
You’ll need a good adhesive like double-sided tape or a glue stick for assembling pieces. A cutting tool is vital; I suggest a paper cutter or craft knife for clean, precise edges.
Don’t forget a ruler for measurements and a pencil for marking.
Having everything ready beforehand means you can focus on the creative fun part without frustrating interruptions.
Pick Your Design Aesthetic (Modern, Rustic, Botanical, or Glam)

This is where your table numbers truly come to life—by choosing a design aesthetic that’ll make your whole tablescape feel intentional and cohesive.
I’d encourage you to reflect on what resonates with your event’s vibe. Modern designs feature clean lines and minimalist typography for contemporary gatherings.
Rustic aesthetics incorporate natural textures like kraft paper or wood elements. Botanical themes celebrate plants, florals, and organic shapes for spring celebrations.
Glam styles embrace metallics, jewel tones, and luxe finishes for elegant occasions.
Your choice should reflect your party’s personality and complement your existing décor, creating a unified visual experience your guests’ll genuinely appreciate.
Choose Your Cardstock: Weight, Texture, and Color
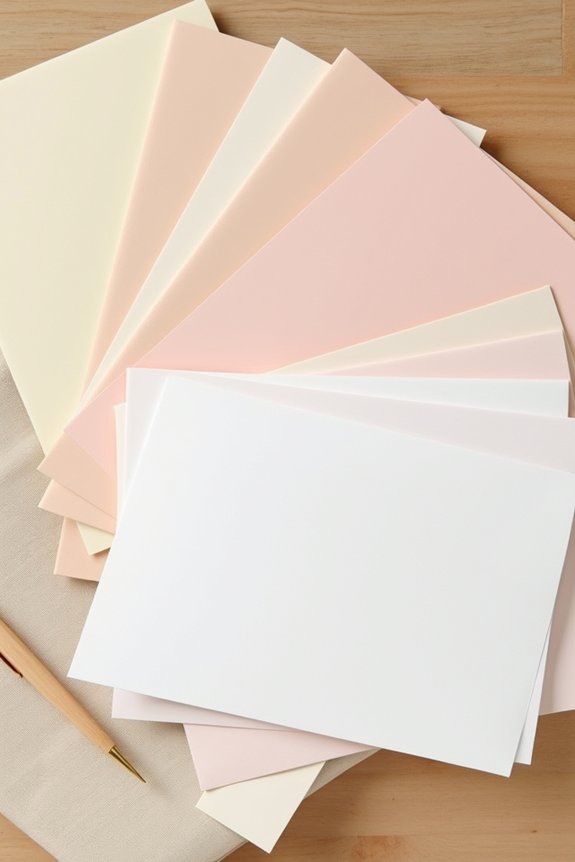
Now that you’ve nailed down your design aesthetic, it’s time to pick the cardstock that’ll bring your vision to life—and I promise this step is more fun than it sounds.
I’d recommend starting with a weight between 80-110 pounds, which feels substantial without being difficult to fold. For texture, consider linen or felt finishes for rustic vibes, or smooth cardstock for modern elegance.
Your color choice should complement your design and venue—metallics work beautifully for glam celebrations, while pastels suit botanical themes.
Don’t shy away from trying samples before committing to a full order.
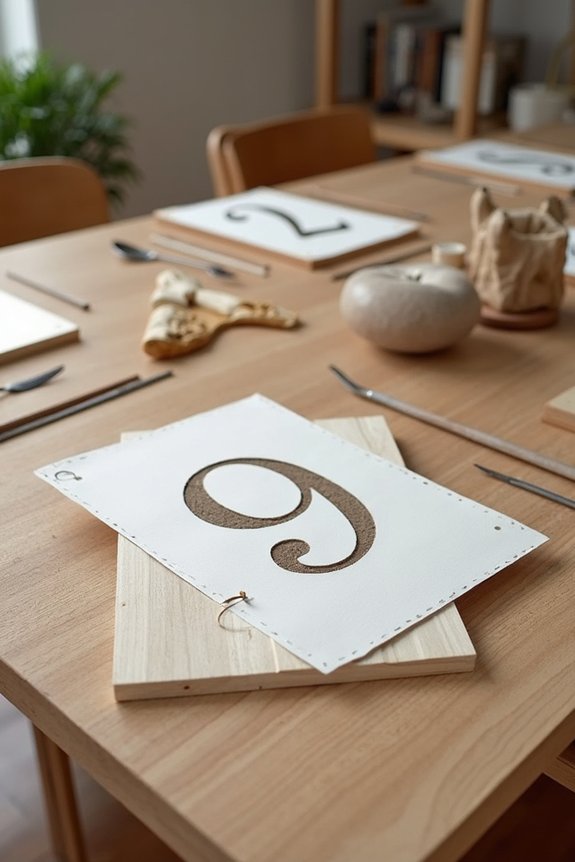
Design in Canva and Print Your Numbers
Creating your table numbers in Canva transforms what could feel intimidating into something genuinely enjoyable—you’ll find yourself working with a tool that’s intuitive, forgiving, and packed with templates designed specifically for this task.
I search “table numbers” in Canva’s template library, then customize fonts, colors, and sizing to match my cardstock choice. The preview feature lets me see exactly how they’ll look before printing.
When I’m satisfied, I adjust my printer settings for cardstock weight, print a test page first, then print my full set. This approach guarantees professional-looking results without complications.
Cut and Shape Each Number Precisely
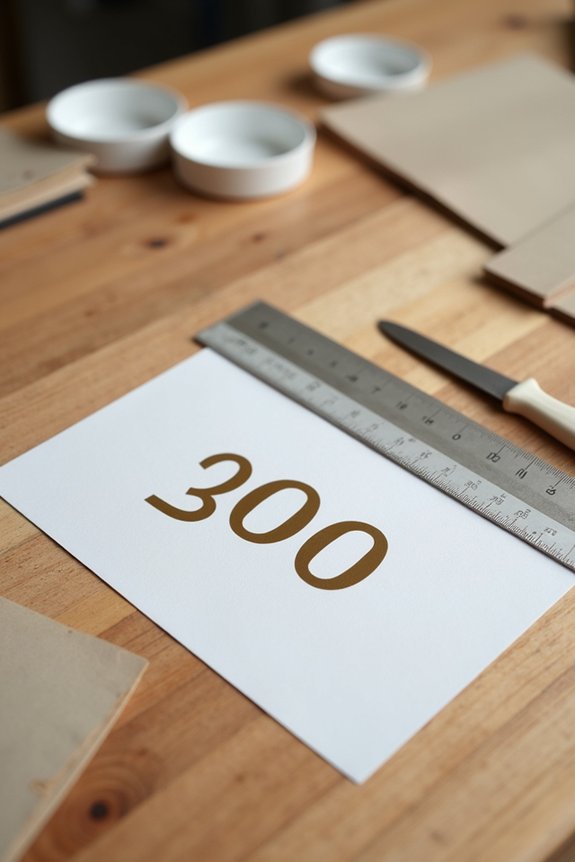
Once your printed numbers are dry, you’ll want to cut them out carefully to create clean, professional-looking pieces.
I recommend using these tools and techniques for the best results:
- Sharp craft scissors or a rotary cutter for straight edges
- A cutting mat to protect your work surface
- A ruler to guide your cuts and guarantee even spacing
- Steady, deliberate movements rather than rushed strokes
- A small amount of patience as you work around each digit
Taking your time here makes a real difference in how polished your table numbers look.
You’ll feel proud displaying them at your gathering.
Consider coordinating your table numbers with baby shower invitations to create a cohesive aesthetic throughout your event.
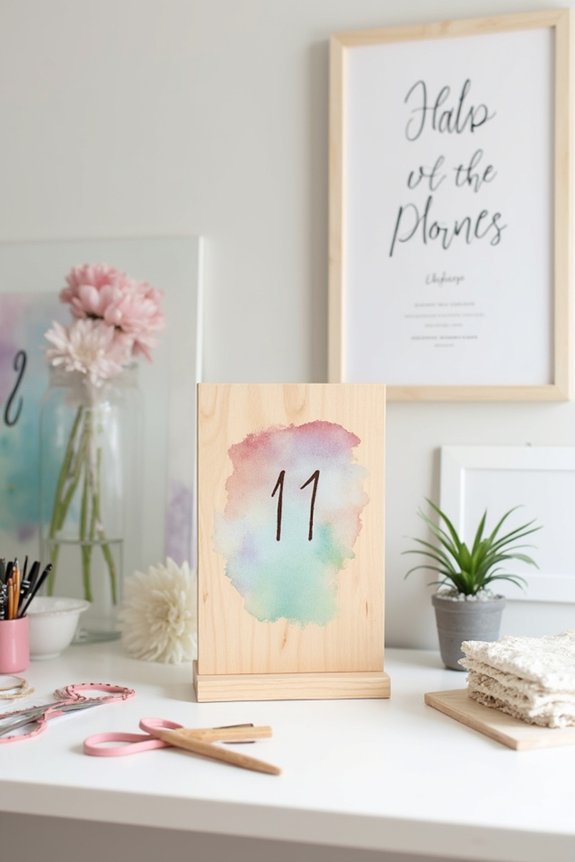
Layer Your Numbers for Dimensional Depth
With your numbers trimmed and ready, you can elevate them from flat cutouts into eye-catching pieces that’ll catch your guests’ attention from across the room.
I recommend layering different materials to create dimension. Stack cardstock in contrasting colors, then add a decorative paper or patterned fabric on top. You might glue a metallic or textured sheet underneath for extra visual interest.
This technique transforms simple numbers into sophisticated table décor that feels intentional and polished. The shadows created by layering add depth, making your centerpiece more dynamic and memorable for everyone seated at the table.
Add Embellishments That Match Your Theme
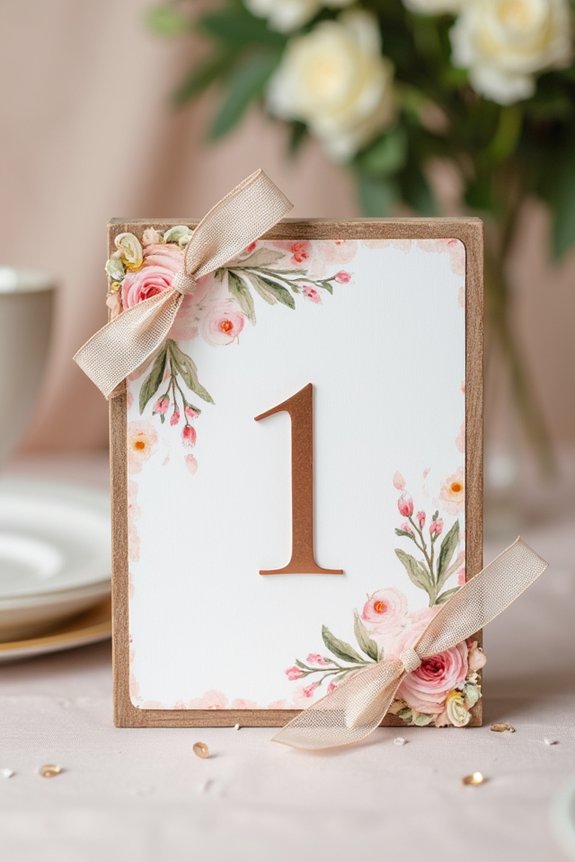
Now that your layered numbers have that gorgeous depth, it’s time to make them truly shine by adding embellishments that reflect your party’s style. Consider these options to personalize your table numbers:
- Floral accents like dried flowers or greenery for garden themes
- Metallic paint or gold leaf for elegant, formal events
- Ribbons and bows that match your color palette
- Beads, pearls, or rhinestones for glamorous celebrations
- Hand-lettered details or calligraphy for sophisticated touches
These embellishments transform simple numbers into stunning focal points. Explore stunning decoration ideas to discover additional ways to elevate your entire dining experience beyond just the table numbers.
I find that matching your additions to your overall décor creates a cohesive, polished look. Your guests will appreciate the thoughtful details you’ve included throughout your celebration.
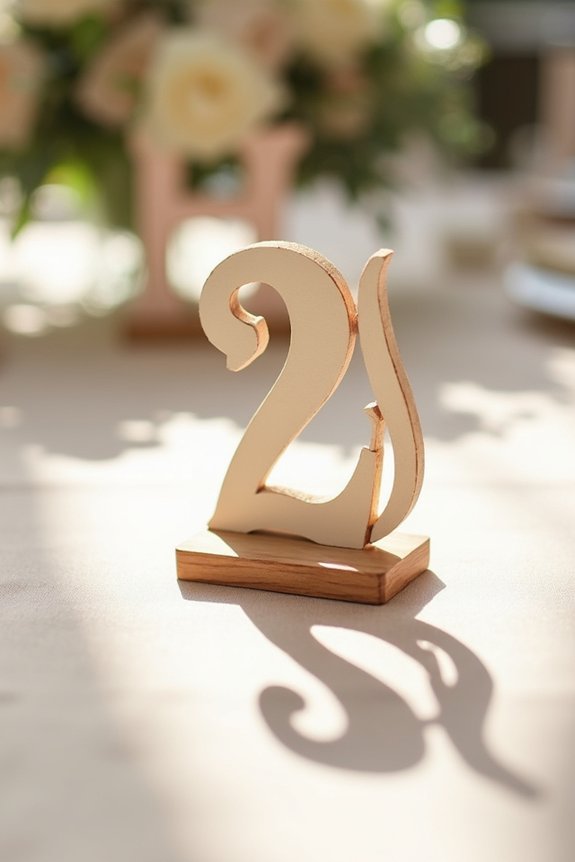
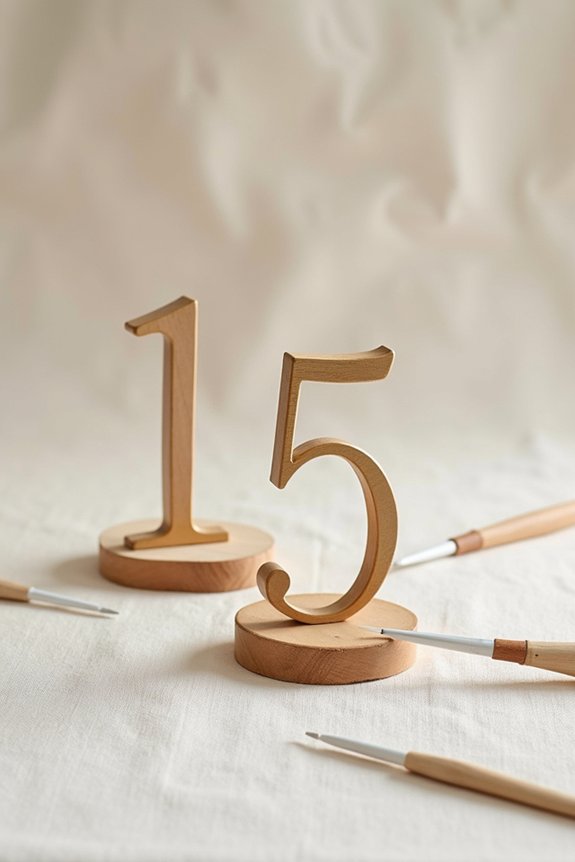
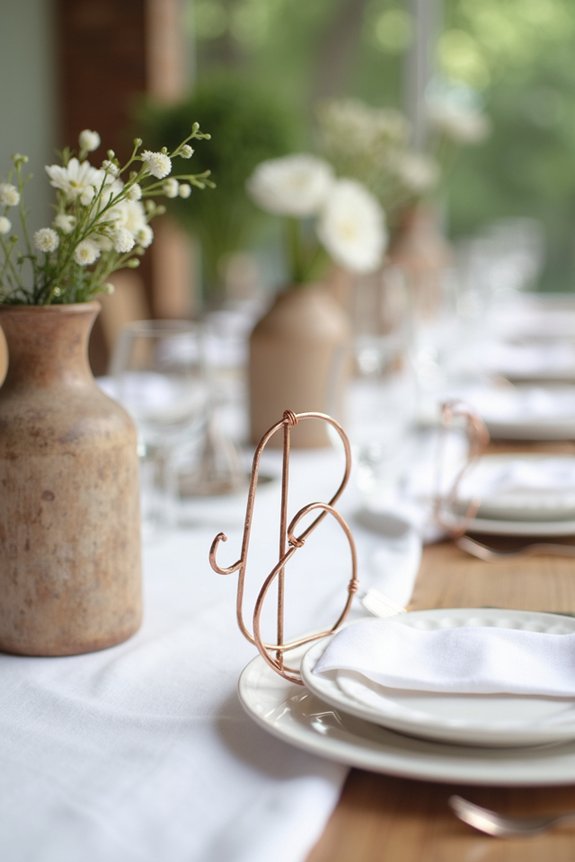
Select and Prepare Your Number Stands
The right stand transforms your decorated numbers from flat paper into three-dimensional displays that guests can actually see from across the table.
I’d recommend considering several options: wooden dowels, cardstock easels, or purchased acrylic stands.
Wooden dowels work beautifully when you glue them to the back of your numbers, offering sturdy support. Cardstock easels are budget-friendly and easy to fold. For a polished look, acrylic stands provide a modern touch.
Before assembly, I gather all materials and test your chosen method with scrap paper. This guarantees your numbers stand securely without wobbling, creating a professional appearance.
Pair your table numbers with other graduation party decorations to create a cohesive and elegant table setting for your celebration.
Glue or Tape Numbers Securely to Stands
Once you’ve selected your stands, securing your numbers properly guarantees they’ll stay perfectly positioned throughout your event.
I recommend choosing the right adhesive for your materials:
- Double-sided tape works beautifully on paper and cardstock
- Hot glue creates a strong bond for wooden stands
- Foam dots add dimension while holding securely
- Glue dots work wonderfully on delicate surfaces
- Clear adhesive guarantees invisible, professional-looking results
Apply your chosen method carefully, pressing firmly for several seconds.
I find starting from the center and working outward prevents bubbles and wrinkles.
Let everything dry completely before displaying your table numbers.
This simple step assures your gorgeous numbers remain perfectly in place, creating that polished look you’re after.
Arrange and Style Your Table Numbers
With your numbers securely fastened to their stands, you’re ready for the fun part—arranging them across your tables in ways that feel both beautiful and intentional.
I’d place each number slightly off-center, creating visual interest and drawing guests naturally to their seats. Consider the sight lines from your entrance; you’ll want numbers visible as people enter.
Cluster them thoughtfully rather than rigidly spacing them equally. I’d add small floral sprigs, candles, or name cards nearby to anchor each number within your table’s design.
A well-designed stunning tablescape brings together all these elements into a cohesive dining experience that impresses your guests from the moment they arrive. This approach transforms simple numbers into stylish focal points that make your guests feel genuinely welcomed and celebrated.
Frequently Asked Questions
How Many Table Numbers Do I Need for My Guest Count and Table Arrangement?
I’d create one table number for each table you’re using. Count your tables, then make that many numbers. If you’re seating 50 guests at five tables, you’ll need five table numbers total.
Can I Reuse DIY Table Numbers for Future Parties and Events?
I’ve found that 78% of party planners reuse décor items to save money. You can absolutely repurpose your DIY table numbers if you’ve created them with durable materials like wood, acrylic, or laminated cardstock. Just store them carefully between events.
What’s the Best Way to Store Finished Table Numbers Until Party Day?
I store my finished table numbers in a flat box or photo storage container with dividers to keep them organized and protected. I add tissue paper between each number to prevent damage until party day.
How Do I Prevent Cardstock Numbers From Warping in Humid or Outdoor Settings?
While humidity warps cardstock, lamination protects it. I seal my numbers with clear laminating sheets or mod podge, creating a waterproof barrier. You’ll keep crisp edges and vibrant designs despite outdoor moisture and temperature changes.
Can I Add Calligraphy or Hand-Lettering to Printed Canva Designs Before Cutting?
I’d print your Canva design, then hand-letter over it with a calligraphy pen or brush marker. You’ll want quality cardstock that accepts ink well, and I’d seal everything with a protective spray afterward to prevent smudging.