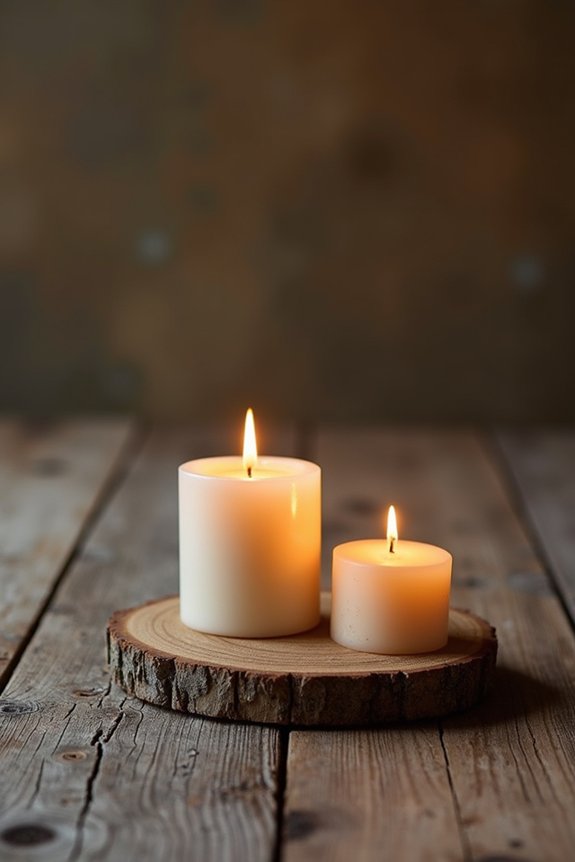
I’ll guide you through creating rustic wood candle holders that transform your space. You’ll gather reclaimed wood, drill candle cup holes, and sand edges smooth. Then comes the fun part—staining or painting to match your style, followed by sealing for protection. Display them in odd-numbered groups at varying heights for visual interest. With proper care and trimmed wicks, your holders will safely brighten any room for years. There’s so much more to discover about styling and troubleshooting techniques ahead.
Quick Tips
- Use reclaimed wood like driftwood or barn wood to create authentic rustic character in your candle holder design.
- Drill candle cup holes with proper bits and pilot holes to prevent wood splitting during construction.
- Sand all surfaces thoroughly before applying stain or paint for even, professional-looking finishes.
- Group finished candle holders in odd numbers and vary heights for visually interesting displays.
- Trim candle wicks to quarter-inch lengths and store holders in cool, dry spaces for safety and longevity.
Gather Materials for Your Rustic Wood Project
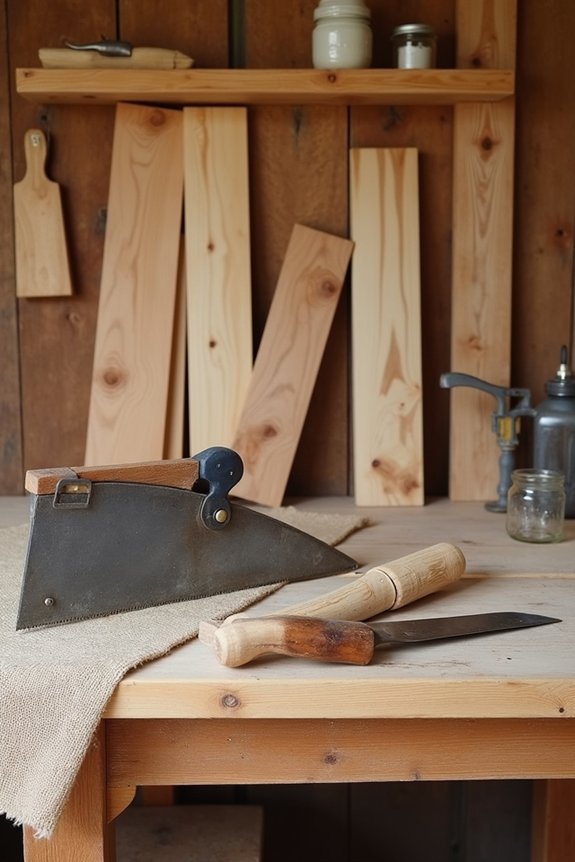
Before you create these charming candle holders, you’ll need to gather a few simple materials that’ll transform into something truly special.
I recommend starting with reclaimed wood pieces—perhaps driftwood or barn wood—which add authentic rustic character.
You’ll also want sandpaper for smoothing rough edges, wood stain or paint if you prefer color, and a drill with appropriate bits for creating candle cup holes.
Don’t forget wood glue for securing pieces together and safety gear like goggles.
These accessible materials come together beautifully, giving you confidence as you work toward creating elegant, personalized pieces perfect for your gatherings.
Build Your First Rustic Wood Candle Holder
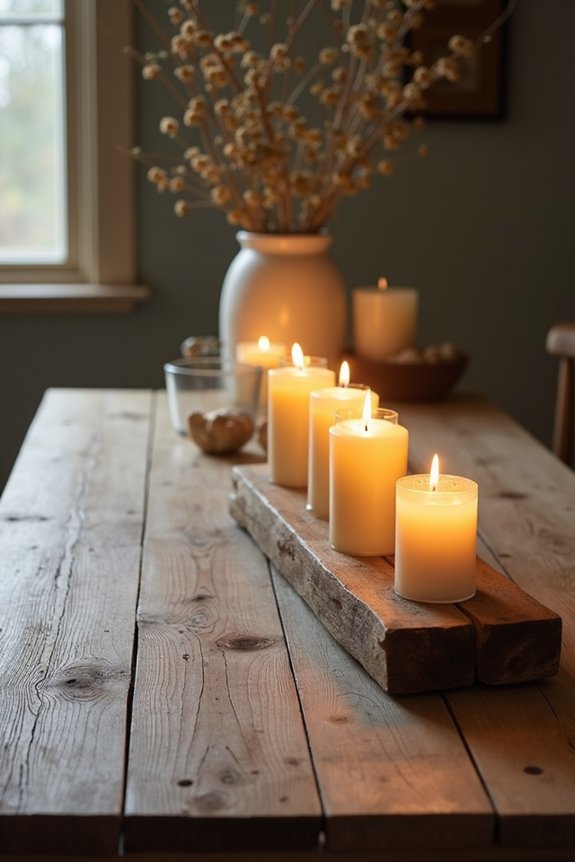
Now that you’ve gathered everything you need, it’s time to bring your rustic candle holder to life—and I promise this part is simpler than you might think.
Start by measuring and marking where you’ll drill the hole for your candle cup. Use a drill with the appropriate bit size, keeping steady pressure as you work through the wood.
Sand any rough edges around the hole smoothly. If you’re adding a base for stability, attach it securely with wood glue and screws.
Let everything dry completely before moving forward. You’re creating something beautiful that’ll impress your guests!
Paint, Stain, and Seal for Lasting Beauty
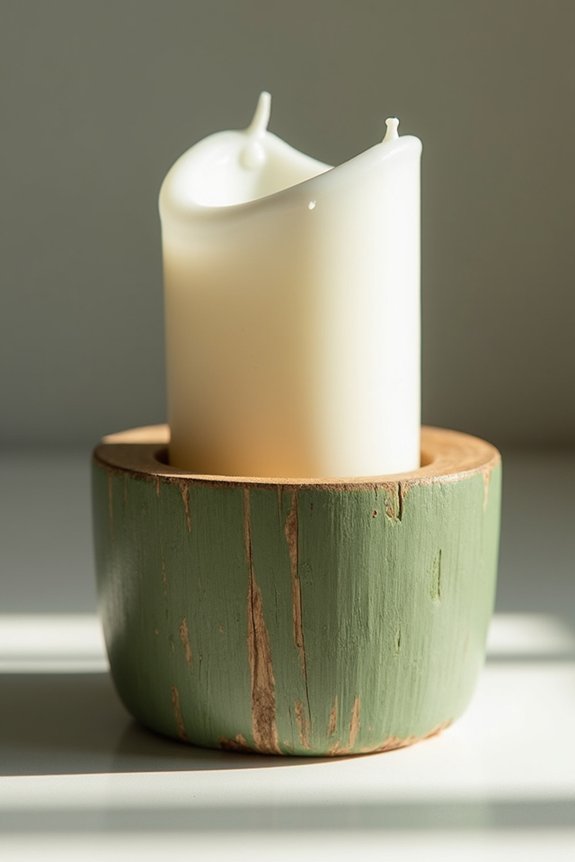
Your candle holder’s foundation is solid, and now comes the part where you’ll really make it shine—choosing the finish that safeguards your work while reflecting your style.
I’ll walk you through three main options: paint, stain, and sealer.
Paint adds bold color and covers the wood completely. Stain enhances the wood’s natural grain while adding warmth. A clear sealer protects whichever finish you choose, making your candle holder last through countless gatherings.
Start with light coats, letting each dry fully. This prevents drips and guarantees even coverage.
Your patience now pays off with a polished, professional-looking piece that’ll impress your guests. For those seeking coordinated decor, consider pairing your rustic candle holders with gender reveal invitations to create a cohesive aesthetic for special celebrations.
Troubleshoot Common DIY Mistakes
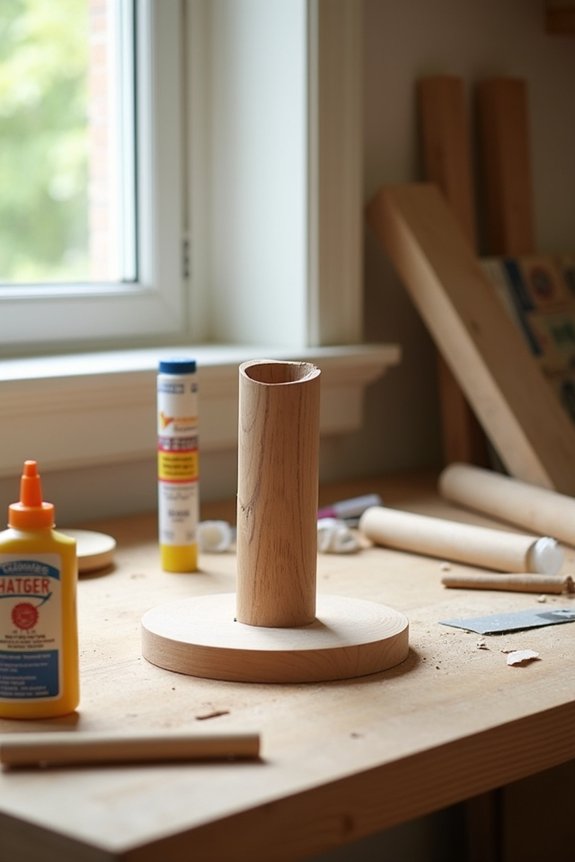
Even when we’re careful, DIY projects sometimes don’t go quite as planned—and that’s completely okay.
If your wood splits while drilling, I’d recommend using a smaller bit first to create a pilot hole.
When stain applies unevenly, it’s usually because the wood wasn’t properly prepped. Sand the entire surface with consistent pressure before applying any finish.
If your sealer becomes cloudy or sticky, you’ve likely applied too thick a coat. Use thin, even layers instead.
These fixes aren’t failures—they’re just part of creating something beautiful.
You’ve got this.
Style and Display Your Finished Holders
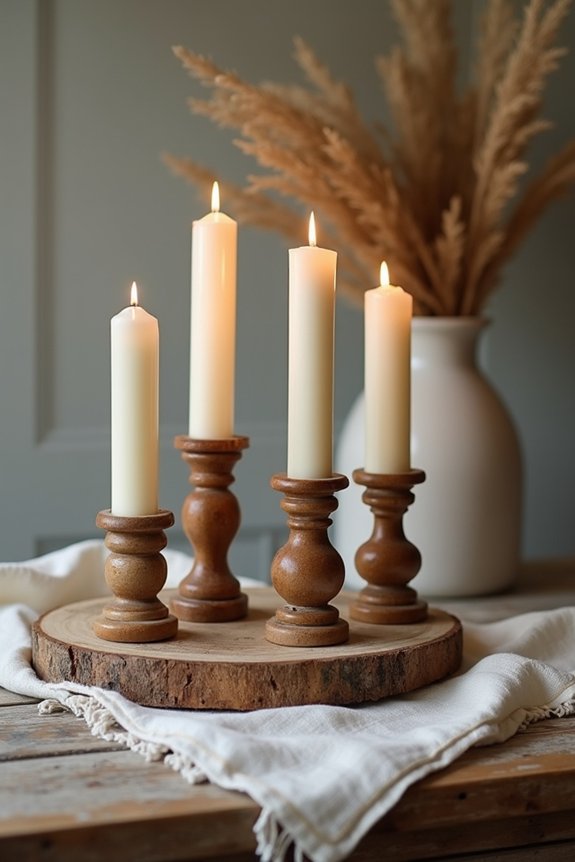
Once you’ve completed your candle holders, the real magic happens when you display them thoughtfully throughout your space.
I’d arrange them in odd-numbered groups—three or five holders create visual interest that pairs beautifully with fresh flowers or greenery.
Consider varying heights to add dimension to your tablescape. Place them as a stunning centerpiece, along a mantel, or clustered on shelves for warmth.
The rustic wood texture glows wonderfully when candlelight dances across it.
Mix your holders with other natural elements like branches or stones.
This styling transforms your handmade creations into sophisticated décor that guests will absolutely admire and ask about.
Care Tips to Keep Candles Safe and Holders Beautiful
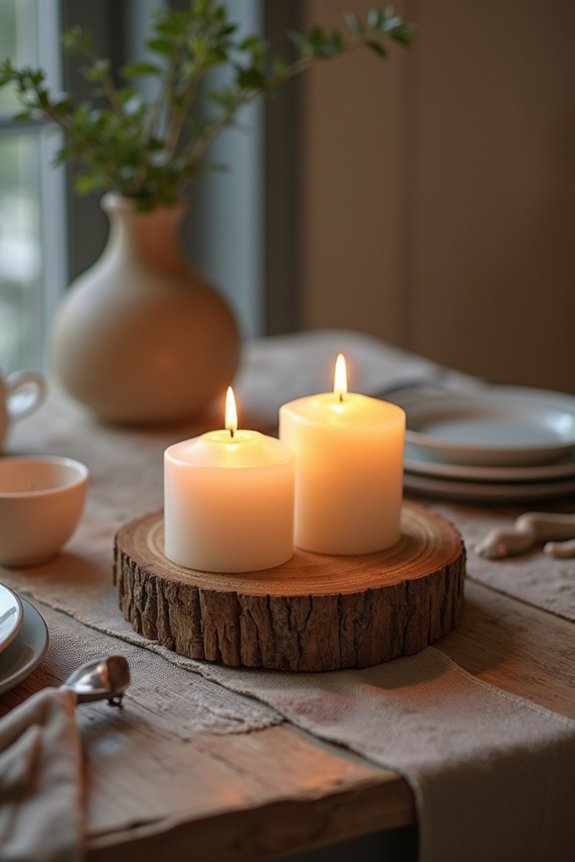
Taking care of your handmade candle holders guarantees they’ll stay beautiful and safe for years to come.
I recommend trimming wicks to quarter-inch lengths before lighting to prevent excessive smoke and soot buildup.
You’ll want to place holders on heat-resistant surfaces away from drafts, which helps candles burn evenly.
Clean wood regularly with a soft, dry cloth to remove dust and wax drips.
For stubborn wax residue, I gently scrape it away using a plastic tool rather than metal.
Store holders in cool, dry spaces to protect the wood from warping, ensuring your creations remain stunning.
Frequently Asked Questions
Can I Use Reclaimed Wood From Pallets, or Should I Buy New Lumber?
I’d absolutely recommend using reclaimed pallet wood—it’s budget-friendly, sustainable, and gives you that authentic rustic charm you’re after. You’ll save money while creating unique, character-filled candle holders your guests’ll love.
What’s the Best Wood Type for Beginners Who’ve Never Done Woodworking?
I’d recommend softwoods like pine or cedar—they’re forgiving teachers that won’t fight you. Like learning to dance before mastering ballet, you’ll build confidence easily. They’re affordable, work beautifully for rustic projects, and won’t frustrate beginners.
How Long Does Stain or Paint Typically Take to Fully Cure?
I’ve found that most stains cure in 24-48 hours, though you’ll want to wait a full week before handling them heavily. Paint typically needs 2-3 weeks for complete curing, so plan accordingly.
Can Rustic Wood Candle Holders Work With Pillar Candles and Tea Lights?
Ironically, rustic wood holders work beautifully with both pillar and tea lights—the very candles you’d assume might clash. I’ve found pillar candles create dramatic height while tea lights nestle perfectly into carved recesses, giving you versatile styling options.
Will My Finished Holders Be Safe to Use With Real Flame Candles?
I’ll make sure your holders are safe by using untreated wood, leaving proper clearance around flames, and never leaving candles unattended. You’ll want to test your design first with a short burn time.