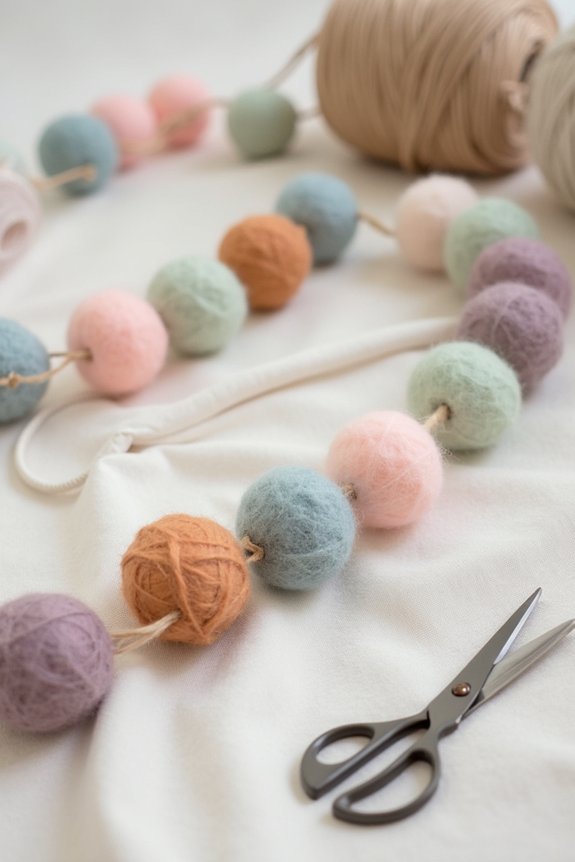
I’ll create felt ball garlands by starting with quality wool felt sheets and basic supplies like needle, thread, and scissors. I roll small felt scraps into cores, then wrap longer strips around them with steady pressure to form uniform balls. Next, I’ll select three to five complementary colors that harmonize beautifully, then string my balls one to two inches apart using twine or fishing line. Finally, I’ll display my garland across doorways, mantels, or windows for maximum impact. The details of crafting, caring, and storing your garland reveal even more possibilities.
Quick Tips
- Choose wool felt with consistent thickness and tight weaving for durable, quality felt balls that retain their shape.
- Roll felt balls by wrapping strips around a small core with consistent pressure and smooth wrinkles during rolling.
- Select three to five complementary colors using analogous or contrasting combinations that match your event theme or décor.
- Space balls one to four inches apart depending on desired fullness, then measure your display area minus six inches.
- Store finished garland in airtight containers away from sunlight, checking regularly for dust and loose balls requiring retying.
What You’ll Need to Make Felt Ball Garlands
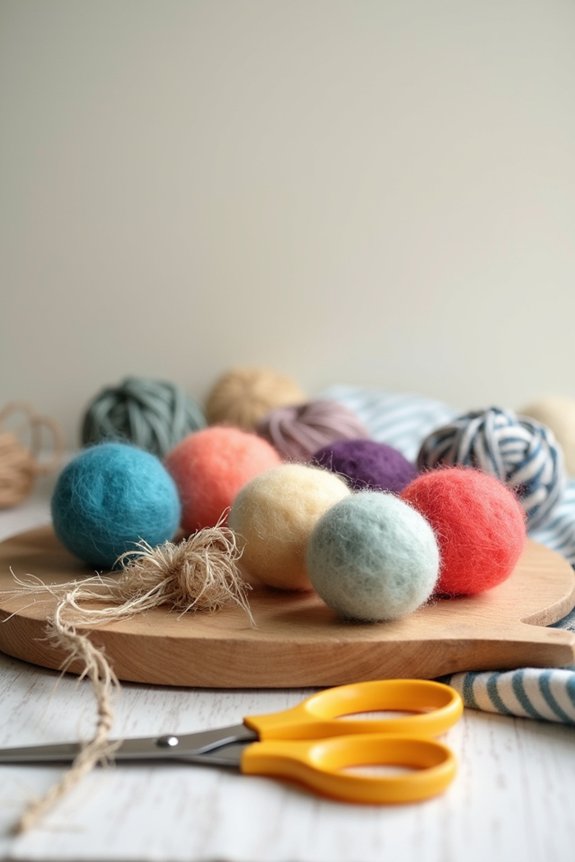
Creating a felt ball garland is wonderfully straightforward, and you’ll likely find most supplies already in your home or easily available at a craft store.
I recommend gathering wool felt sheets in your chosen colors, a needle suitable for hand-sewing, sturdy thread that matches your felt, and scissors for cutting.
You’ll also want embroidery floss if you’re adding decorative stitching details. A ruler helps verify consistent ball sizes, while a hot glue gun works beautifully for securing balls to your base.
Finally, select your stringing material—twine, ribbon, or fishing line all work wonderfully depending on your desired aesthetic.
Choose Quality Felt for Better Results
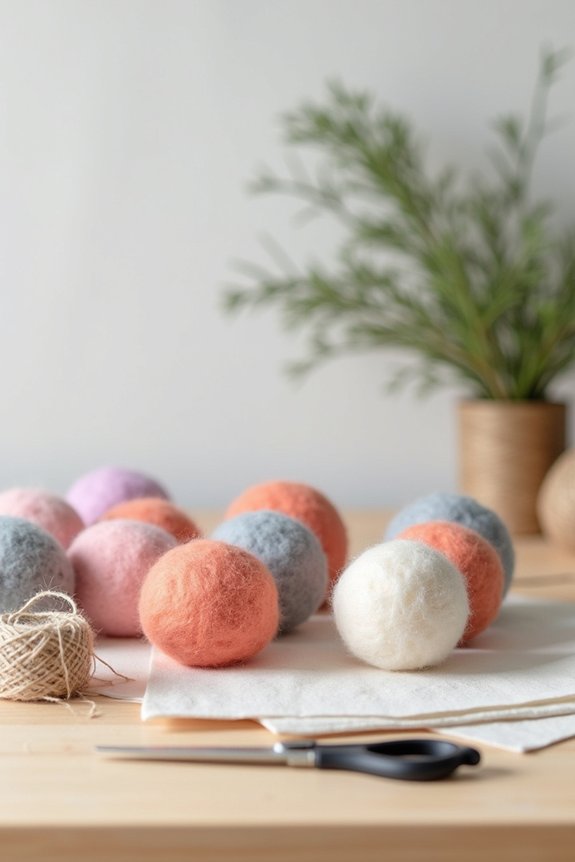
Now that you’ve gathered your supplies, the quality of your felt will make all the difference in how your finished garland looks and holds up.
I’d recommend choosing wool felt over acrylic—it holds its shape better and resists pilling. Look for felt that’s tightly woven and consistent in thickness, which guarantees your balls won’t flatten or deteriorate quickly.
Premium felt might cost a bit more, but it’s worth the investment. Your garland will look polished and last through multiple celebrations. Check the label for fiber content, and don’t hesitate to feel samples before purchasing.
Roll Perfect Felt Balls Every Time
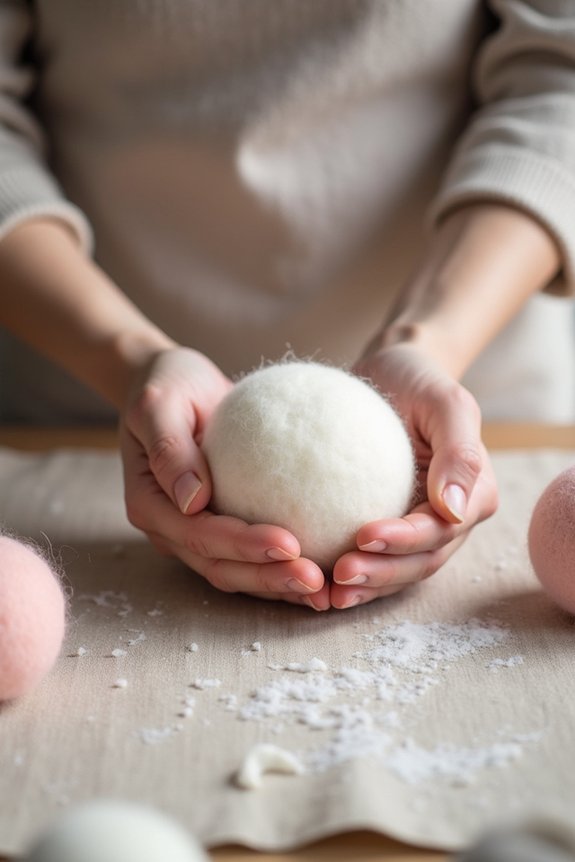
Once you’ve selected your premium felt, the rolling technique you use will determine whether your garland balls turn out smooth and uniform or lumpy and misshapen.
I find that starting with a small felt scrap and rolling it tightly between my palms creates a solid core. Then, I wrap longer strips around this center, keeping consistent pressure as I rotate.
You’ll want to work slowly and deliberately, ensuring each layer adheres smoothly. If you notice wrinkles forming, gently smooth them out with your fingers before continuing.
This patience pays off with beautifully polished balls.
Size Your Balls for Maximum Visual Impact
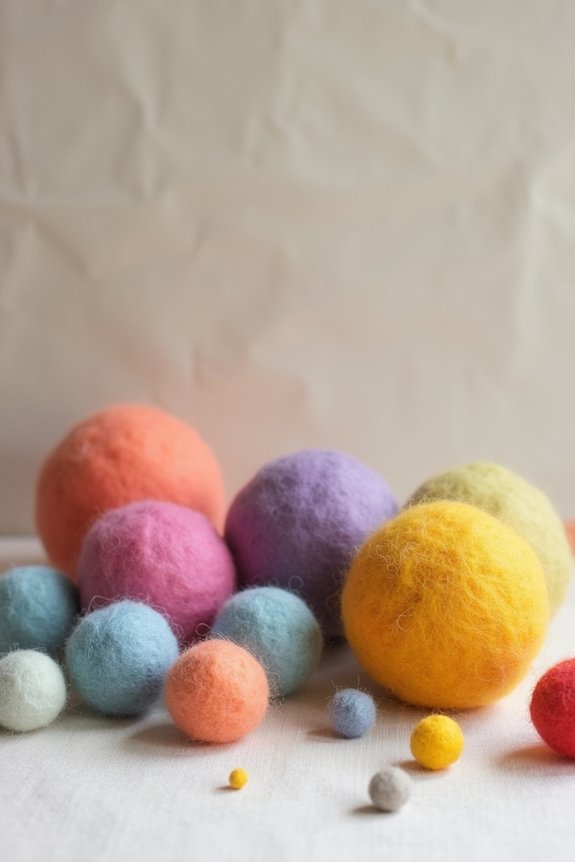
The size of your felt balls will dramatically shape how your garland looks when it’s strung and displayed.
I recommend mixing sizes—combining 1-inch, 1.5-inch, and 2-inch balls—to create visual rhythm and depth. Larger balls serve as focal points, while smaller ones fill gaps and add texture.
Consider your space: delicate garlands work beautifully in intimate areas, while bold, oversized balls command attention in expansive rooms. The variety keeps eyes moving along the strand, making your creation feel intentional and polished.
I find that experimenting with proportions helps me discover what resonates with your celebration’s aesthetic. For inspiration on coordinating your garland with other decorative elements, explore garden party invitations to see how professional designs balance similar visual components.
Pick Color Combinations That Look Magazine-Worthy
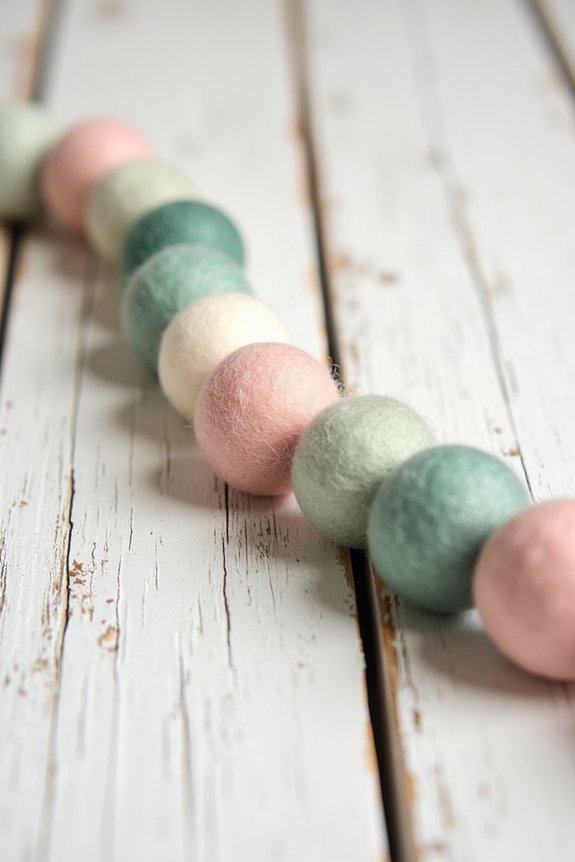
Your color choices will make or break the entire impact of your garland, so I’d encourage you to think intentionally about your palette before you start stringing.
Consider using a mix of three to five colors that complement each other beautifully. Analogous colors (those next to each other on the color wheel) create harmony, while complementary colors (opposite pairs) add visual punch.
I’d suggest pulling inspiration from your event’s theme or your home’s existing décor. You might try neutrals with one bold accent, jewel tones for elegance, or pastels for softness.
These felt ball garlands work beautifully as part of a cohesive garden party decoration scheme that ties your entire outdoor space together.
Trust your instincts—the combination that makes you happy will delight your guests.
Add Texture and Dimension to Your Design
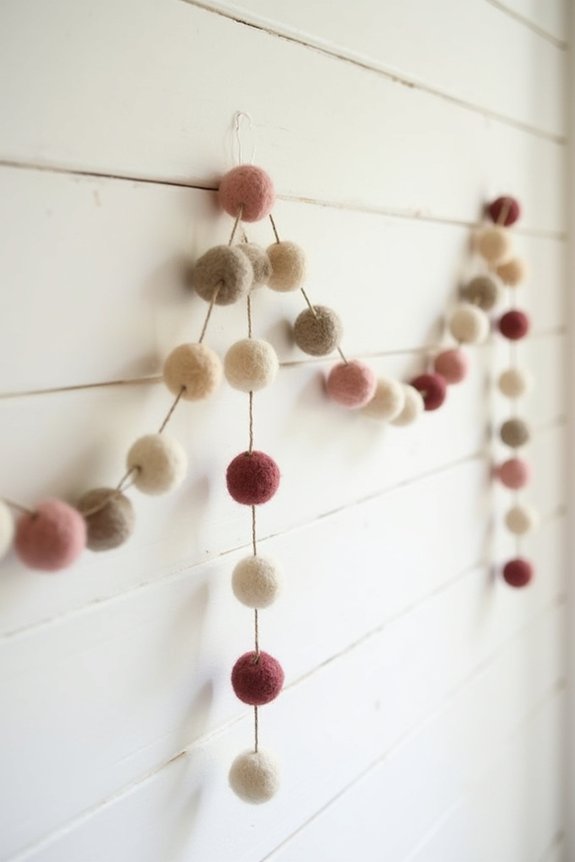
Now that you’ve settled on colors that work beautifully together, it’s time to build depth into your garland so it catches the eye from every angle.
I’d vary the felt ball sizes, mixing large ones with small and medium balls to create visual interest. You can also alternate between matte and slightly shiny finishes by using different wool qualities.
Try grouping balls of similar colors together, then separating them with contrasting tones. This layering approach makes your garland feel more sophisticated and intentional, giving it that polished, gallery-worthy appearance you’re seeking.
Determine Your Garland Length and Spacing
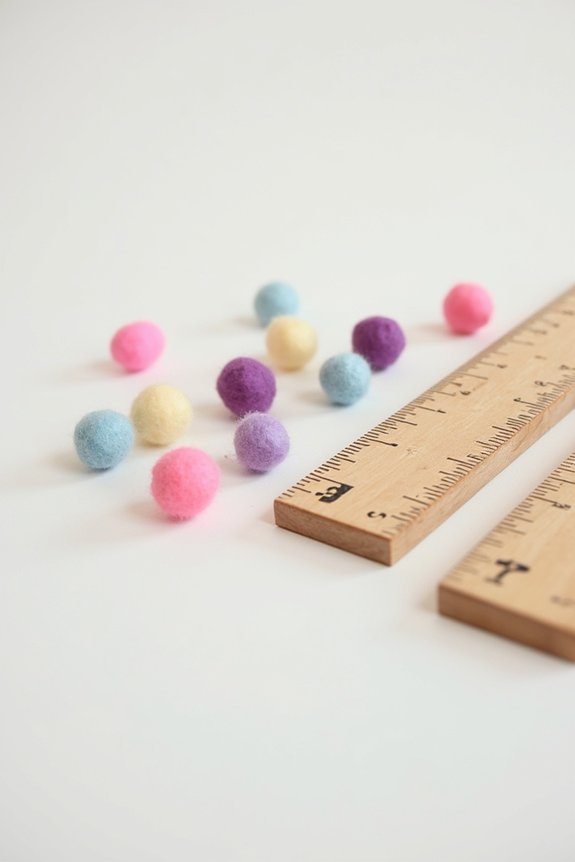
Before stringing those beautiful felt balls together, I want to help you figure out exactly how long your garland should be and how to space the balls so they look balanced and intentional.
Measure your desired display area—mantel, doorway, or wall—then subtract six inches from each end for hanging.
Space balls one to two inches apart for a full, lush appearance, or three to four inches for an airier look.
I’d recommend sketching your layout on paper first, marking ball positions. This planning prevents disappointment and guarantees your garland drapes beautifully when finished.
String Your Garland Without the Headache
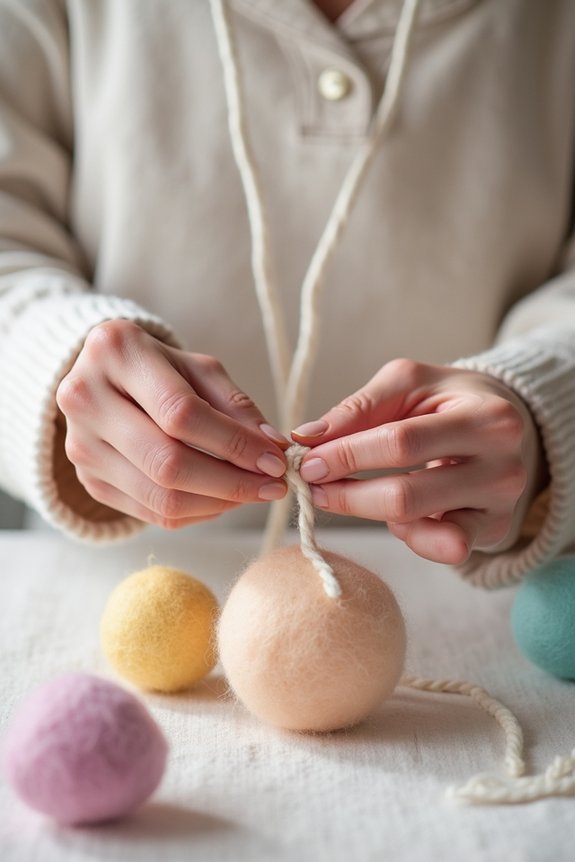
With your spacing mapped out and measurements ready, it’s time to actually string those felt balls together—and I promise this part doesn’t have to be frustrating.
I’d recommend using a needle threaded with strong twine or fishing line, which won’t break under tension. Poke your needle through each ball’s center carefully, ensuring they sit snugly against one another. If a ball feels tight, gently wiggle the needle rather than forcing it.
Take breaks to prevent hand fatigue. This methodical approach transforms a potentially tedious task into something manageable and even meditative, setting you up for garland success.
Add Finishing Touches That Elevate the Look
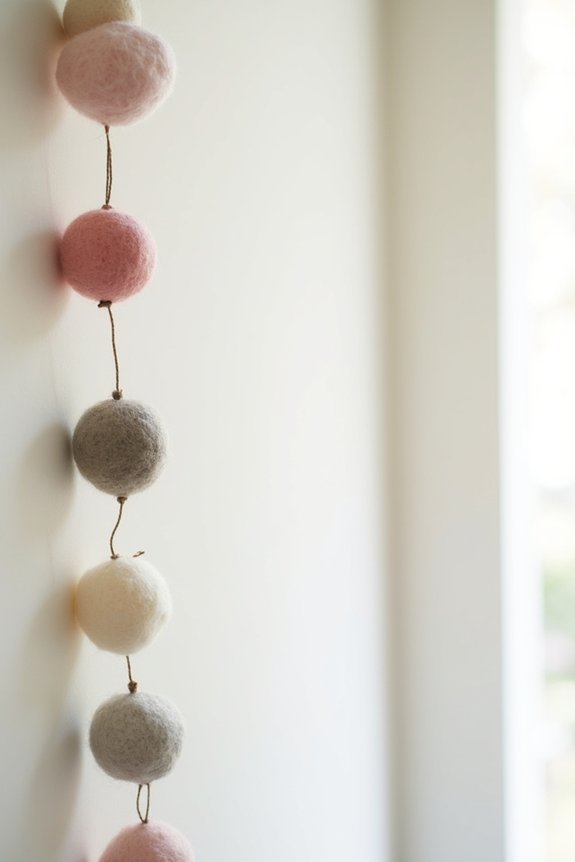
Your felt ball garland is already looking fantastic, but a few thoughtful additions can transform it from nice to absolutely stunning.
I’d suggest draping delicate greenery like eucalyptus or faux ivy between the felt balls for natural texture. Tuck in small dried flowers or baby’s breath for romantic charm.
Consider adding metallic accents—thin gold or silver ribbon woven through creates elegance.
Strategically place fairy lights if you’re hanging it indoors for magical ambiance.
These layers work together, creating depth and visual interest that makes your garland feel professionally designed and utterly enchanting.
Best Spots to Display Your Garland
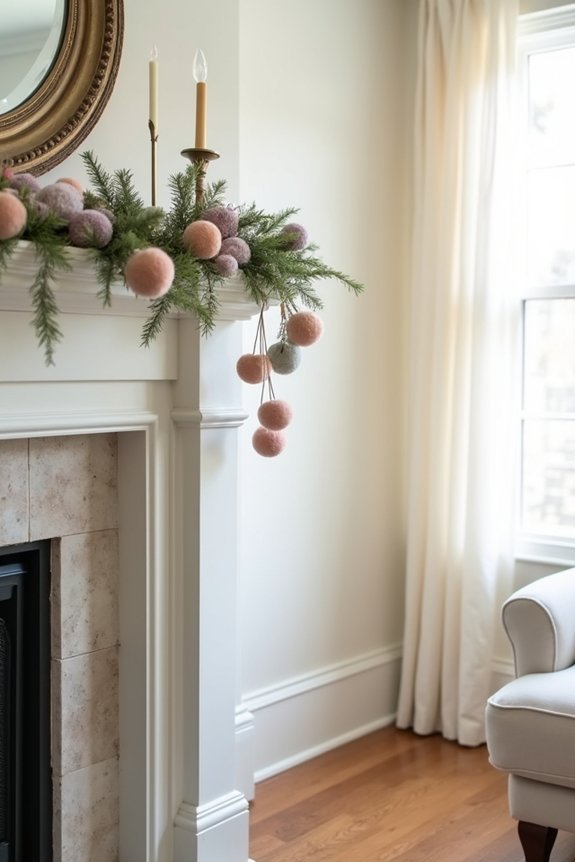
Now that you’ve created a garland that’s truly special, the real magic happens when you find just the right place to showcase it.
I love considering these display options:
- Doorways and entryways – Frame your entrance to greet guests immediately
- Mantelpieces – Drape along fireplace mantels for cozy focal points
- Stair railings – Wrap around banisters for dramatic effect throughout your home
- Windows – Hang across windowpanes where natural light catches the felt balls beautifully
Think about spaces where people naturally gather. These garden party ideas can extend your decorating vision beyond just the outdoor space and into your home’s interior design.
Your garland deserves a spot that draws attention and complements your décor.
The right placement transforms your handmade creation into a stunning statement piece.
Store Your Garland for Next Season
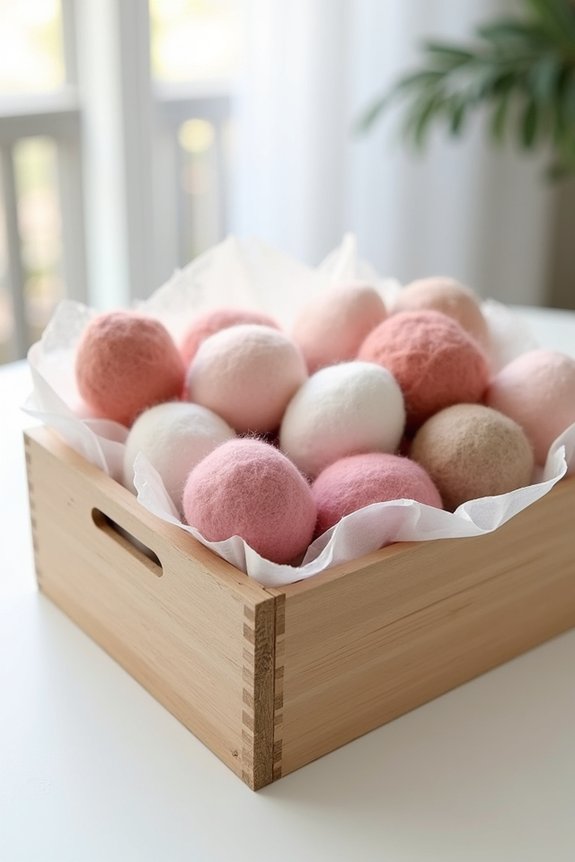
Once you’ve enjoyed your garland throughout the season and it’s time to pack it away, proper storage guarantees it’ll look just as lovely when you bring it out again next year.
I recommend storing your felt ball garland in a cool, dry place away from direct sunlight, which can fade the colors.
Use an airtight container or a sturdy box lined with tissue paper to protect each ball from dust and damage. Gently coil the garland and nestle it inside, adding dividers between layers if needed.
Label your container clearly so you’ll easily find it when decorating season arrives again.
Fix Common Felt Ball Garland Problems
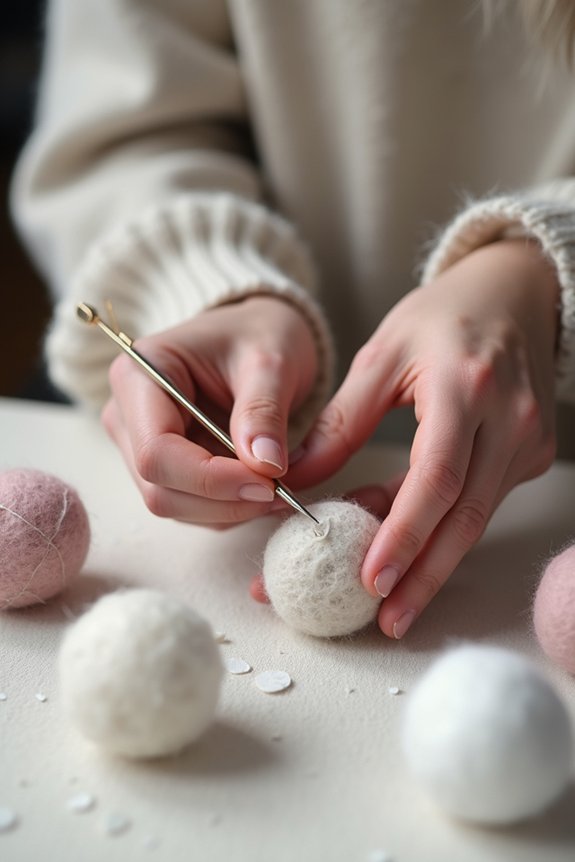
Even with careful handling and storage, felt ball garlands can sometimes develop issues that need a little TLC.
I’m here to help you refresh your garland and keep it looking beautiful for years to come.
Common problems I can fix include:
- Dust accumulation: Gently vacuum with a soft brush attachment or use a lint roller
- Loose felt balls: Rethread or retie balls using matching thread or fishing line
- Faded colors: Consider re-dyeing sections with fabric dye for vibrant refresh
- Matted texture: Steam lightly or fluff by hand to restore softness
Your garland deserves care, and these simple solutions restore its charm effortlessly.
Frequently Asked Questions
How Long Does It Take to Make a Felt Ball Garland From Start to Finish?
I can create a felt ball garland in about two to three hours, depending on how many balls you’re making. You’ll spend most of your time rolling and felting the wool, then stringing them together takes just minutes.
Can I Use a Felt Ball Garland Outdoors, or Is It Only for Indoor Decorating?
I’d use felt ball garlands indoors primarily since moisture damages them. If you’re determined to display yours outside, I’d suggest covering it during rain and bringing it in seasonally to preserve its beauty.
What’s the Best Needle or Tool for Stringing Felt Balls Safely and Securely?
I’d say threading felt balls is like stringing pearls—you’ll want a blunt needle or tapestry needle to avoid splitting your thread. I prefer sturdy fishing line with a needle threaded through each ball’s center for maximum security.
Can I Combine Felt Ball Garlands With Other Types of Garlands for a Layered Look?
Absolutely, I combine felt ball garlands with ribbon, fabric strips, and greenery all the time for stunning layered effects. You’ll create visual depth by varying textures, colors, and spacing between different garland types.
How Do I Prevent Felt Balls From Unraveling or Falling Apart Over Time?
I secure my felt balls with a dab of fabric glue where they meet the string, then I store them flat in a cool, dry place. This prevents unraveling and keeps your garland looking fresh for years.